When it comes to golf carts, visibility is key for safety and functionality, especially during low-light conditions. Headlights and taillights are essential components that ensure you can see and be seen. However, like any electrical system, they can encounter issues that require troubleshooting. Here’s a guide to help you diagnose common headlight and taillight problems in your golf cart.
Identifying Headlight Issues
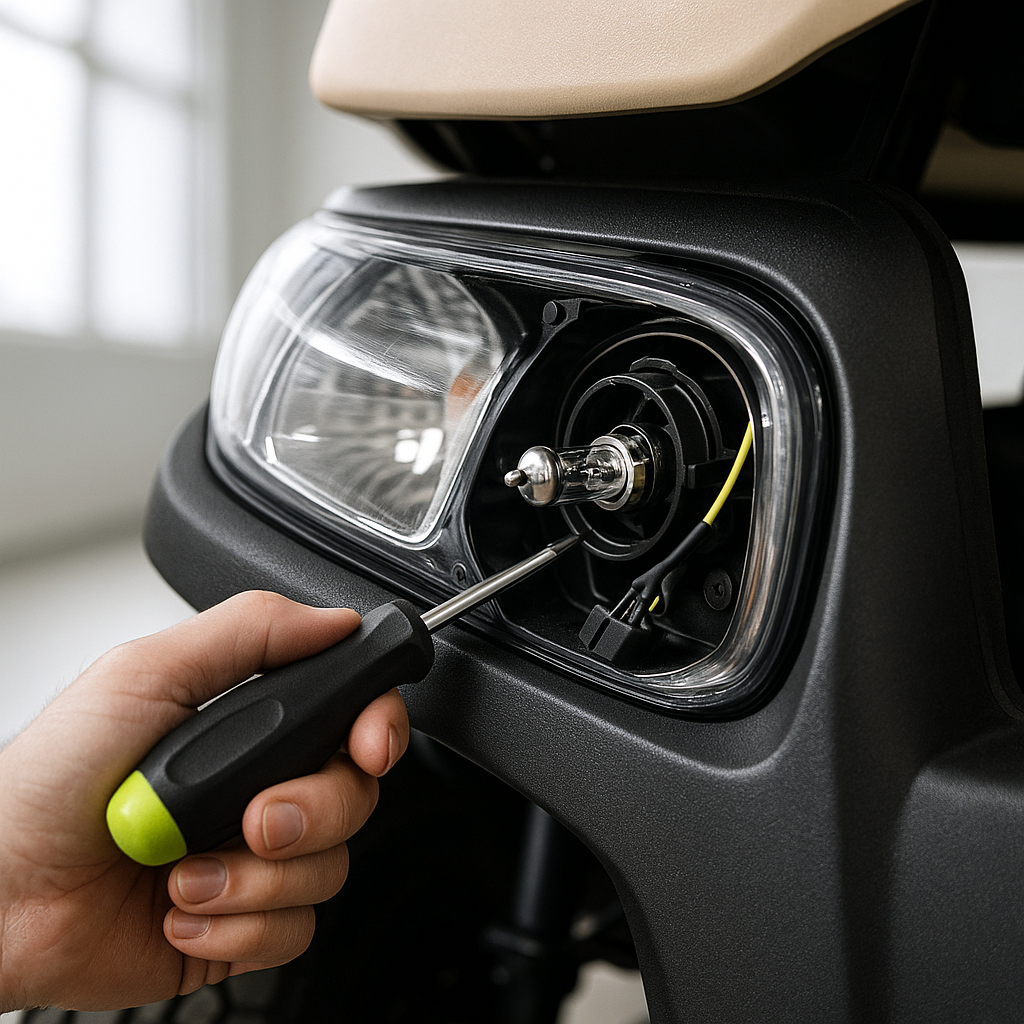
If your golf cart’s headlights are dim or not functioning at all, the first step is to check the bulbs. A burnt-out bulb is a common issue and can often be fixed simply by replacing it. If the bulb appears intact, inspect the wiring connections. Loose or corroded connections can disrupt the electrical flow, leading to malfunctioning lights.
Next, consider the power source. If your golf cart is equipped with a battery system, ensure that the batteries are charged and functioning properly. A weak battery can result in insufficient power reaching the headlights. Additionally, check for any blown fuses in the circuit that may be interrupting the power supply.
Troubleshooting Taillight Problems
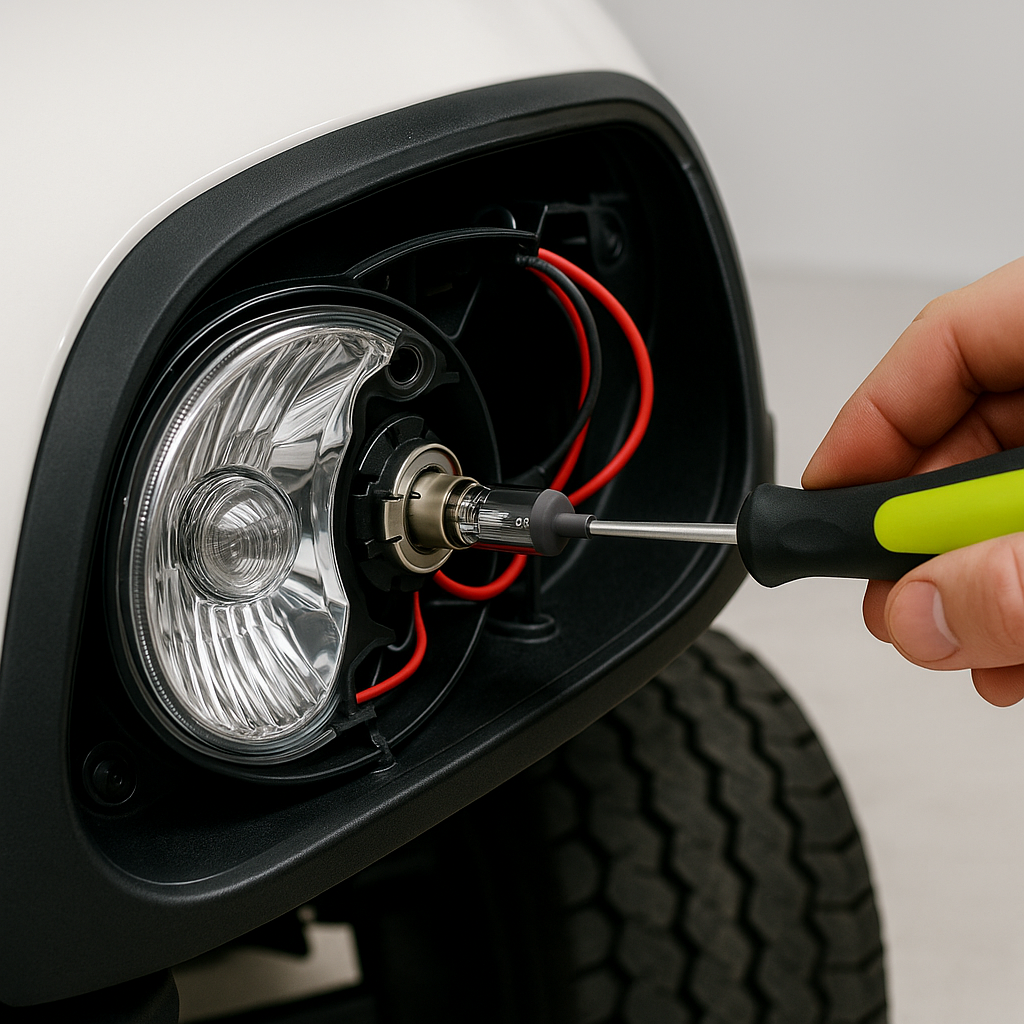
Taillights are equally important for visibility and safety. If your taillights are not illuminating, start by checking the bulbs, similar to the headlights. If the bulbs are operational, examine the wiring for any signs of damage or corrosion. A break in the wiring can prevent the lights from receiving power.
Another common issue with taillights is related to the brake lights. If the taillights function normally but the brake lights do not illuminate when the brake pedal is pressed, the problem may lie with the brake light switch. This switch can become faulty or misaligned, preventing it from signaling the lights to activate.
General Electrical Checks
For both headlights and taillights, it’s essential to perform a thorough electrical check. Use a multimeter to test for continuity in the wiring. If you detect any breaks or shorts in the wiring, repairs will be necessary to restore functionality. Additionally, ensure that all connections are clean and secure, as dirt and corrosion can impede electrical flow.
Lastly, if you’ve gone through these troubleshooting steps and your lights are still not functioning, it may be time to consult a professional. Electrical issues can sometimes be complex, and a trained technician can help identify and resolve problems that may not be easily visible.