Installing a dash camera in your golf cart can enhance safety and provide valuable footage in case of incidents. This guide will walk you through the general steps needed to successfully install a dash camera, ensuring you capture every moment on the road.
Choosing the Right Dash Camera
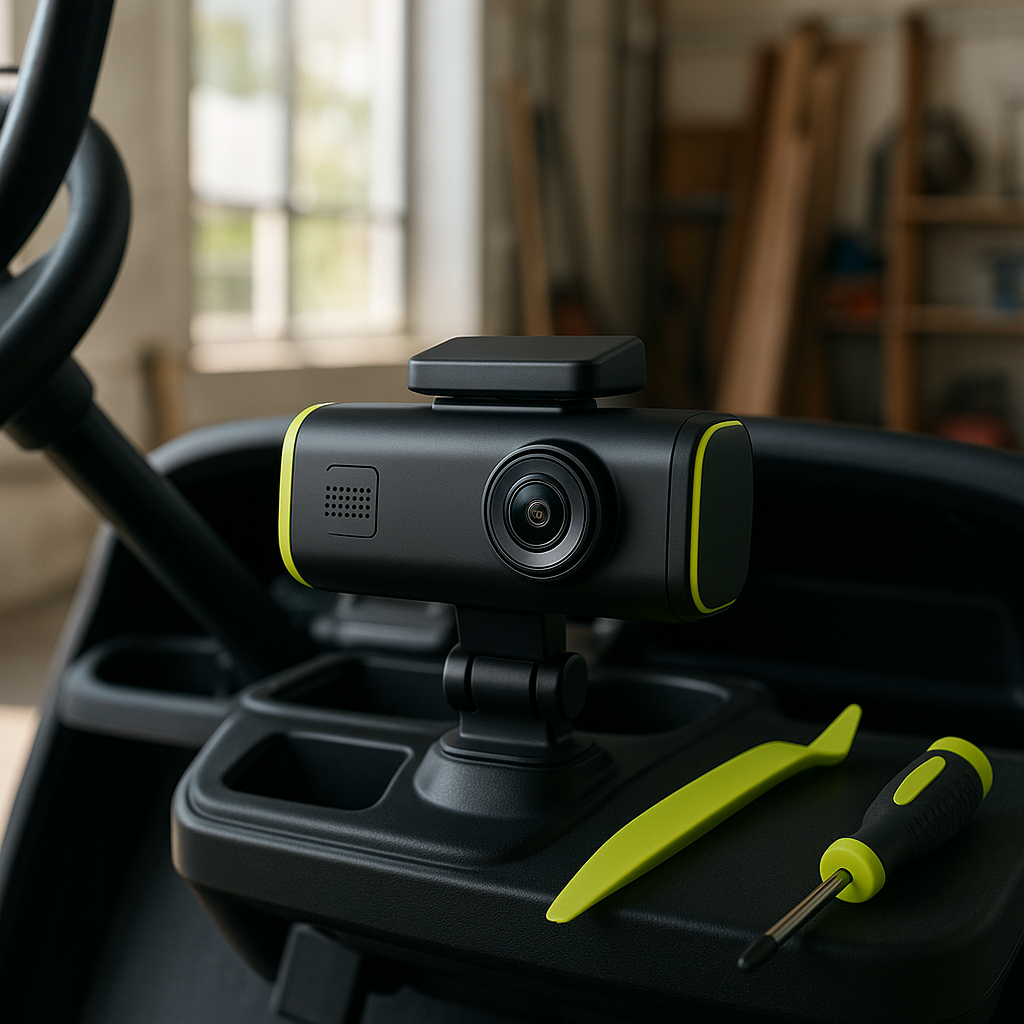
Before installation, it's crucial to select a dash camera that suits your needs. Look for features such as high-definition recording, wide-angle lenses, and built-in GPS tracking. Consider the camera's size and design to ensure it fits well within your golf cart's dashboard without obstructing your view.
Gathering Necessary Tools and Supplies
While dash camera installation is generally straightforward, having the right tools on hand can make the process smoother. Common tools needed include a screwdriver, cable ties, and possibly adhesive mounts. Ensure you have a power source available, such as a USB port or hardwiring kit, to power the camera.
Preparing for Installation
Start by cleaning the area where the camera will be mounted. This helps the adhesive or suction mount adhere better. Decide on the optimal location for the camera, typically near the rearview mirror or on the dashboard, ensuring it has an unobstructed view of the road ahead.
Mounting the Dash Camera
Follow the manufacturer's instructions for mounting the dash camera. If using adhesive, press firmly and hold for a few seconds to ensure a secure fit. If using a suction mount, ensure the surface is clean and dry before applying. Adjust the camera angle to capture the best view of the road.
Connecting Power to the Camera
Powering your dash camera is essential for operation. You can connect it to your golf cart's USB port or use a hardwiring kit for a more permanent solution. If hardwiring, locate the fuse box and connect the camera's power cable to a suitable fuse. Ensure all connections are secure and insulated to prevent shorts.
Testing the Installation
Once everything is connected, power on the dash camera to test its functionality. Check the video quality, angle, and recording features. Make any necessary adjustments to the camera's position or settings to ensure optimal performance. Regularly check the camera to ensure it remains securely mounted and functioning correctly.
Maintaining Your Dash Camera
To keep your dash camera in top condition, periodically clean the lens and check for any software updates. Regular maintenance ensures that your camera captures clear footage and operates effectively when you need it most.