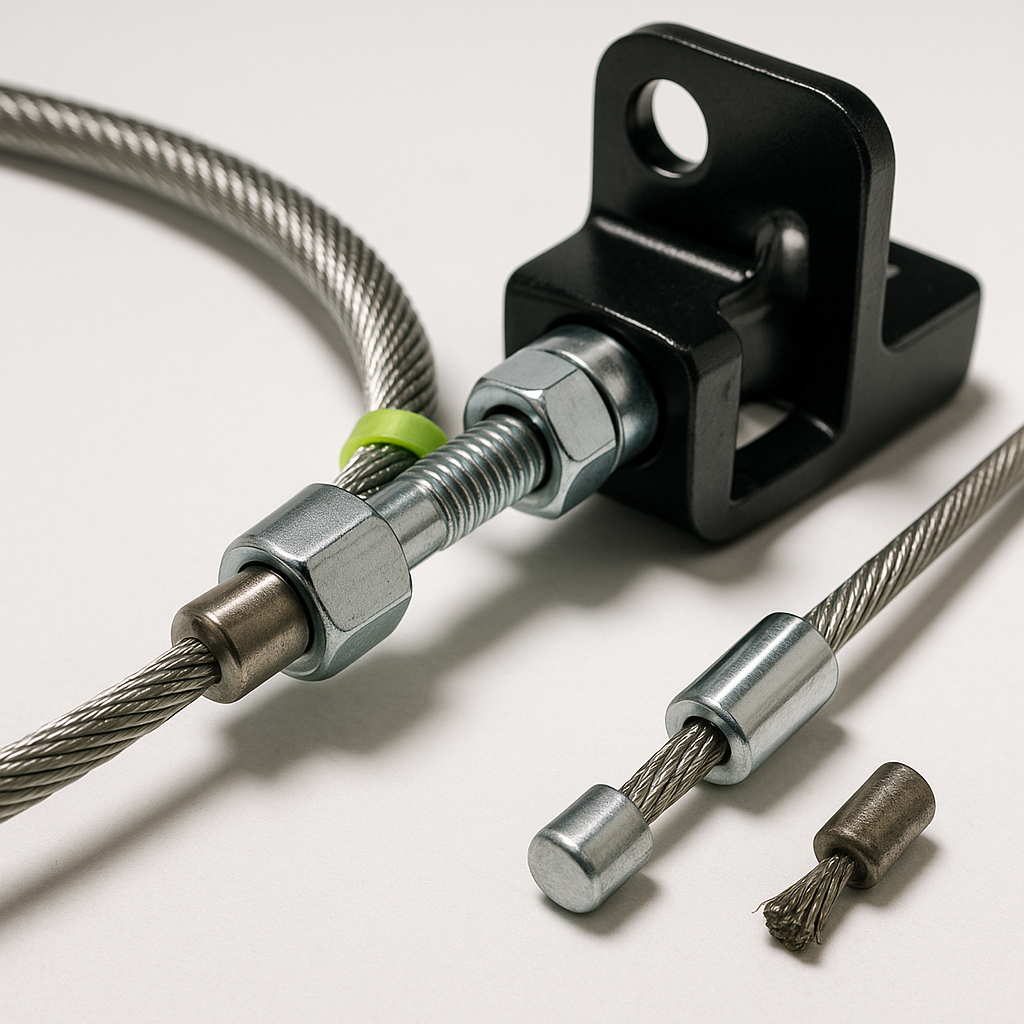
The accelerator cable on a golf cart is a simple but critical part of the drivetrain. It connects your foot pedal to either the throttle assembly on a gas cart or the micro-switch and speed controller input on an electric cart. When it stretches, frays, or seizes up, your cart may surge, respond sluggishly, or fail to return to idle — all of which are real safety hazards on a course or around pedestrians. The good news is that inspecting and replacing this cable is well within reach for a home mechanic with basic tools and a couple of hours.
Signs Your Accelerator Cable Needs Attention
The most common symptom is a throttle that doesn't spring back smoothly when you lift your foot off the pedal. If your cart keeps creeping forward after you release the accelerator, that's a red flag. Other warning signs include a pedal that feels gritty or notchy as you press it, a visible kink or fray anywhere along the cable housing, corrosion where the cable enters or exits a guide tube, or — on gas carts — an engine that hunts and surges at idle. On electric carts, a stretched cable can cause the throttle input to trip earlier or later than intended, throwing off your speed control. Catching these issues early is far easier than dealing with a runaway cart or a snapped cable mid-round.
What You'll Need Before You Start
Before pulling anything apart, source a replacement cable. Accelerator cables are not universal — length, end fittings, and housing diameter vary by cart brand and model year. Know your make, model, and year before ordering. You'll also want basic hand tools: screwdrivers, pliers, and potentially a socket set. A can of cable lubricant or dry PTFE spray is useful for maintenance even if you're not replacing the cable outright. Have a helper available if possible, since it's much easier to thread a new cable with someone holding tension on the opposite end.
Step 1: Disconnect Power and Secure the Cart
On an electric cart, disconnect the main battery pack negative cable and engage the tow/maintenance switch if your cart has one. On a gas cart, turn the key off and let the engine cool if it's been running. Chock the wheels — you don't want the cart rolling while you're working underneath it. For most carts, you'll need to lift or remove the seat to access the motor compartment, and you may need to remove a floor mat or panel near the pedal box to expose the cable's lower end.
Step 2: Inspect the Full Length of the Cable
Before assuming replacement is necessary, trace the cable from the pedal end all the way to the throttle body or speed controller input. Look for kinks in the outer housing, fraying or broken strands on the inner wire, rust or corrosion at the cable ends, and cracked or missing guide clips that allow the cable to rub on frame components. If the housing is cracked or the inner cable is visibly frayed, replacement is the right call — lubrication won't save a compromised cable. If everything looks intact and the problem is just sluggish return, a careful cleaning and lubrication of the cable in its housing may restore smooth operation without a full swap.
Step 3: Remove the Old Cable
Start at the easier end — typically the throttle body or speed input end, where the cable usually seats in a slotted bracket or clips into a barrel adjuster. Note exactly how it's routed before removing it; a photo with your phone takes five seconds and saves a lot of guesswork on reassembly. Once the upper end is free, move to the pedal end. The cable typically loops around a pin or seats in a clevis on the pedal arm. Slide the cable out of its housing guides along the frame, noting any clips or grommets that need to come off and go back on with the new cable.
Step 4: Install the New Cable
Thread the new cable along the same path as the old one, reinstalling any routing clips and grommets as you go. Avoid sharp bends — the cable should follow smooth curves. Seat the pedal end first, then route toward the throttle end. Most cables have some adjustment built into the barrel adjuster or a threaded end fitting: start with a mid-range adjustment, then fine-tune after the cable is fully seated. On gas carts, you want a small amount of freeplay in the pedal before the throttle begins to open. On electric carts, verify the micro-switch or throttle input activates at the right point in pedal travel according to your cart's service documentation. After adjustment, have a helper hold the pedal at full travel while you verify the throttle reaches full open without pulling tight against its stop.
Step 5: Test Before Driving
With everything reassembled and power restored, test pedal feel before moving the cart. Press the accelerator slowly through its full range and release it — it should spring back crisply with no hesitation. On a gas cart, start the engine and verify idle is stable and the throttle responds cleanly. Take your first test run at low speed in a clear area and confirm the cart decelerates normally when you lift off. If the pedal still feels sticky or doesn't return fully, recheck your cable routing for any pinch points and revisit your adjustment. A properly installed cable should feel light and consistent from the first inch of pedal travel to the last.


