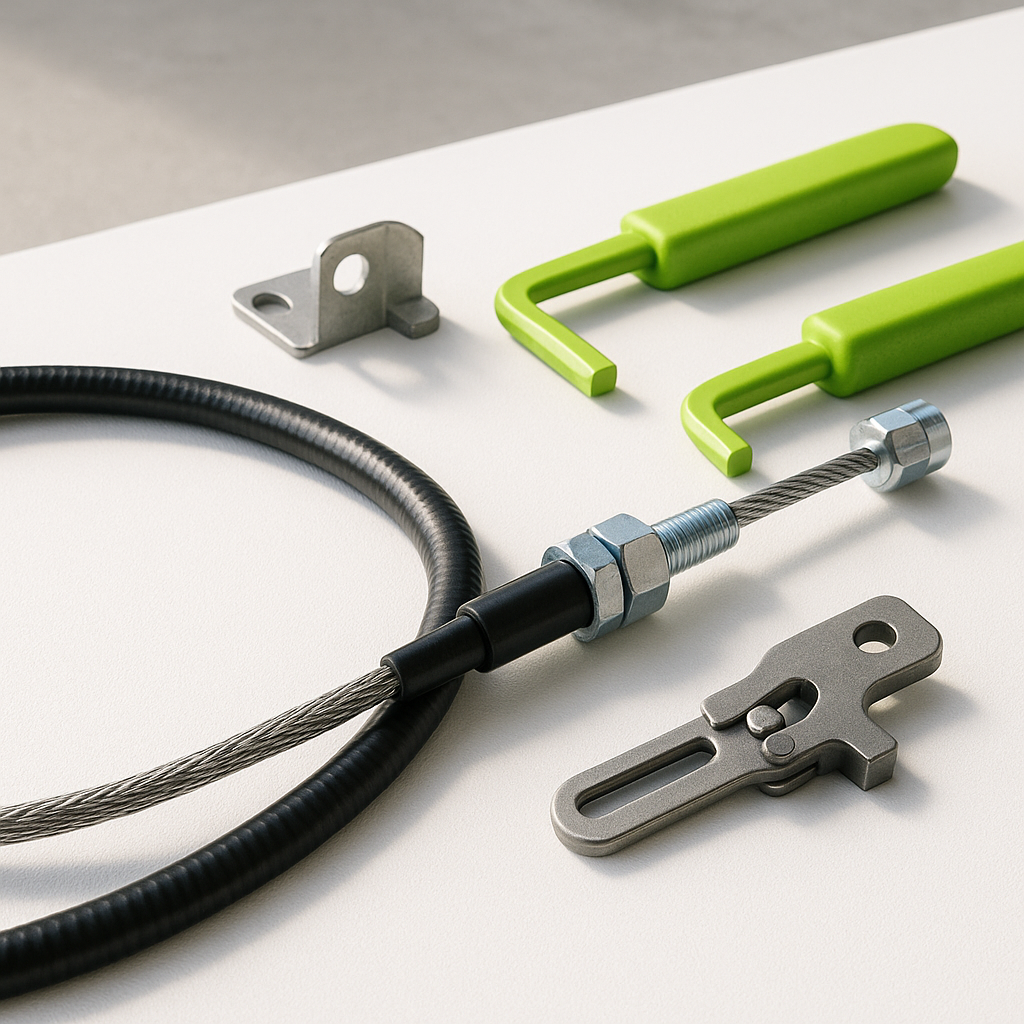
The accelerator cable is a deceptively simple part — a metal-sheathed wire that links your foot pedal to the throttle mechanism or speed controller. When it's working right, you never think about it. When it stretches, frays, kinks, or snaps, you'll notice immediately: sluggish throttle response, a pedal that sticks down, jerky acceleration, or a cart that simply won't move even though everything else checks out. The good news is that inspecting and replacing an accelerator cable is a straightforward job most owners can handle at home with basic tools.
How the Accelerator Cable Works
On most gas-powered golf carts, the cable runs from the foot pedal assembly up to the carburetor throttle plate. Pull the pedal, open the throttle — simple mechanical linkage. Electric carts use a similar cable arrangement, but it connects to a micro-switch, potentiometer, or throttle position sensor that signals the controller to deliver power. Either way, the cable needs to move freely through its housing, maintain consistent tension, and have no damage along its length. Even a small kink or frayed section can cause binding that translates into unpredictable speed control.
Signs Your Accelerator Cable Needs Attention
Watch for these warning signs: the pedal feels unusually stiff or requires more effort than normal; the cart accelerates in jerks rather than smoothly; the pedal doesn't spring back fully when you lift your foot; you hear a scraping or grinding sound when pressing the pedal; or the cart won't accelerate at all even though the battery (or fuel) and drivetrain check out. On electric carts, a sticky cable can also trigger throttle-related fault codes on the controller, so don't overlook the cable if you're chasing an electrical gremlin.
Inspecting the Cable
Start with the cart powered off, key removed, and wheels chocked. Trace the full length of the cable from the pedal to its termination point — carburetor or throttle sensor. Look for obvious fraying, kinks, rust, or corrosion on the cable itself. Check that the cable housing (the outer sheath) isn't cracked, crushed, or separated at either end. With a helper slowly pressing the pedal by hand, watch the cable move: it should glide smoothly without catching. Check the cable ends — the small barrel or Z-hook fittings — for wear or deformation. Finally, check tension. A cable that has stretched significantly will leave excess slack that prevents full throttle opening even when the pedal is floored.
What You'll Need for Replacement
Before ordering a replacement, note your cart's make, model, and year — cable length and end-fitting style vary considerably between manufacturers and model years. Common end styles include barrel ends, Z-hooks, and threaded barrel-and-nut arrangements. You'll generally need a set of screwdrivers, pliers or needle-nose pliers, and possibly a wrench or two to access mounting brackets and cable clamps. Some carts require removing a floor panel or pedal assembly cover to access the lower end of the cable. Have a clean rag and a light cable lubricant handy as well.
Replacing the Cable
The general process: disconnect the old cable at both ends — carburetor or throttle sensor first, then the pedal end. Note how the cable is routed before you pull it out, or take a photo — routing matters for preventing binding. Feed the new cable through the same path, making sure it clears any sharp edges or heat sources and isn't kinked at any bend. Reconnect the throttle end first, then attach the pedal end, and adjust tension according to your cart's recommended free-play specification (usually a small amount of slack at rest so the throttle is fully closed when your foot is off the pedal). Too tight and the throttle won't fully close; too loose and you lose the top of your throttle range. On electric carts, confirm the pedal activates the switch or sensor cleanly through its full travel before buttoning everything back up.
Lubrication and Long-Term Maintenance
A dry cable wears faster and binds more easily. Once installed — or as part of routine maintenance — apply a cable-specific lubricant or light machine oil at the top of the housing and work the pedal repeatedly to distribute it along the wire. Avoid heavy grease, which can attract dirt and eventually gum up the housing. Inspect the cable every season or any time you notice changes in pedal feel. Cables that run near the underside of the cart are especially prone to rust from moisture, so pay extra attention after wet seasons or storage periods. Catching a fraying cable early is far easier than dealing with a snapped one mid-round.


