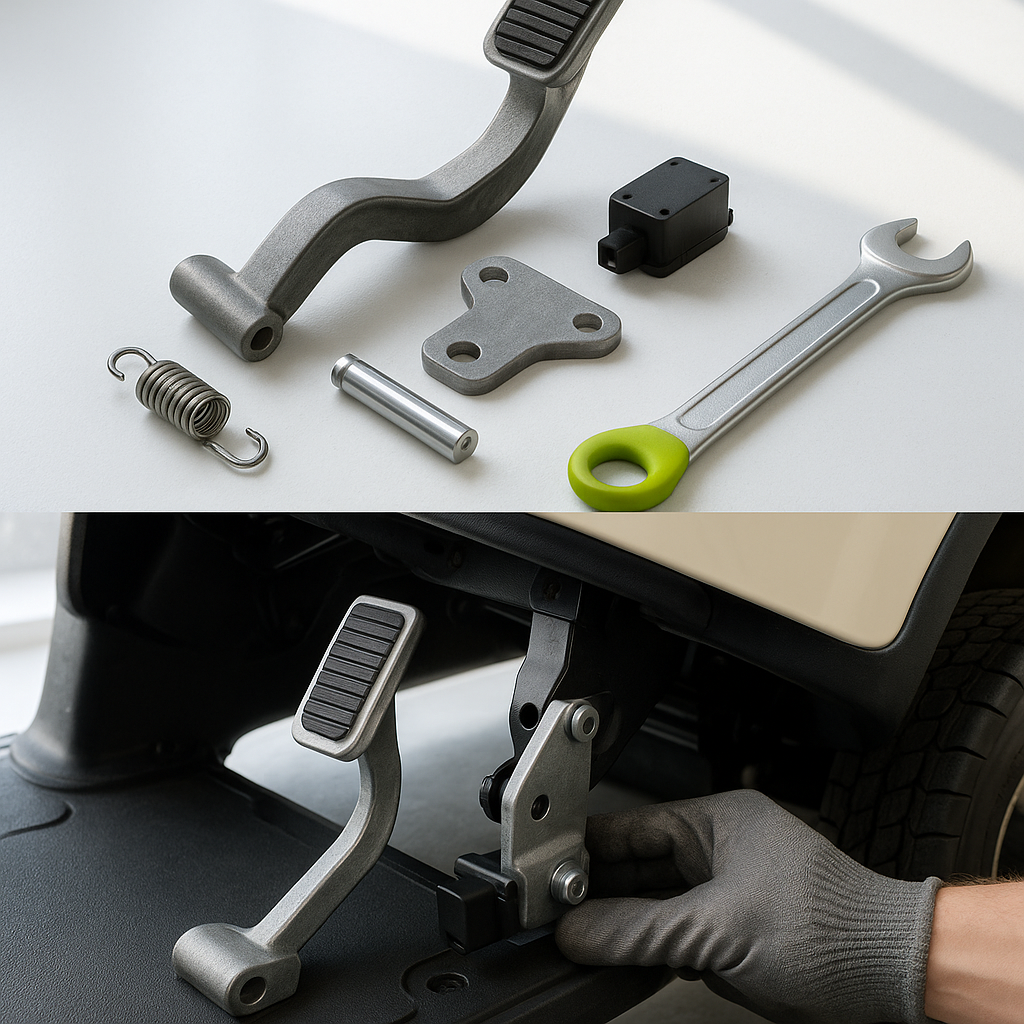
The accelerator pedal assembly is the starting point of your golf cart's entire drive system. When you press down, you're not just physically moving a pedal — you're triggering a chain of electrical or mechanical signals that tell the motor how much power to deliver. When that assembly starts to fail, symptoms range from annoying (jerky takeoff, delayed response) to genuinely dangerous (uncontrolled acceleration or a cart that won't stop moving). Diagnosing the problem correctly before you start swapping parts saves you time and money.
How the Accelerator Assembly Works
On electric golf carts, the accelerator pedal connects to either a potentiometer (pot box) or a micro-switch assembly, depending on the age and model of the cart. Older carts often use a simple set of micro-switches that close at different points in the pedal travel to step up speed. Newer and more sophisticated carts use a variable-resistance potentiometer that sends a smooth, analog signal to the motor controller, allowing for proportional speed control. Gas-powered carts use a throttle cable linked directly to the carburetor or throttle body. Knowing which type you have is the first step, because the diagnosis process is different for each.
Common Symptoms of a Bad Accelerator Pedal or Pot Box
Watch for these signs that your pedal assembly is failing: the cart lurches or jerks when you first press the pedal rather than accelerating smoothly; the cart runs at full speed regardless of how much pressure you apply; the cart won't move at all even with a fully charged battery and a good solenoid; or the pedal feels physically stiff, loose, or returns sluggishly when you lift your foot. On electric carts, a fault code on your controller display (if equipped) pointing to a throttle or ITS sensor error is another strong indicator. Don't confuse a bad pedal assembly with a weak battery pack or a failing controller — rule those out first with basic voltage checks.
Diagnosing the Problem Before Replacing
Start with a visual inspection. With the cart off and the battery pack disconnected, remove the floor mat and any kick panel covering the pedal linkage. Look for obvious damage: cracked housings, broken return springs, frayed cables, or corroded electrical connectors. On electric carts with a pot box, plug your multimeter into the signal wire and measure resistance through the full range of pedal travel — you should see smooth, consistent resistance change from fully released to fully depressed. Any sudden jumps, dead spots, or readings that don't change at all point directly to a failed potentiometer. On micro-switch systems, check that each switch clicks cleanly and reads continuity when depressed. On gas carts, inspect the throttle cable for kinks, fraying, or improper routing that could cause binding or sticking.
Removing the Old Pedal Assembly
Once you've confirmed the pedal assembly is the source of the problem, gather basic hand tools — typically standard sockets and screwdrivers. Disconnect the battery pack completely before touching any electrical components; on gas carts, disconnect the negative cable as a precaution. Take photos of how the linkage, cable, or wiring harness is routed before you remove anything — this is especially important on pot box assemblies where the connector orientation matters. Remove the mounting bolts securing the pedal box to the floor or frame, disconnect the electrical connector or throttle cable, and lift the assembly free. Inspect the mounting surface for cracks or corrosion while it's out.
Installing the Replacement Assembly
When sourcing a replacement, match your cart's make, model, and year as closely as possible, and confirm whether your controller calls for a specific potentiometer resistance range — mismatching this can cause the controller to throw faults or behave unpredictably. Mount the new assembly using the existing hardware unless the replacement kit includes new fasteners. Route the wiring harness or throttle cable exactly as the original was positioned, using your reference photos. On pot box systems, reconnect the electrical connector and — before fully reassembling the floor — reconnect the battery and test pedal travel while watching for smooth, gradual response. On gas carts, adjust cable tension so the throttle opens fully at wide-open pedal and returns completely to idle when released, with a small amount of slack at rest.
Post-Installation Checks
Before putting the cart back into service, perform a slow-speed test in a clear area. The cart should pull away smoothly from a standstill without lurching, respond proportionally to pedal pressure across the full range, and return to a complete stop when you lift your foot. On electric carts, confirm there are no fault codes on the controller. Check that the floor mat sits flat and doesn't bind the pedal travel — a bunched mat can physically limit or interfere with the pedal, which is a safety hazard. Also make sure the return spring has enough tension to bring the pedal back fully; a pedal that sticks even slightly open is dangerous on any terrain.
Accelerator pedal assemblies are wear items, and they do fail over time — especially on carts that see heavy use or get exposed to moisture and grit. The good news is that replacement is a straightforward job for most home mechanics with basic tools and a solid diagnosis in hand. Catching the problem early, before a sticky pedal turns into a runaway cart, is always worth the effort.


