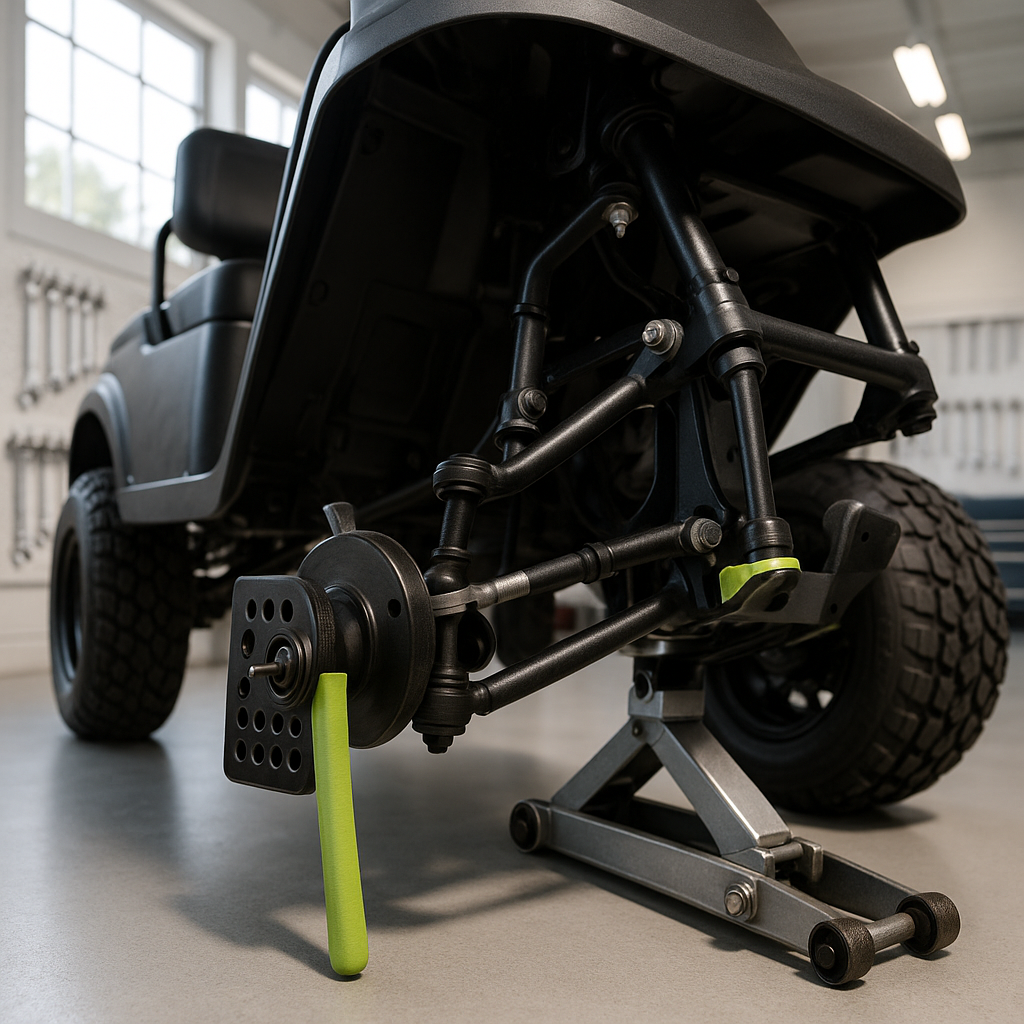
Installing a lift kit is one of the most satisfying upgrades you can make to a golf cart. Bigger tires, more ground clearance, better trail capability — it all looks great in the driveway. But here's what a lot of owners skip: checking the front-end alignment after the lift goes in. When you raise the suspension, you change the angles of your spindles, A-arms, and tie rods. Leave that unchecked and you'll be fighting the wheel, burning through tires unevenly, and putting extra stress on your ball joints and wheel bearings. A proper post-lift alignment takes less than an hour and protects everything you just installed.
Why Lifting Changes Your Alignment
Golf cart front suspensions — whether it's a double A-arm setup or a spindle-style lift — are designed around a specific ride height. The geometry is engineered so that at stock height, the wheels sit with a near-zero or slightly positive camber and the toe is set to a neutral or very slight toe-in. When you bolt in a lift and raise the body several inches, those angles change. Camber (the vertical tilt of the wheel) can go negative, meaning the tops of the wheels lean inward. Toe (whether the fronts of the tires point inward or outward) often shifts as well. Both problems cause uneven tread wear and can make the cart track sideways or require constant steering correction on flat ground.
What You'll Need
You don't need a professional alignment rack for a golf cart. Most owners can do a good job with a few basic items: a tape measure or a dedicated toe gauge (a simple bar tool that spans across both tires), a flat, level surface to work on, a marker or chalk, a jack stand or floor jack if you need to access tie rod ends, and a wrench or pliers to turn the tie rod adjustment sleeves. A long straightedge — even a piece of lumber — can help you eyeball camber. For a more precise camber reading, an inexpensive magnetic camber gauge from any auto parts store works perfectly on golf cart wheels.
Step 1 — Park on a Level Surface and Do a Visual Check
Before you measure anything, park the cart on a flat, level surface and push it forward a few feet so the wheels settle naturally — don't just roll it back from where it was sitting. Stand directly in front of the cart and look at the front tires. If the tops are visibly tilting inward, you have negative camber. If they tilt outward, that's positive camber. A small amount of negative camber (a degree or two) is often acceptable and can actually improve cornering feel, but significant camber in either direction will cause the inner or outer edge of the tire to wear prematurely. Note what you see before you start making adjustments.
Step 2 — Check Toe
Toe is the single most important alignment setting on a golf cart and the one most affected by a lift. To measure it, use your tape measure or toe gauge at hub height — measure the distance between the front edges of both tires, then measure the distance between the rear edges of both tires at the same height. If the front measurement is slightly smaller than the rear, you have toe-in. If the front is larger, you have toe-out. Most golf carts are set to a very slight toe-in at the factory — often just a few millimeters — because toe-out causes wandering and instability. After a lift, many carts end up with toe-out, which makes them feel loose and darty. Mark your measurements before making changes so you know what direction you're adjusting.
Step 3 — Adjust the Tie Rods
Toe is corrected by adjusting the tie rods, which connect the steering rack or drag link to the steering knuckle on each wheel. On most golf carts there is a threaded adjustment sleeve in the middle of each tie rod — loosening the lock nut and rotating this sleeve either lengthens or shortens the tie rod, which pivots the wheel in or out. Adjust both sides equally in small increments, re-measuring after each adjustment. Take your time here: a quarter turn of the sleeve can move the toe measurement several millimeters. When you've dialed in a slight toe-in, tighten the lock nuts firmly and re-measure to confirm nothing shifted during tightening. Always adjust both tie rods symmetrically so the steering wheel stays centered.
Step 4 — Address Camber If Needed
Camber adjustment is more involved and depends on your specific lift design. Some spindle-lift kits include camber adjustment slots or shims at the A-arm mounting points specifically because the manufacturer knows the lift will affect camber. If your kit includes these, use them to bring camber back toward zero or a slight negative. If your lift doesn't offer camber adjustment and you're seeing a significant lean, a set of wheel-hub spacers of equal thickness on both sides can sometimes help by effectively re-centering the wheel in the wheel well — but this is a workaround, not a full solution. For aggressive camber issues, consult a shop with alignment equipment for golf carts or UTVs. Don't just live with severe camber; it will destroy your tires and can stress your spindles.
Step 5 — Test Drive and Recheck
After making your adjustments, take the cart on a slow test drive on flat pavement. The cart should track straight with your hands relaxed on the wheel. It shouldn't pull to one side or require you to hold the wheel at an angle to go straight. Pay attention to any vibration or shimmy — sometimes a lift combined with larger tires will reveal a wheel that needs balancing. Come back and recheck your toe measurement after the first real drive, because the tie rod lock nuts can shift slightly on the first outing. A second check after 10–15 miles is a smart habit. Getting the alignment dialed in properly means your new lift kit will actually last, your tires will wear evenly, and your cart will handle predictably — which is the whole point of upgrading in the first place.


