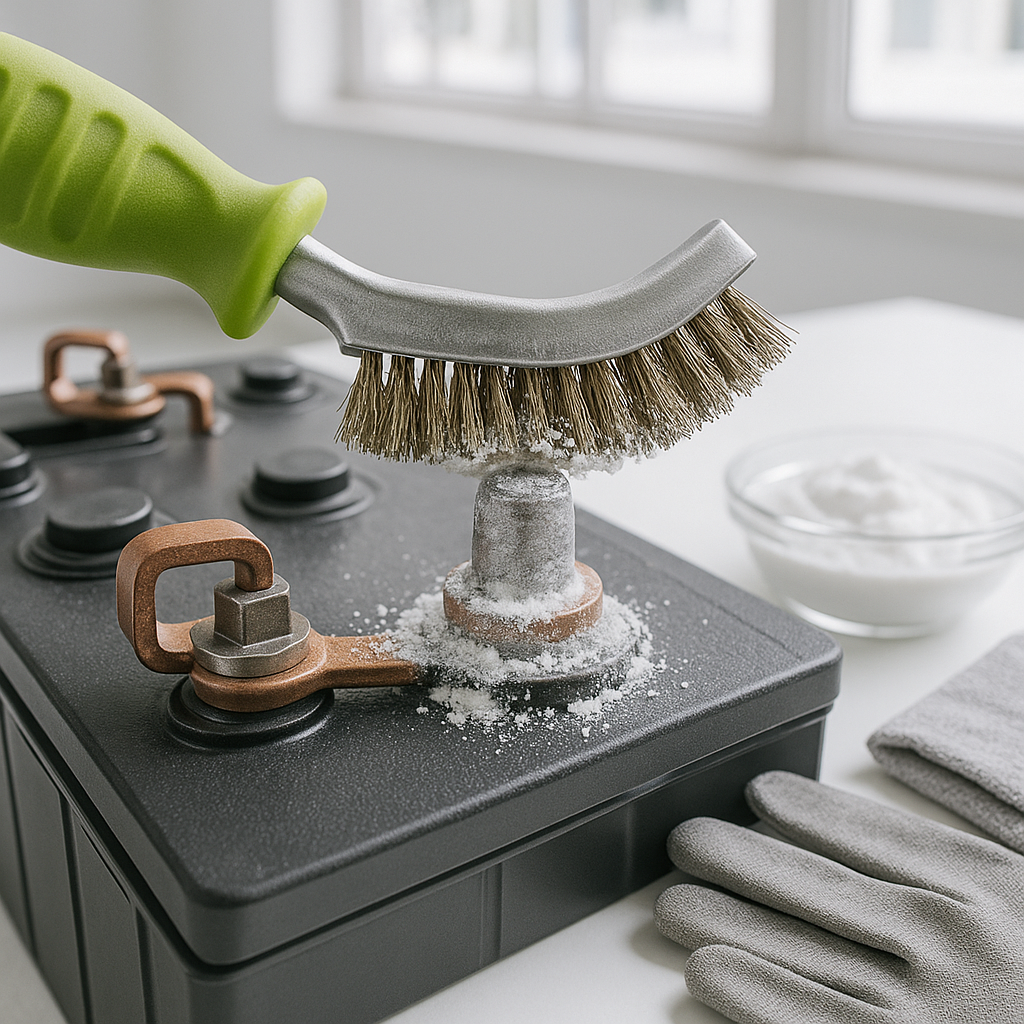
Battery terminal corrosion is one of the most common — and most overlooked — causes of poor golf cart performance. That white or bluish-green crust building up around your terminals isn't just ugly; it's resistance, and resistance means your batteries can't deliver full power to the motor or accept a proper charge. The good news is that cleaning and maintaining your terminals is a straightforward job you can do at home with basic supplies, and doing it regularly can meaningfully extend the life of your battery pack.
What You'll Need
Before you start, gather your supplies: baking soda, water, a stiff-bristled wire brush or battery terminal brush, an old toothbrush for detail work, a few clean rags or paper towels, rubber gloves, and safety glasses. Battery acid is caustic, and even dried corrosion residue can irritate skin and eyes. You'll also want a wrench that fits your terminal bolts, and a tube of battery terminal protector spray or anti-corrosion grease for when you're done — this step is what most people skip, and it's where most of the long-term protection comes from.
Step 1: Safety First — Disconnect the Battery Pack Properly
On an electric golf cart, you're working with a pack that can deliver serious current. Always disconnect the negative terminal first when breaking the circuit, and reconnect it last when you're putting things back together. Many carts also have a main disconnect plug between the battery pack and the controller — unplug that before you start touching terminals. Work in a well-ventilated area, and keep open flames away: batteries can off-gas hydrogen, especially during or just after charging.
Step 2: Inspect Before You Clean
Take a close look at each terminal and cable end before scrubbing anything. Light surface corrosion — the powdery white or greenish buildup — is normal and cleanable. What you're watching for is anything more serious: cables that are swollen, cracked, or melted near the terminal; terminal posts that are cracked or leaning; or corrosion that has eaten deeply into the cable lug itself. If a cable lug is heavily pitted or the cable jacket is compromised, cleaning won't fix it — that cable needs to be replaced.
Step 3: Apply Baking Soda Solution and Scrub
Mix a tablespoon or two of baking soda into a cup of warm water until dissolved. This neutralizes the acidic corrosion so it doesn't keep eating at the metal. Pour or brush the solution directly onto the corroded terminals — you'll see it fizz and bubble, which means it's working. Let it sit for a minute, then scrub with your wire brush using circular strokes on the terminal post and the inside of the cable lug. Use the toothbrush to get into tight spots between batteries. Repeat until the metal looks clean and bright. Wipe everything down thoroughly with a damp rag, then a dry one — you don't want baking soda residue left behind.
Step 4: Clean the Cable Lugs and Tighten Connections
Don't just clean the posts and call it done. The inside of each cable lug — the part that clamps to the post — collects corrosion too, and that's where your electrical connection actually happens. Use the wire brush or a dedicated terminal cleaning tool to clean the interior contact surface of each lug until it's shiny. When you reconnect, snug the bolts down firmly. A loose terminal connection is a common cause of voltage drop and heat buildup, which accelerates corrosion and can damage cables over time. Don't overtighten to the point of cracking the terminal post, but connection bolts should be genuinely tight, not just finger-snug.
Step 5: Apply Anti-Corrosion Protection
This is the step that separates a maintenance job that lasts from one that just looks good for a week. Once everything is reconnected and tight, coat all the terminal posts and lug connections with a battery terminal protector — either a spray-on product or a petroleum-based anti-corrosion grease. This creates a barrier that slows the oxidation process significantly. A small amount goes a long way; you just want enough to coat the exposed metal, not a thick glob. High-temperature grease or dielectric grease also work in a pinch.
How Often Should You Do This?
For most golf cart owners, inspecting terminals every one to two months and doing a full cleaning at least twice a year is a reasonable baseline. If your cart lives in a humid environment, gets heavy use, or you notice performance dropping off between charges, check them more often. Catching light corrosion early means a five-minute cleaning — letting it go means a harder job and potentially damaged cables or battery posts. Pair your terminal maintenance with routine checks of your water levels (on flooded lead-acid batteries) and charging habits, and your battery pack will reward you with a longer, more reliable service life.


