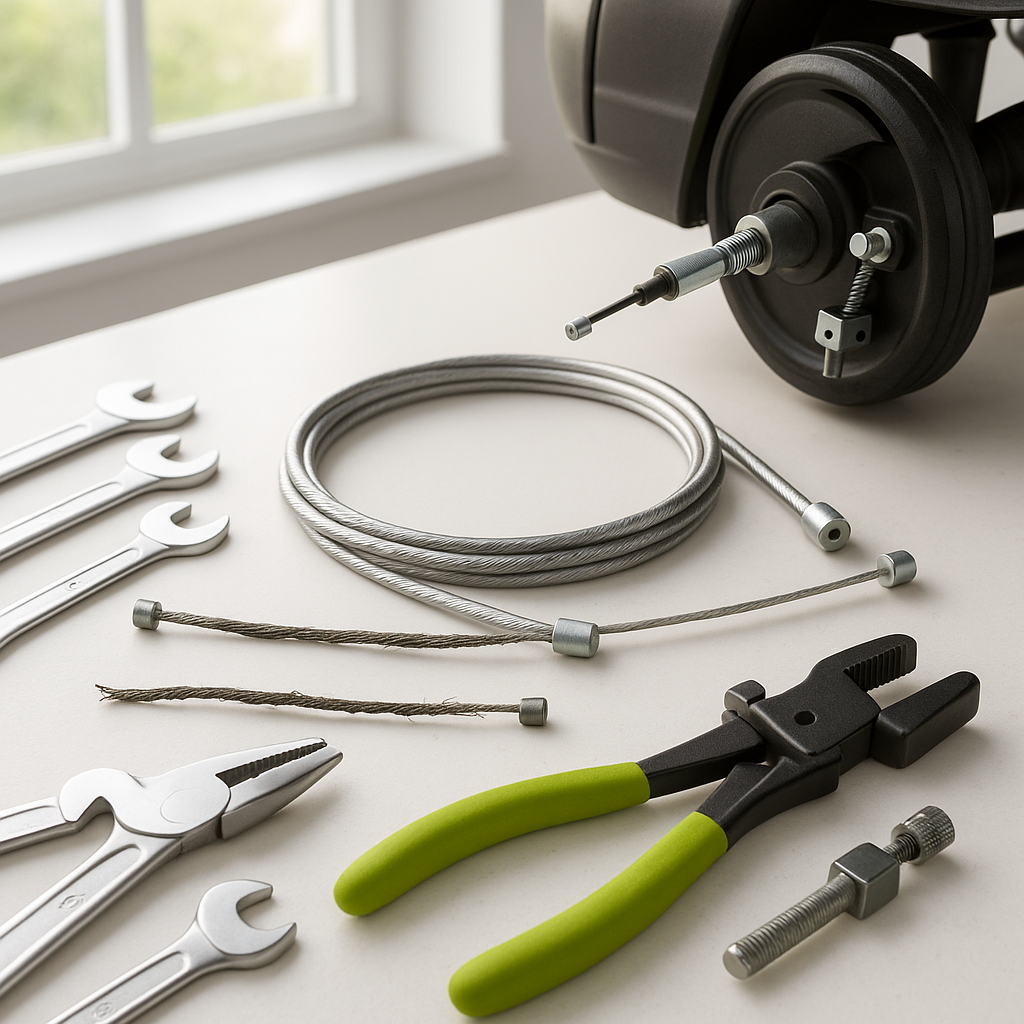
The brake cable is one of the most overlooked components on a golf cart, but it's one of the most important. It's the mechanical link between your brake pedal and the actual braking hardware at the wheel. When it stretches, frays, or snaps, your stopping power degrades — sometimes suddenly. The good news is that inspecting, adjusting, and replacing a brake cable is well within DIY territory if you're comfortable doing basic mechanical work.
How Golf Cart Brake Cables Work
Most golf carts use a mechanical drum brake system actuated by a steel cable. When you press the brake pedal, the cable pulls on a lever arm connected to the brake drum assembly, which forces the brake shoes outward against the drum to slow the cart. Over time, the cable stretches from repeated use, and the outer housing can crack or corrode — especially on carts that sit outdoors or in humid environments. When the cable has too much slack, the brakes feel spongy or require you to press the pedal much further before anything happens.
Signs Your Brake Cable Needs Attention
The most obvious symptom is a brake pedal that travels further than it used to before the brakes engage. You might also notice the cart pulling to one side when braking, which can indicate uneven cable tension if your cart uses separate cables per wheel. Visible rust, kinking, or fraying anywhere along the cable is a clear sign it needs replacement — don't try to limp along on a frayed cable. Finally, if the cable has snapped entirely, the pedal will feel loose and the cart will have little to no braking.
Adjusting a Stretched Brake Cable
Before replacing the cable, check whether the issue is simply stretch that can be corrected with adjustment. Most golf cart brake cables have an adjustment nut or barrel adjuster where the cable meets the brake actuating arm. With the cart on a flat surface and the parking brake off, locate this adjuster — typically found near the brake drum assembly or along the cable run under the cart. Turn the adjuster to take up slack in the cable, then test the pedal feel. You want firm engagement within the first portion of pedal travel, not at the very bottom of the stroke. Check that the wheels spin freely when the brakes are fully released after adjusting — over-tightening will drag the brakes and wear your shoes prematurely.
Replacing the Cable: What to Expect
If the cable is frayed, kinked, or corroded, no amount of adjustment will fix it — replacement is the only safe option. Start by locating both ends of the cable: one end attaches to the brake pedal assembly, and the other end connects to the actuating lever at the brake drum. You'll need to relieve tension on the cable before disconnecting either end, which usually means backing off the adjuster completely. Once tension is released, the cable ends typically use a small barrel fitting or a clevis pin to anchor them — these can be disconnected by hand or with basic hand tools once the tension is gone. Thread the new cable through the same routing path as the old one, noting any guides, clips, or conduit sections that keep it protected from the frame and moving parts. Reconnect both ends, then adjust the tension as described above.
Important Safety Notes
Always work with the cart fully powered off and the key removed. If your cart has a battery disconnect, use it. When routing a new cable, make sure it doesn't pass near any hot surfaces, sharp edges that could chafe through the housing, or moving parts that could pinch or bind it during turns or suspension travel. After any brake work — adjustment or full replacement — test at low speed in a safe area before returning the cart to normal use. Have a second person watch to confirm both rear wheels are engaging and releasing evenly if possible.
When to Go Beyond the Cable
If you've replaced or adjusted the cable and braking is still poor, the problem may be further into the system — worn brake shoes, a seized actuating arm, or contaminated drums. A brake cable adjustment can only do so much if the underlying hardware is worn out. It's worth inspecting the full brake assembly any time you're already working on the cable, since you're already in the right area of the cart.


