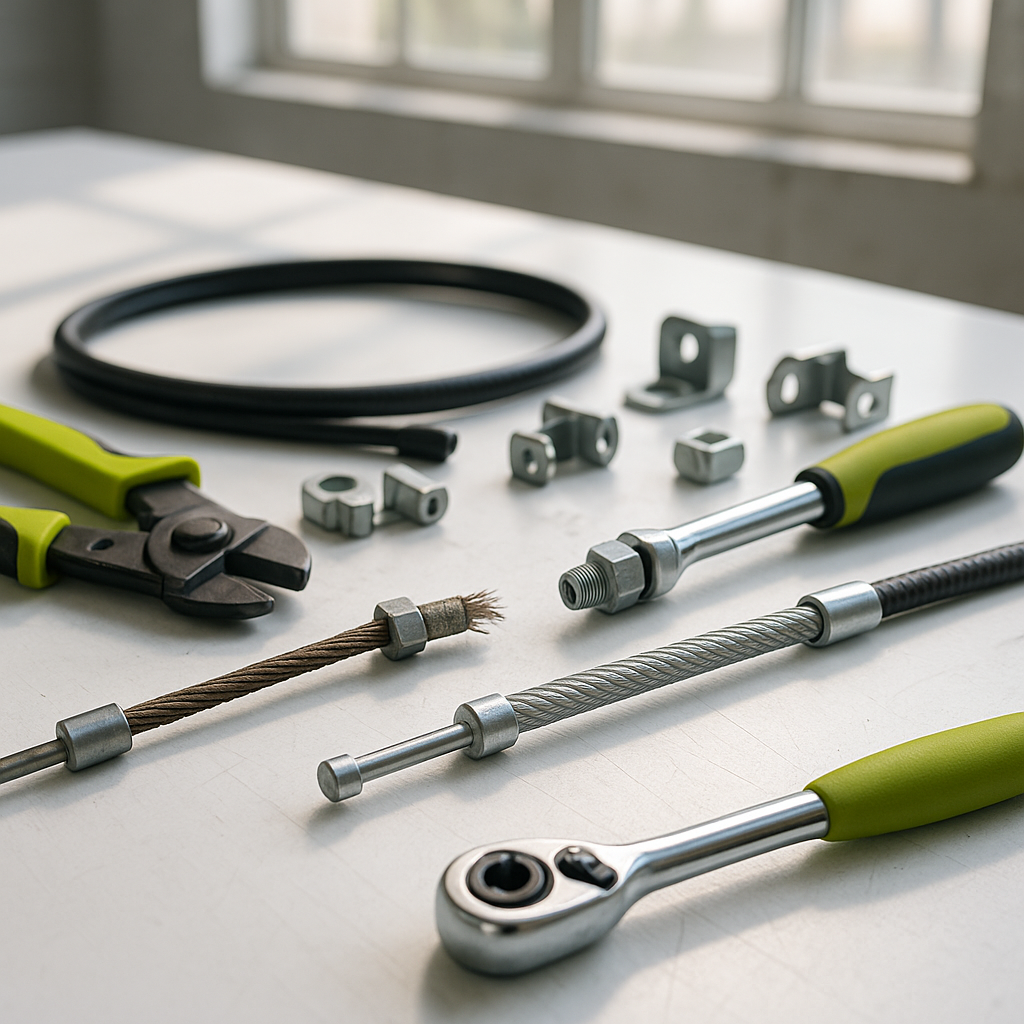
The brake cable is one of the most overlooked components on a golf cart, yet it's directly responsible for whether the cart stops when you need it to. Over time, cables stretch, fray, corrode, or snap entirely — and since most golf cart braking systems are mechanically actuated (rather than hydraulic), a degraded cable means degraded braking, full stop. This guide walks you through inspecting your brake cable, adjusting slack out of the system, and replacing the cable when adjustment is no longer enough.
Understanding How Golf Cart Brake Cables Work
On most gas and electric golf carts, the brake pedal connects to the rear drum brakes through a mechanical cable — sometimes a single cable, sometimes a primary cable that splits to both rear wheels via an equalizer bar. When you press the pedal, the cable pulls on the brake actuating arm at the drum, which spreads the brake shoes against the inside of the drum. Because this is a purely mechanical linkage, any slack, stretching, or damage in the cable translates directly into a longer pedal travel and weaker braking force. Understanding this helps you diagnose whether your problem is the cable itself or the brake shoes and drums behind it.
Signs Your Brake Cable Needs Attention
The most common symptoms are a spongy or low brake pedal, a pedal that travels nearly to the floor before engaging, or a cart that pulls to one side when braking (suggesting uneven cable tension on a two-cable system). Visually, look for fraying strands at any point along the cable — especially near the ferrule ends where cables almost always fail first — rust or corrosion along the housing, kinks in the cable or outer sheath, or a snapped cable that's gone slack entirely. If the cart drifts or rolls when parked on a slope and the parking brake is engaged, that's another strong signal the cable has stretched past the point where adjustment will help.
How to Adjust a Stretched Brake Cable
Before replacing the cable, check whether an adjustment will restore proper tension. Most golf cart brake cables have an adjustment nut or turnbuckle somewhere along the cable run — often near the equalizer bar under the cart, near the rear axle, or where the cable meets the brake actuating arm. With the cart on a flat surface and the parking brake released, locate the adjustment point and turn the nut to take up slack, shortening the effective cable length. After each adjustment, test pedal feel and make sure the brakes release fully when the pedal is up — if the wheels drag or the cart is hard to push, you've over-adjusted. A properly adjusted cable should give firm pedal engagement within the first half of pedal travel, with the wheels spinning freely when the pedal is released. If you've run out of adjustment thread or the cable keeps stretching back within a short period, it's time to replace.
How to Replace a Golf Cart Brake Cable
Start by chocking the wheels so the cart cannot roll, then release all tension from the cable by backing off the adjustment nut fully. At the brake pedal end, the cable typically passes through a bracket and hooks into the pedal arm with a clevis pin or barrel fitting — remove the retaining clip or pin and slide the cable free. Trace the cable along its routing path, noting how it passes through any guides, grommets, or conduit clamps, and remove each one. At the rear, disconnect the cable from the equalizer bar or directly from the brake actuating arm, again typically by removing a clevis pin or sliding a barrel end out of its slot. With the old cable fully removed, route the new cable along exactly the same path — correct routing prevents kinking and keeps the cable from contacting hot or moving parts. Reconnect both ends, reinstall all guides and clamps, then adjust as described above. Always test braking at slow speed in a safe open area before returning the cart to normal use.
A Few Safety Notes Worth Emphasizing
Never drive a golf cart with a brake cable you know is frayed or failing — a cable that's mostly broken can snap completely under load, leaving you with no brakes at all. When sourcing a replacement cable, match it to your specific make, model, and year: cable length, end fitting style, and housing diameter vary across manufacturers and model generations, and a close-but-wrong cable creates adjustment headaches or outright safety hazards. If your cart has a two-cable rear system, it's good practice to replace both cables at the same time so tension stays even between wheels. And after any brake service, always verify the parking brake holds the cart stationary on a gentle slope before considering the job done.


