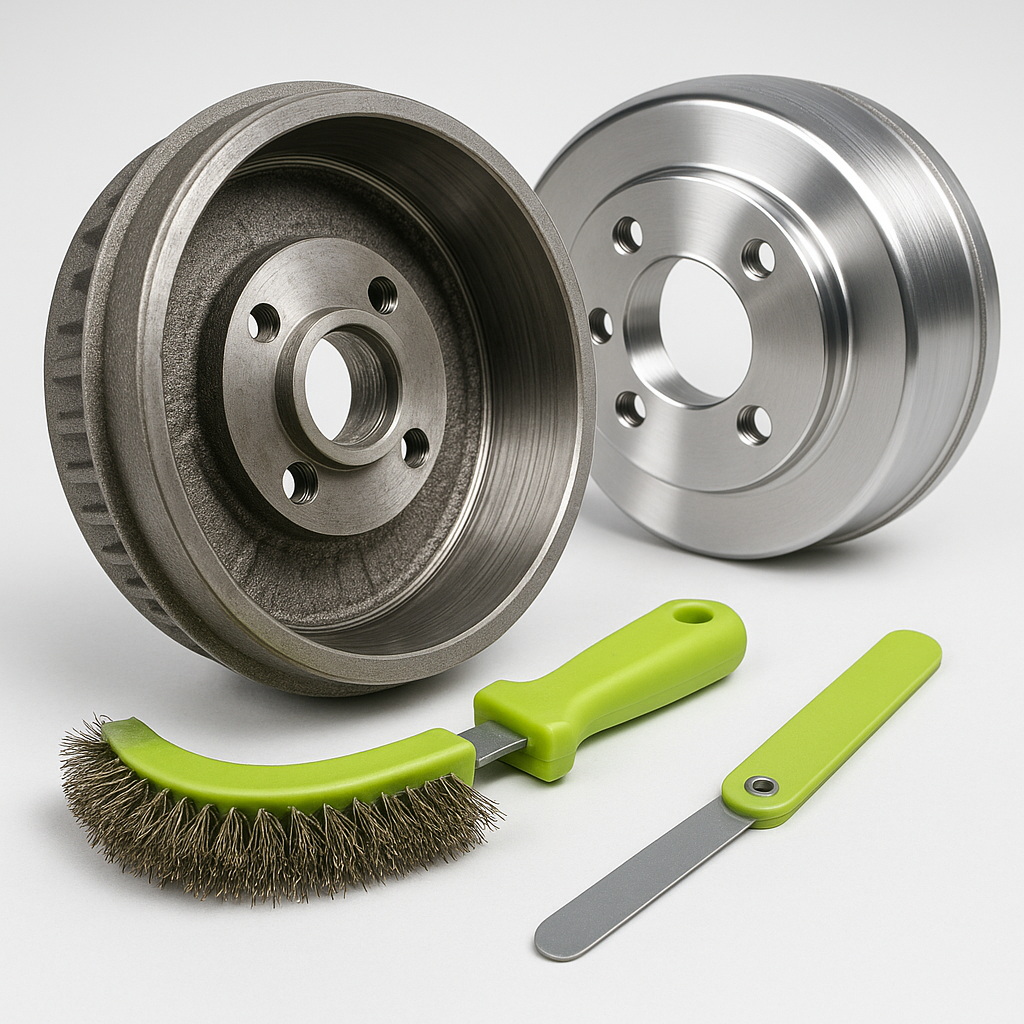
The brake drum is one of those components most golf cart owners never think about until something goes seriously wrong. Unlike brake pads, which need periodic replacement, a drum is often assumed to last indefinitely. In reality, drums wear, warp, score, and crack over time — especially on carts that see heavy use, steep terrain, or years of deferred maintenance. Knowing how to inspect yours and recognizing when it's time for a replacement can prevent a frustrating failure at exactly the wrong moment.
How Golf Cart Drum Brakes Work
Most golf carts — particularly older EZGO, Club Car, and Yamaha models — use a drum brake system on the rear axle. When the brake pedal is pressed, a cable pulls on a lever that forces curved brake shoes outward against the inside surface of a spinning drum. Friction between the shoes and drum slows the wheel. It's a simple, proven system, but it depends on the drum maintaining a consistent, smooth interior surface. Once that surface is compromised, braking becomes uneven, noisy, or dangerously weak.
Signs Your Brake Drum May Need Attention
Grinding or scraping sounds during braking are often the first indicator. A rhythmic pulsing or grabbing sensation when you apply the brakes can point to a warped drum. Visible rust or scoring on the drum's exterior isn't always a problem on its own, but heavy rust inside the braking surface is. If your cart pulls noticeably to one side when braking, suspect uneven wear on one drum versus the other. Any time you're replacing brake shoes, it's worth pulling the drum and inspecting it — the two jobs naturally go together.
Pulling the Drum for Inspection
Before you start, make sure the cart is on a flat surface, the key is removed, and the cart is secured so it can't roll. Loosen the wheel lug nuts slightly before jacking up the cart, then raise and support it safely with jack stands — never rely on a floor jack alone. Remove the wheel. On most golf cart axles, the drum is held in place by a hub retaining nut at the axle center; that nut is typically secured with a cotter pin or lock tab you'll need to remove first. Back off the brake adjuster through the inspection slot on the backing plate before attempting to pull the drum — if the shoes are expanded too far, the drum won't slide off. The drum should pull straight off the hub once the nut and shoes are cleared. If it's stuck from rust, gentle taps with a rubber mallet around the perimeter usually free it without damaging the backing plate.
What to Look For During Inspection
Once the drum is off, inspect the interior braking surface carefully. Look for deep grooves or score marks — light surface rust can be cleaned up, but gouges that catch your fingernail are a problem. Measure the interior diameter if you have access to a drum micrometer; most drums have a maximum diameter specification cast or stamped on them, and a drum worn beyond that limit is unsafe and must be replaced. Check for heat cracks, which appear as fine lines radiating from the center — any crack is an automatic disqualification. Also inspect the exterior for cracks near the lug nut holes or hub center. A drum that passes visual inspection can often be turned (machined) on a brake lathe to restore a smooth surface, but only if enough material remains. When in doubt, replace it.
Installing the Replacement Drum
Clean the hub mating surface and axle threads thoroughly before installing a new drum. Slide the drum onto the hub, making sure it seats flush — any debris or corrosion between the mating surfaces can cause runout and pulsing. Thread the hub retaining nut on by hand first, then torque it to the specification for your cart model (consult your service manual, as specs vary). Always install a new cotter pin or lock tab rather than reusing the old one. Before reinstalling the wheel, back the brake adjuster all the way off, then bring it back up until the shoes just barely contact the drum when you spin it by hand. You want light drag, not binding. Reinstall the wheel, lower the cart, and torque the lug nuts in a star pattern.
Break-In and Final Check
New drums and shoes need a brief break-in period. Make a series of moderate stops from low speed, allowing the brakes to cool between each one. Avoid any aggressive braking for the first several uses. After the break-in, recheck the brake adjustment — new shoes often seat and settle slightly, requiring a small follow-up adjustment to maintain proper contact. Pull the wheel and re-inspect the drum surface after the first few weeks if you want to confirm even wear across the full shoe contact area. A properly bedded drum brake should feel progressive and consistent with no noise, grabbing, or pulling.
Drum brake work on a golf cart is well within the reach of a careful DIYer, but take it seriously — brakes are the one system where cutting corners has direct safety consequences. When replacing one drum, it's almost always worth replacing both rear drums at the same time so your braking force stays balanced side to side. And if the shoes are anywhere near their wear limit, swap them while the drum is already off. The extra time is minimal compared to pulling everything apart again in a few months.


