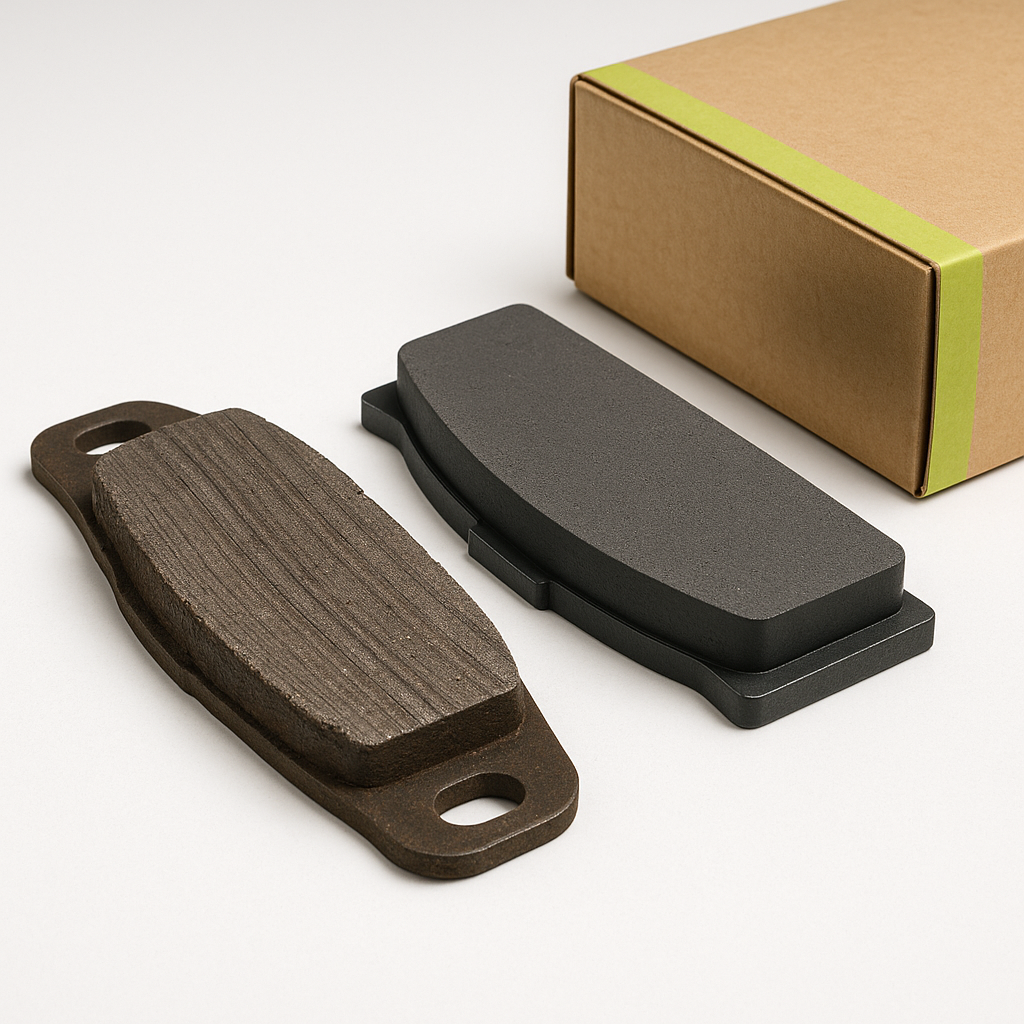
Golf cart brakes don't get nearly as much attention as the motor or batteries, but they're one of the most important safety systems on the machine. Whether you're running a Club Car, EZGO, or Yamaha, the basic brake service process is similar enough that most owners can handle it with a few common hand tools and a couple of hours. Before you start, understand what kind of brake system your cart uses — older and many current gas carts use drum brakes, while some newer models use disc brakes. The inspection and replacement steps differ between the two, so knowing which you have matters before you buy parts or pick up a wrench.
How to Tell If Your Brakes Need Attention
The most obvious sign is reduced stopping power — if your cart rolls noticeably farther before stopping, or if you're pressing the pedal harder than you used to, that's a red flag. A grinding or scraping noise when you apply the brakes usually means the friction material is worn down to metal. Pulling to one side during braking can indicate uneven wear or a seized component. Even if you're not experiencing any of these symptoms, brake components should be visually inspected at least once a season, especially if the cart sits for long stretches or operates in wet or hilly terrain.
Drum Brake Inspection
Drum brakes are the standard setup on most golf carts. To inspect them, you'll need to get the rear of the cart safely off the ground using a jack and jack stands — never work under a cart supported only by a floor jack. Remove the wheel, then pull the brake drum. On most carts the drum slides off once the wheel is removed, though some are secured with a retaining clip or nut. Once the drum is off, you can see the brake shoes. Look at the thickness of the friction lining: if it's worn thin or uneven, or if you see shiny metal, replace the shoes. Also inspect the drum interior for scoring — light grooves can sometimes be machined out, but deep scoring means the drum needs replacement too.
Replacing Drum Brake Shoes
Take a photo of the brake assembly before disassembling anything. The spring arrangement on drum brakes can be confusing to reassemble, and a reference photo saves real headaches. Use brake spring pliers or a dedicated brake tool to remove the return springs — trying to muscle springs off with standard pliers is a good way to hurt yourself or lose a spring across the garage. Note how the adjuster is positioned. Install the new shoes in the same configuration, reattach the springs, and reinstall the drum. Before putting the wheel back on, manually adjust the brake adjuster until the drum just drags slightly when you spin it by hand, then back off a click or two. This gives you the correct initial clearance without having to do multiple test drives.
Disc Brake Inspection and Pad Replacement
Disc brake systems are straightforward to inspect. Remove the wheel and look at the brake caliper and rotor. Most calipers have an inspection window or open slot where you can see the pad thickness directly. If the pad material is thinner than a few millimeters, replacement is due. To change the pads, compress the caliper piston back into its bore using a C-clamp or dedicated piston tool — this makes room for the thicker new pads. Slide the old pads out of the caliper bracket, slide the new ones in, and reinstall the caliper. Never let the caliper hang by its brake line while you work.
Brake Cable Checks
Many golf carts use a cable-actuated brake system rather than a hydraulic one. The brake cable runs from the pedal assembly to the rear brakes and is a wear item on its own. Check the cable for fraying at the ends, kinks along its length, and corrosion where it passes through the housing. A frayed or kinked cable should be replaced, not adjusted around. If the cable is in good shape but the brakes feel spongy or delayed, check the cable tension — most systems have an adjuster at the wheel end or at the pedal end that lets you take up slack without replacing the cable.
After Any Brake Service
Always bed in new brake components before putting the cart back into normal use. Drive slowly in a safe, flat area and apply the brakes gently several times to seat the new friction material. Avoid hard stops for the first several cycles. After your initial test, recheck that all hardware is tight and that nothing is rubbing or dragging abnormally. Brakes are not the place to rush or skip steps — if something feels wrong after you've reassembled everything, stop and investigate before driving further.


