Golf cart brakes don't get the respect they deserve — until they stop working. Whether you're noticing a spongy pedal, a grinding sound when you stop, or the cart just isn't slowing down like it used to, worn brake pads are usually the first place to look. The good news: replacing brake pads on most golf carts is a straightforward job you can handle in a driveway with basic hand tools. Here's how to do it safely and correctly.
Before You Start: Know Your Brake System
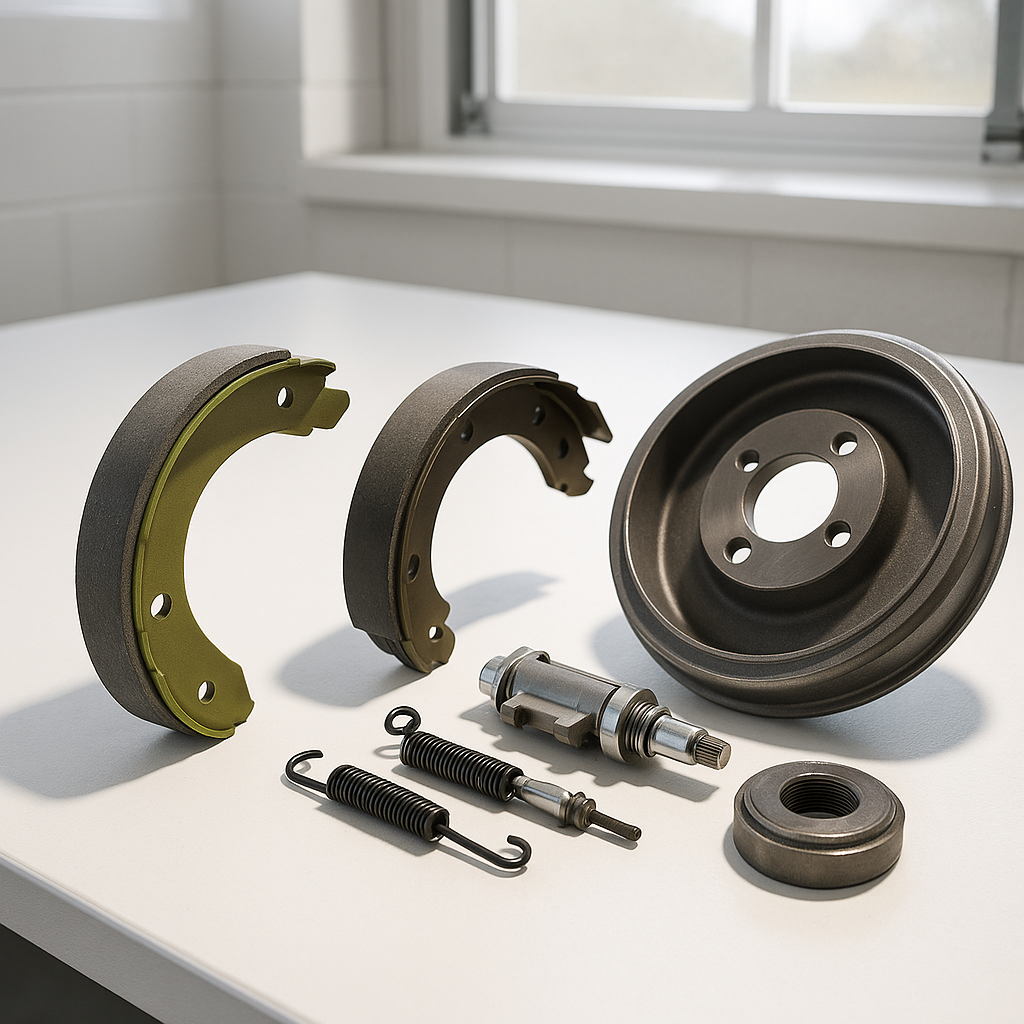
Most golf carts use one of two brake setups — drum brakes or disc brakes. Drum brakes are far more common, especially on older EZGO, Club Car, and Yamaha models, and they use curved brake shoes that press outward against the inside of a spinning drum. Disc brakes, found on some newer or performance-oriented carts, use flat pads that clamp onto a rotor. The replacement process differs between the two, so identify which system you have before buying parts or pulling anything apart. A quick look behind your rear wheels will tell you: a round, enclosed metal drum means drum brakes; a vented rotor with a caliper clamped around it means disc.
Safety First
Always work on a level surface and chock the wheels that aren't being serviced. Engage the parking brake if it's functional, or use wheel chocks front and rear. Disconnect the battery or key before you begin — on electric carts especially, you don't want any accidental movement while your hands are near the wheels. Brake dust can contain irritants; wear gloves and avoid blowing it off with compressed air. A damp rag works fine for cleanup.
Removing the Wheel and Drum
Loosen the lug nuts slightly before lifting the cart, then raise and support it on jack stands rated for the weight. Remove the lug nuts and pull the wheel. On drum brake systems, the drum often slides straight off once the wheel is removed — some fit snugly from corrosion or wear, and a few firm strikes with a rubber mallet around the drum's edge will free it. If the drum won't budge, check whether there's a retaining screw holding it to the hub; removing that screw first is easy to overlook. Once the drum is off, you'll see the brake shoes, springs, and hardware inside the backing plate.
Inspecting and Replacing the Shoes
Take a moment to photograph the spring and hardware arrangement before disassembling anything — this makes reassembly much easier. Note the thickness of the friction material on the existing shoes. If it's worn thin, cracked, or contaminated with grease or brake fluid, replacement is the right call. Use brake spring pliers or needle-nose pliers to carefully unhook the return springs, then slide the shoes free from the wheel cylinder and anchor pins. Install the new shoes in reverse order, making sure the friction material faces outward toward the drum and all springs are seated in their correct positions. Refer to your photo often. Replace the hardware kit if your new shoes came with one — the springs and clips are cheap insurance.
Reassembly and Adjustment
Before reinstalling the drum, inspect it for deep scoring, cracks, or an out-of-round condition. Light surface rust is normal and will clean up with the first few brake applications. Significant grooves mean the drum should be resurfaced or replaced. Slide the drum back onto the hub, reinstall the wheel, and torque the lug nuts to your cart manufacturer's specification in a star pattern. Most drum brake systems have a self-adjusting mechanism or a manual adjuster accessible through a slot in the backing plate. Adjust until there's a light drag when you spin the wheel by hand, then back off slightly until the wheel turns freely with just a whisper of resistance. This sets the proper shoe-to-drum clearance.
Testing Before You Drive
Lower the cart to the ground and pump the brake pedal several times to seat the shoes against the drum — the pedal may feel low at first and will firm up. Walk the cart slowly in an open area and apply the brakes firmly a few times to begin bedding in the new friction material. Check that the cart stops evenly and that the wheel doesn't pull to one side. Inspect for any unusual noise. New brake shoes typically need a short bedding-in period before they reach full effectiveness, so take it easy for the first several stops. If the pedal stays low, the brakes pull hard to one side, or you hear metal-on-metal grinding, stop and re-inspect before driving further.
Replacing brake pads and shoes is one of the most impactful maintenance tasks you can do for safety and control. Do it on a schedule — at least inspect the brakes annually or whenever you notice a change in stopping performance — and you'll never be caught wishing you'd taken care of it sooner.


