Golf cart brakes don't get the same attention as car brakes, but they wear out just the same — especially on hilly terrain or heavily used fleet carts. Whether your cart uses drum brakes (the most common setup on older and utility-focused models) or disc brakes, the inspection and replacement process is straightforward enough for a confident DIYer. Before you start, make sure the cart is parked on a flat surface, the key is out, and if it's electric, the tow/run switch is in the tow position. Block the wheels that are staying on the ground.
Understanding What Type of Brakes You Have
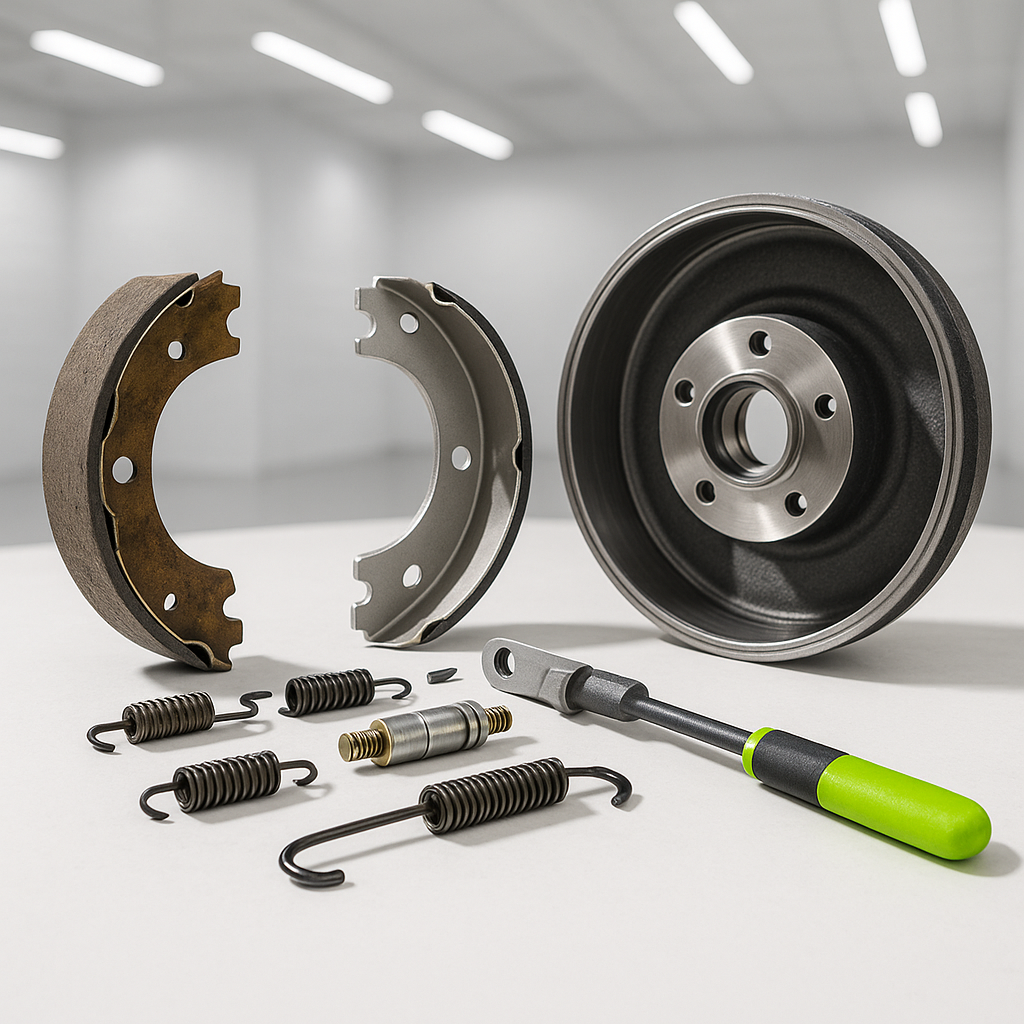
Most golf carts — particularly older EZGO, Club Car, and Yamaha models — use rear drum brakes with brake shoes. The drum rotates with the wheel, and curved brake shoes press outward against the inside of the drum to slow the cart. Some newer or modified carts use disc brakes with brake pads, which work more like what you'd find on a car. Knowing which system you have determines what parts you need and how the service process differs. If you're unsure, a quick look behind the rear wheel will tell you — a large round drum means drum brakes, a rotor with a caliper means disc.
Inspecting Your Brakes
Start by removing the wheel. On drum brake systems, the drum itself usually pulls off once the wheel is removed, though it may be stuck from rust or corrosion — a few taps with a rubber mallet around the circumference usually frees it. Once the drum is off, inspect the brake shoes: if the friction material is worn down close to the metal backing, or if you see cracking, glazing, or uneven wear, replacement is due. Also check the drum's inner surface for deep scoring or a pronounced wear ridge. On disc systems, you can often check pad thickness visually through the caliper without removing the wheel — anything under about 2–3mm of friction material is time to replace.
Replacing Brake Shoes (Drum Brakes)
Take a photo of the spring and hardware arrangement before you disassemble anything — this is genuinely good practice and saves a lot of frustration on reassembly. Brake shoe springs are under tension, so use the right brake spring tools or locking pliers carefully. Remove the return springs, then the hold-down hardware, and the shoes will come free. When installing new shoes, make sure the friction material faces the drum surface and the shoes are seated correctly on the anchor pins and wheel cylinder. Reinstall the springs in the same configuration as the originals. Before putting the drum back on, inspect the wheel cylinder for any signs of brake fluid leakage — a wet or crusty residue around it means the cylinder needs attention too.
Replacing Brake Pads (Disc Brakes)
Compress the caliper piston back into its bore before sliding in the new, thicker pads — a C-clamp or dedicated caliper tool works well for this. Watch the brake fluid reservoir if the cart uses hydraulic disc brakes, as pushing the piston back can cause fluid to overflow. Slide the old pads out, clean the caliper bracket sliding surfaces, and install the new pads. Reassemble and pump the brake pedal a few times before moving the cart to seat the pads properly against the rotor.
Adjusting Drum Brakes After Replacement
New brake shoes typically need adjustment since they sit farther from the drum surface than worn ones. Most golf cart drum brake systems have a star wheel adjuster accessible through a slot in the backing plate or drum. Use a brake spoon or flat screwdriver to turn the adjuster until the drum drags slightly when rotated by hand, then back it off just enough so the drum spins freely with minimal resistance. The goal is the smallest possible gap between shoe and drum without causing constant contact. Repeat on both sides and make sure the adjustment is even — uneven adjustment will cause the cart to pull to one side when braking.
Brake Cable Checks
While you have things apart, inspect the brake cable if your cart uses a mechanical (cable-actuated) drum system. Look for fraying near the ends, kinking along the run, or a stiff cable that doesn't return freely. Cables stretch over time and most systems have an adjustment point at the cable end or at the equalizer bar. A properly adjusted cable should give firm pedal feel with full braking engagement well before the pedal bottoms out. If the cable is frayed or kinked, replace it rather than adjusting around the damage.
Test Before You Ride
Reinstall the wheels, torque the lug nuts in a cross pattern, and lower the cart. Before you drive anywhere, pump the brake pedal several times to make sure pressure builds normally and the pedal feels firm. Then do a slow test stop in a safe area, gradually increasing speed over a few stops to bed in the new friction material. Brakes often feel slightly different for the first few stops — that's normal. If the pedal sinks to the floor, the cart pulls hard to one side, or you hear grinding, stop and recheck your work before continuing.


