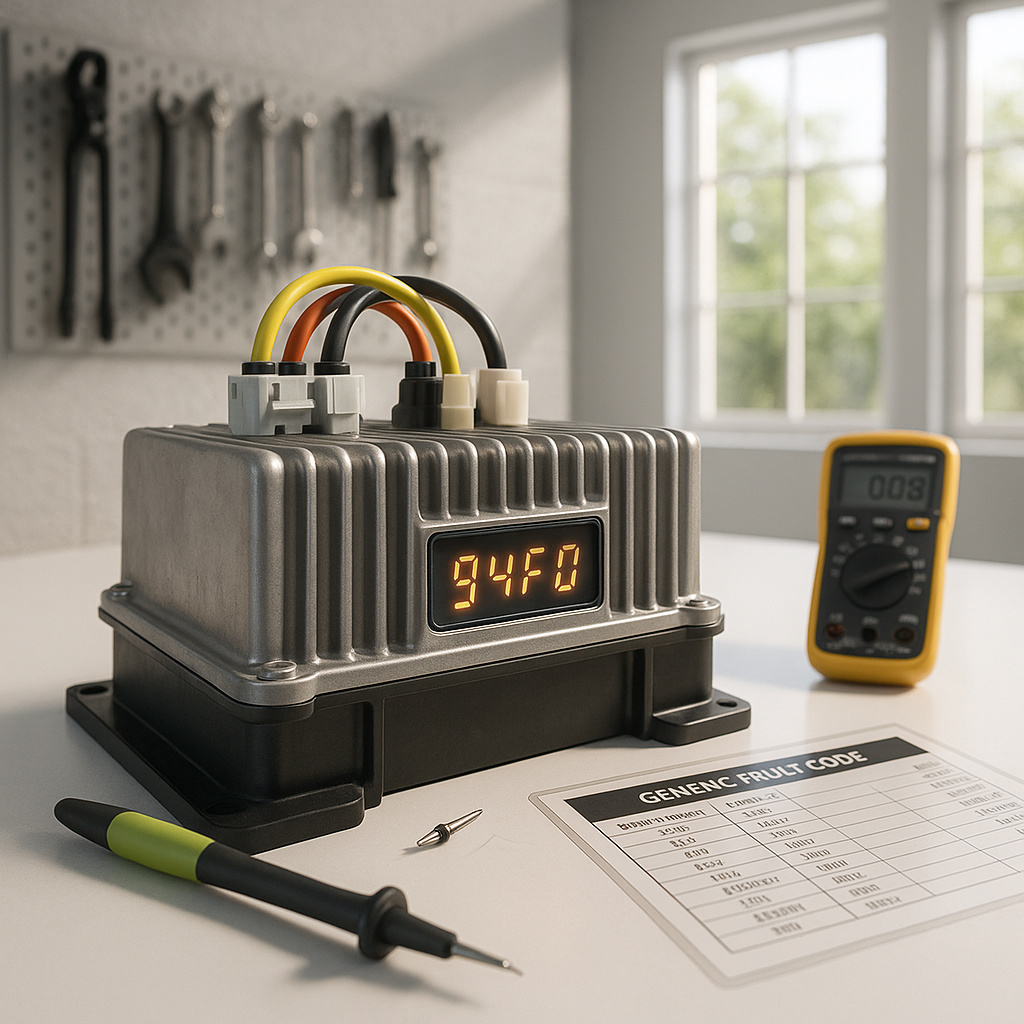
Modern golf cart motor controllers don't just fail silently. Most controllers manufactured in the last few decades have some form of built-in diagnostics — whether that's a flashing LED sequence, a numeric code displayed on a handheld programmer, or an error code shown on a dash-mounted display. Learning to read these codes is one of the fastest ways to stop guessing and start fixing. You don't need to be an electrician. You do need to know what you're looking at and how to interpret it.
Why Controllers Use Fault Codes
A motor controller is constantly monitoring the health of your cart's electrical system — battery voltage, motor current, temperature, throttle signal, and more. When something falls outside of acceptable parameters, the controller logs a fault and often cuts power to protect the motor, the battery pack, or itself. The fault code is essentially the controller's way of flagging which parameter tripped first. That distinction matters: the code tells you where to look, not necessarily what's broken. A low-voltage fault, for example, could point to a weak battery pack, a bad connection, or a failing solenoid — not a bad controller.
Common Ways Fault Codes Are Displayed
Older controllers — particularly those found on vintage EZGO and Club Car carts — often communicate through a blinking LED light mounted on or near the controller housing. You count the blink sequences: a pattern of two blinks followed by a pause and then four blinks, for instance, represents a two-digit code (2-4). Write the pattern down before you do anything else. Newer carts, especially those with digital speed controllers and OBC (on-board computer) systems, may display codes directly on a dash panel or require a compatible handheld programmer to retrieve stored faults. If your cart uses a programmer interface, the manufacturer's diagnostic tool for that controller family is usually necessary — generic OBD readers used for cars won't work here.
Step-by-Step: Reading a Blink Code
Start with the cart fully powered down, then power it back on with the key and watch the controller's indicator LED immediately. Count the first sequence of rapid blinks, note the pause, then count the second sequence. That two-part number is your fault code. Do this two or three times to confirm you're reading it correctly — it's easy to miscount. Write it down exactly. Some controllers cycle through multiple stored codes sequentially, so watch for a longer pause between codes and make sure you're capturing all of them, not just the first one. Once you have your codes, cross-reference them with the fault code chart in your controller's service manual or the manufacturer's published documentation for that controller series.
What the Most Common Codes Actually Mean
While specific code numbers vary by manufacturer and controller generation, the underlying fault categories tend to repeat across brands. High-current faults usually indicate the controller detected excessive amperage draw — often caused by a seized motor, heavily dragging brakes, or a dead short somewhere in the motor circuit. Undervoltage faults point to the battery pack dropping below a minimum threshold, which can happen with aging batteries or a single bad cell pulling the pack down. Throttle faults typically mean the controller isn't seeing a clean signal from the throttle potentiometer — a common culprit is a worn or corroded pot that sends erratic voltage. Thermal faults mean the controller overheated, which can happen in sustained hill-climbing or when airflow around the controller is blocked. And communication faults on newer carts often relate to wiring between the controller and the OBC or key switch circuit.
What to Do After You've Read the Code
Resist the urge to immediately replace the controller. In the majority of fault code situations, the controller itself is working exactly as designed — it detected a problem elsewhere and protected itself. Start by inspecting the obvious: battery connections, motor cable connections at the controller terminals, and the condition of the throttle potentiometer. Clear the fault (usually by cycling the key off and back on, or disconnecting and reconnecting the battery), then reproduce the conditions that triggered it and watch whether the same code returns. If it does, you've confirmed the fault is real and repeatable — now you can trace that specific circuit with a multimeter rather than swapping parts blindly. Only if the fault code points directly to an internal controller failure — and no external cause can be found — should a controller replacement be your conclusion.
When You Can't Find a Fault Code Chart
If your cart's controller is an older or aftermarket unit and you don't have documentation, check the manufacturer's name or part number stamped on the controller housing and search that combination along with "fault codes" or "blink codes." Golf cart forums and owner communities often have scanned copies of service manuals for discontinued controllers. If the controller predates fault code systems entirely, your diagnostic process shifts to direct electrical testing — checking for proper voltage at the controller's battery terminals, verifying the throttle signal range, and testing the motor separately. That's a different process, but knowing that your controller doesn't have self-diagnostics is itself useful information.
Reading fault codes isn't a shortcut — it's the right starting point. It takes maybe five minutes to capture a blink sequence and look it up, and it can save you from replacing a perfectly functional controller when the real problem is a ten-dollar throttle potentiometer or a loose cable terminal. Work the code, not your assumptions.


