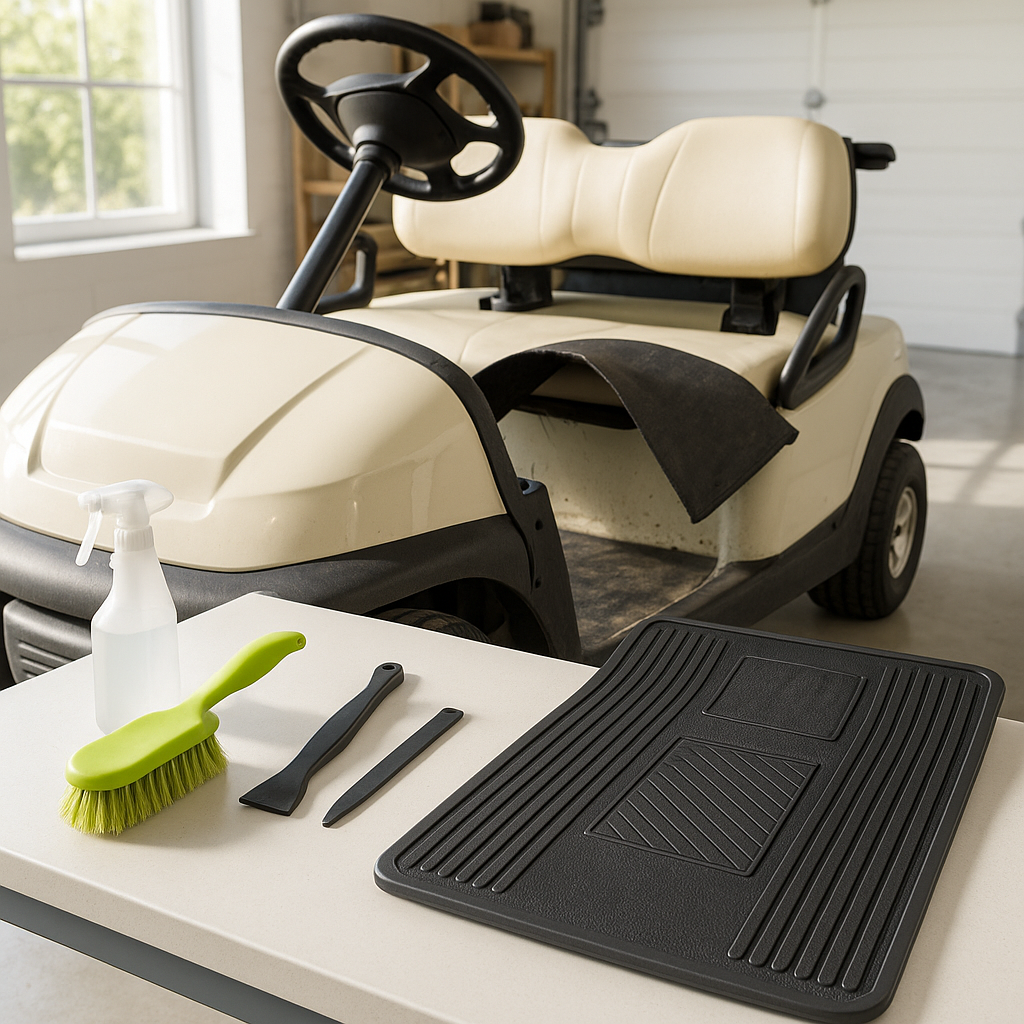
A golf cart floor mat takes a beating — mud, grass clippings, spilled drinks, and years of foot traffic all add up. Whether you're doing a deep clean or replacing a mat that's cracked, warped, or permanently stained, the process is straightforward and one of the easiest interior upgrades you can tackle in an afternoon. Here's how to do it right.
What You'll Need
For cleaning, gather a stiff-bristle brush, mild soap or an automotive interior cleaner, a bucket of warm water, and a few old towels or rags. If you're replacing the mat entirely, you'll want a flathead screwdriver or trim removal tool, and possibly a utility knife for trimming a universal-fit mat to size. Having a vacuum on hand before you start is also helpful — loose debris can work its way under the mat and scratch your floorboard if you're not careful.
Step 1: Remove the Existing Mat
Most golf cart floor mats are either held in place by friction fit, hook-and-loop fasteners, or a handful of plastic push-in retaining clips along the edges. Start by pulling up a corner of the mat and working your way around. If there are retaining clips, use a flathead screwdriver or trim tool to gently pop them free — prying too hard can crack the clips or damage the floorboard surround. Once the mat is free, lift it out and set it aside. Take a moment to vacuum the bare floorboard and wipe it down — any dirt or moisture left underneath a new mat can cause mold or corrosion over time.
Step 2: Inspect the Floorboard
With the mat out, this is a good time to check the condition of the floorboard itself. On older carts with aluminum or steel floors, look for rust spots, corrosion, or small holes that could let water in. On plastic composite floors common in newer models, check for cracks or stress fractures around the pedal cutouts. Minor rust can be treated with a rust converter before you lay a new mat. Addressing floorboard issues now is far easier than pulling the mat again later.
Step 3: Clean a Reusable Mat (Or Prep a New One)
If you're cleaning and reinstalling the existing mat, lay it flat on a hard surface and vacuum both sides first. Scrub the top surface with your brush and soapy water, working in sections. For stubborn stains, let the cleaner sit for a few minutes before scrubbing. Rinse thoroughly and allow the mat to dry completely before reinstalling — a damp mat reinstalled in an enclosed cart footwell is an invitation for mildew. If you're installing a new universal-fit mat, test-fit it in the cart before trimming. Mark any areas that need to be cut for pedal openings or contour edges, then use a sharp utility knife and a straightedge for clean cuts.
Step 4: Reinstall the Mat
Set the mat into position starting from the front edge near the pedals and working toward the back. If your cart uses retaining clips, align them with their holes and press firmly until they click. For hook-and-loop systems, smooth the mat down evenly before pressing it into contact with the fastener strips — repositioning is easier before you commit full pressure. Make sure the mat lays flat with no lifted edges or bubbles, especially around the accelerator pedal area. A mat that bunches or shifts under your feet is a safety issue, not just a cosmetic one.
Step 5: Final Check
Before you drive, press down on the mat in several spots to confirm it's seated evenly. Step on the accelerator and brake pedals normally and make sure there's no interference — the mat should not restrict pedal travel in any direction. A quick test drive in a safe area will confirm everything is secure. Going forward, shaking out or vacuuming your floor mat every few weeks will dramatically extend its life and keep the footwell from becoming a breeding ground for grit that can wear through the material prematurely.


