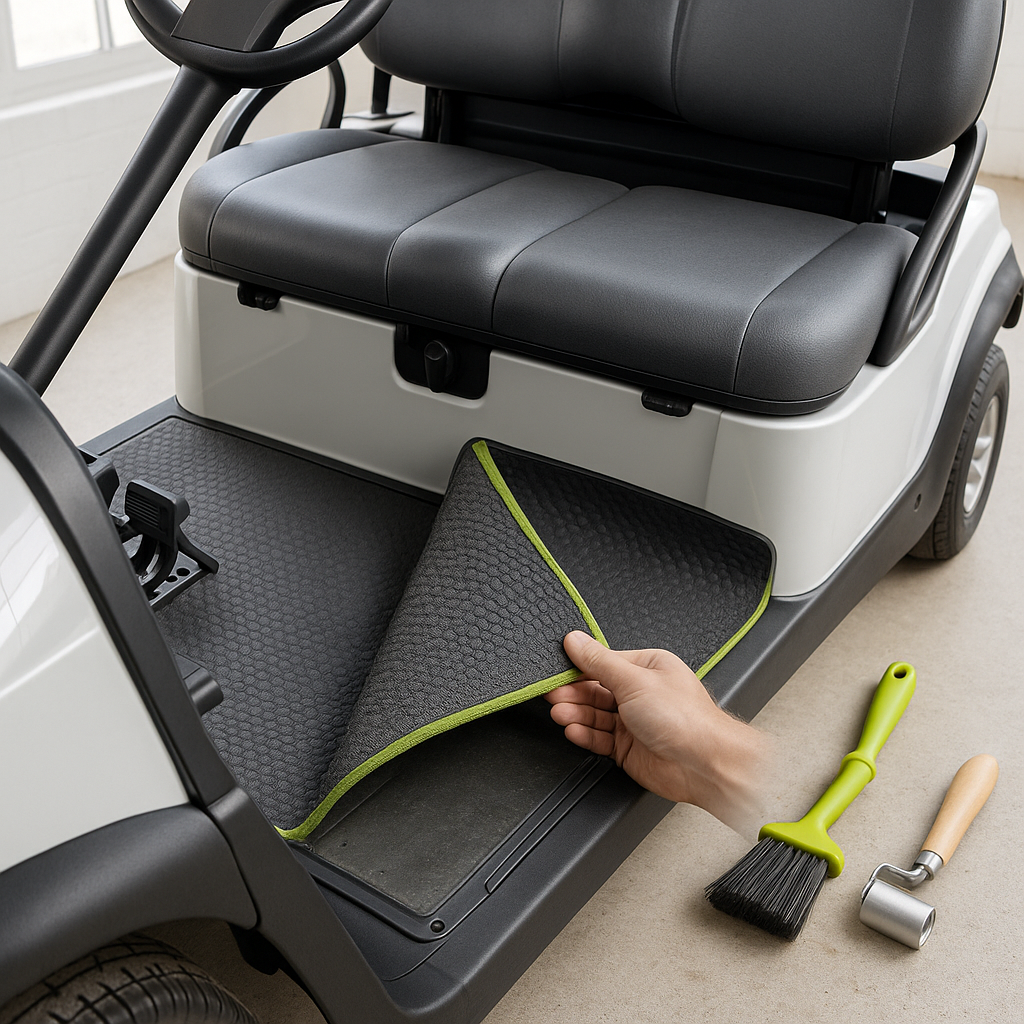
Replacing or upgrading your golf cart's floor mat is one of the most noticeable interior improvements you can make, and it's well within the reach of any DIYer. Whether the original mat is cracked, waterlogged, or just plain ugly, installing a new one takes a couple of hours and requires no special tools. The key to a result that looks factory-fitted is in the prep work — rush that part and you'll be peeling up corners within a month.
What You'll Need Before You Start
Gather your supplies before pulling anything apart. You'll typically need a utility knife or sharp scissors, a straightedge or tape measure, a marker or chalk, a mild all-purpose cleaner, clean rags, and adhesive if you're installing a cut-to-fit or carpet-style mat that requires bonding. Some molded rubber mats are designed to lay flat without adhesive — check what your specific mat recommends. Having a heat gun or even a hair dryer on hand can help if you need to coax a stiff mat into curved floor sections.
Remove the Old Mat and Clean the Floor Pan
Start by pulling out the existing mat. On most carts, it lifts out directly — but if it was glued down, you'll need to peel it up carefully, working from an edge. Any adhesive residue left on the floor pan should be removed with an appropriate solvent before you proceed. Once the mat is out, inspect the floor pan for rust, cracks, or water damage. This is your best window to treat surface rust with a rust-inhibiting primer, make minor repairs, or seal any small drain holes that let water pool. Skipping this step is a mistake — moisture trapped under a new mat will accelerate corrosion quickly.
Measure and Cut for a Proper Fit
If you're working with a cut-to-fit rubber or carpet roll rather than a molded OEM-style mat, accurate measuring is everything. Use a piece of kraft paper or cardboard to make a template first — trace the floor pan shape including any cutouts for the accelerator pedal, brake pedal, and floor-mounted hardware. Transfer the template to your mat material and cut just slightly outside the line, then test-fit and trim incrementally. It's much easier to trim a little more than to undo a cut that went too far. For molded mats, confirm the trim code or cart model year match before you buy — most manufacturers offer separate part numbers for different floor configurations, and a close-but-not-quite fit will bubble, gap, or interfere with the pedals.
Dry-Fit Before Committing
Always do a complete dry fit before applying any adhesive. Lay the mat in place, make sure pedals move freely without obstruction, check that the mat sits flush at all edges without bunching, and confirm it doesn't interfere with the seat base or any console trim pieces. If everything looks right, mark a reference point or two with tape so you can realign it quickly when it comes time to lay it permanently.
Adhesive Application (If Required)
Not every mat needs glue — many heavy-duty rubber mats grip adequately on their own and benefit from staying removable for cleaning. If your mat does require adhesive, use a contact cement or carpet adhesive designed for automotive or marine use, since these hold up to heat cycles, moisture, and foot traffic. Apply adhesive to both the floor pan and the back of the mat following the manufacturer's directions, let it tack up to the recommended open time, then carefully align and press the mat down starting from one end. Work out any air pockets with a roller or your hands, pressing firmly at the edges.
Reinstall Hardware and Check Clearances
Once the mat is down, reinstall any floor-mounted hardware — pedal covers, step plates, or trim pieces — that you removed during the process. Double-check that the accelerator pedal returns freely and that the brake pedal has full range of motion without the mat bunching up underneath. These are safety checks, not optional. Any restriction on pedal travel needs to be corrected before the cart goes back into use.
Tips for Keeping It Looking Good
Golf cart floor mats take a beating — mud, water, grass clippings, and the occasional spilled drink. Rubber mats are the easiest to maintain: hose them down, scrub with a brush, and let them dry completely before replacing them to prevent mildew under the mat. Carpet mats look great but require more attention — a wet-dry vacuum and a fabric cleaner designed for automotive use will handle most dirt. If you opted for a removable mat, make a habit of pulling it out a couple times a season to dry the floor pan and check for any moisture accumulation. That simple step will add years to both the mat and the cart's floor structure.


