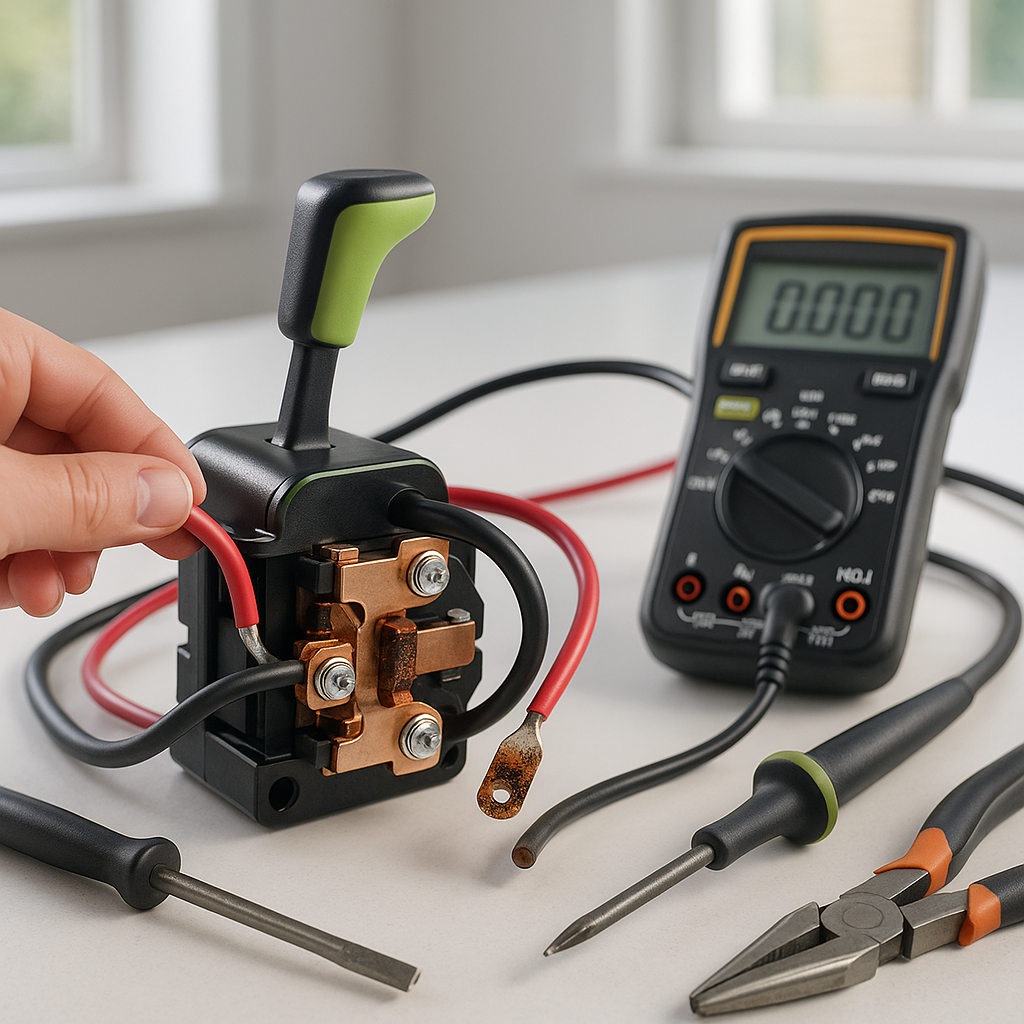
The forward/reverse switch is one of the most-handled mechanical components on any golf cart. Every time you change direction, that switch takes the hit. Over time — especially on older carts or those used in wet or dusty conditions — the contacts inside corrode, burn, or simply wear out. When that happens, the cart may refuse to move in one direction, move erratically, or not move at all. Before you blame the motor or the controller, the F&R switch is worth a close look.
How the Forward/Reverse Switch Works
On electric golf carts, the forward/reverse switch doesn't just toggle a signal — it physically reverses the polarity of current flowing to the motor, which changes the direction the motor spins. This means the switch carries real load current and has to do it reliably every single time you flip it. The switch contains a series of contacts arranged so that flipping the handle re-routes the circuit. When those contacts are burned, corroded, or physically broken, the cart loses directional control. On gas carts, the F&R mechanism works differently — it's typically a mechanical transaxle shifter — but the electrical micro-switch that signals direction can still fail and cause similar symptoms.
Common Symptoms of a Failing F&R Switch
The most obvious sign is that the cart moves in one direction but not the other. You might also notice the cart hesitates before responding when you select a direction, or it moves inconsistently — sometimes forward works, then it doesn't. A burning smell near the switch, visible scorching on the contacts, or a handle that feels loose or doesn't click firmly into position are all red flags. In some cases, a completely dead cart with good batteries and a functioning solenoid will trace right back to a failed F&R switch that's open in both positions.
What You'll Need Before You Start
You don't need a lot of tools to diagnose or replace an F&R switch, but a few things are essential. A digital multimeter is the most important — you'll use it to test continuity across the switch contacts. Basic hand tools (screwdrivers, nut drivers, and needle-nose pliers) are usually enough to access and remove the switch. Have a wiring diagram for your specific cart model on hand before you touch anything — F&R switches have multiple terminals and the wiring order matters. If you don't have the factory service manual, many manufacturer diagrams are available through brand-specific forums or dealer resources.
How to Diagnose the Switch
Start by disconnecting your battery pack — always work with the power off on electric carts. On most carts, the F&R switch is located near the floorboard or under the seat, connected by a wiring harness. Take a photo of the wiring before disconnecting anything. Once the switch is isolated, use your multimeter in continuity mode. With the switch in the forward position, probe the contact pairs that should be closed in that position according to your wiring diagram — you should hear a beep or see near-zero resistance. Flip to reverse and test the appropriate contact pairs again. If any position shows no continuity when it should, the switch has failed. Also visually inspect the contacts for burning, pitting, or corrosion — badly damaged contacts are often visible to the naked eye.
Replacing the Switch
Replacement F&R switches are available for most major cart brands and are generally an affordable repair. When sourcing a replacement, make sure it matches your cart's make, model, and voltage system — switches are not universally interchangeable even when they look similar. With the battery disconnected and your wiring photo ready, remove the old switch by disconnecting each terminal one at a time and labeling them if needed. Mount the new switch in the same orientation, reconnect each terminal in the exact same position as the original, and secure any mounting hardware. Double-check every connection before restoring power. Once reassembled, test both directions in a safe, open area before returning the cart to regular use.
A Few Important Cautions
Never flip the F&R switch while the cart is moving — this is hard on the switch contacts and will shorten the life of any replacement. It's also a good habit to come to a full stop before changing direction, which many golf cart owners overlook. If your replacement switch fails quickly or you're seeing repeated burn damage on contacts, that's a sign of a deeper electrical problem — possibly excessive current draw from a dragging motor or a controller issue — and that underlying cause needs to be addressed. A switch alone won't fix a root electrical problem.


