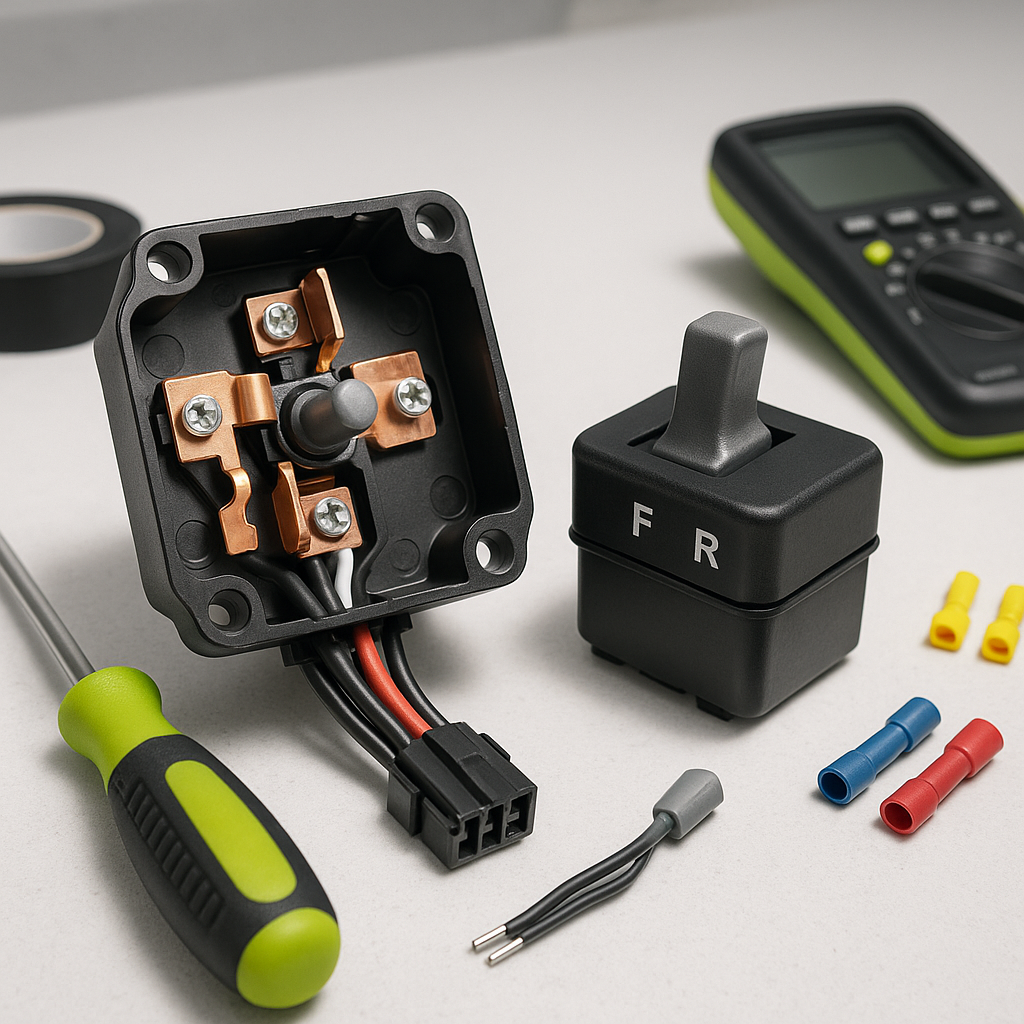
The forward/reverse switch is one of the hardest-working components on your golf cart. Every time you change direction, it's flipping the polarity or signal that tells your motor which way to spin. Over time, the contacts inside wear down, corrode, or burn, and suddenly your cart won't move in one or both directions — or behaves erratically. The good news: this is a very DIY-friendly repair if you take your time and respect the electrical system.
Signs Your F&R Switch Has Gone Bad
Before you pull anything apart, confirm the switch is actually the culprit. Common symptoms include the cart moving in one direction but not the other, a clicking sound with no movement, intermittent hesitation when selecting a direction, or no response at all from the drivetrain even though the battery is charged. If the cart runs fine in one direction and completely refuses the other, the F&R switch is one of the first things to check. A corroded or burnt-smelling switch tab is usually a dead giveaway on older carts.
Safety First — Disconnect Your Power Source
This step is non-negotiable. On an electric cart, disconnect the main battery pack before touching anything in the drivetrain circuit. On a 36V or 48V system, you're dealing with enough current to cause serious injury or fry your controller if you short something accidentally. Many techs also recommend removing the negative cable last and reconnecting it first — the same discipline you'd use working on any vehicle. On a gas cart with an electric starter, you still have a battery to contend with, so disconnect it. Work in a dry area with good lighting.
Locate and Inspect the Existing Switch
On most electric golf carts, the F&R switch lives under the seat or dash, often mounted on a bracket near the solenoid and controller. It's typically connected by a wiring harness with several spade or ring terminals. Before removing anything, take a clear photo of the wiring — this is your free insurance policy against reassembly confusion. Note which wires connect to which terminals, especially if there are multiple colors or if the harness isn't labeled. Check the terminals for corrosion, melted plastic, or burnt insulation while you're in there.
Removing the Old Switch
Most F&R switches are held in place by one or two mounting bolts or a bracket clip. With your photo taken, disconnect the wiring terminals one at a time — needle-nose pliers help with stubborn spade connectors. If terminals are corroded, use electrical contact cleaner before pulling to avoid tearing the wire. Once the wiring is free, unbolt or unclip the switch housing from its mount and remove it. Inspect the old switch's contacts if you can open it — heavily pitted or blackened contacts confirm it was the source of your trouble.
Installing the Replacement Switch
Mount your new switch in the same orientation as the old one. Then reconnect each wire to its corresponding terminal based on your reference photo. If your replacement switch came with a wiring diagram, cross-reference it with your cart's wiring to confirm terminal assignments — especially if you're using a universal-fit switch rather than an exact OEM replacement. Terminals that are swapped incorrectly can cause the cart to run backwards in forward, or worse, damage the controller. Once wiring is secure, tug gently on each connection to confirm it's seated.
Testing Before Buttoning Everything Up
Reconnect your battery, put the cart on a flat surface with room to move in both directions, and test at low throttle before reassembling any panels. Verify forward and reverse both engage smoothly, without hesitation or unusual noise. If the cart still misbehaves, double-check your terminal connections against the wiring diagram — one swapped wire is the most common cause of a failed repair. If everything works correctly, remount any covers or panels you removed, and you're done.
Replacing a forward/reverse switch is one of those repairs that looks intimidating until you've done it once. The key is working carefully, documenting your wiring before you touch anything, and never rushing when the battery is connected. Done right, a new switch can restore crisp, reliable direction control and add years of trouble-free driving.


