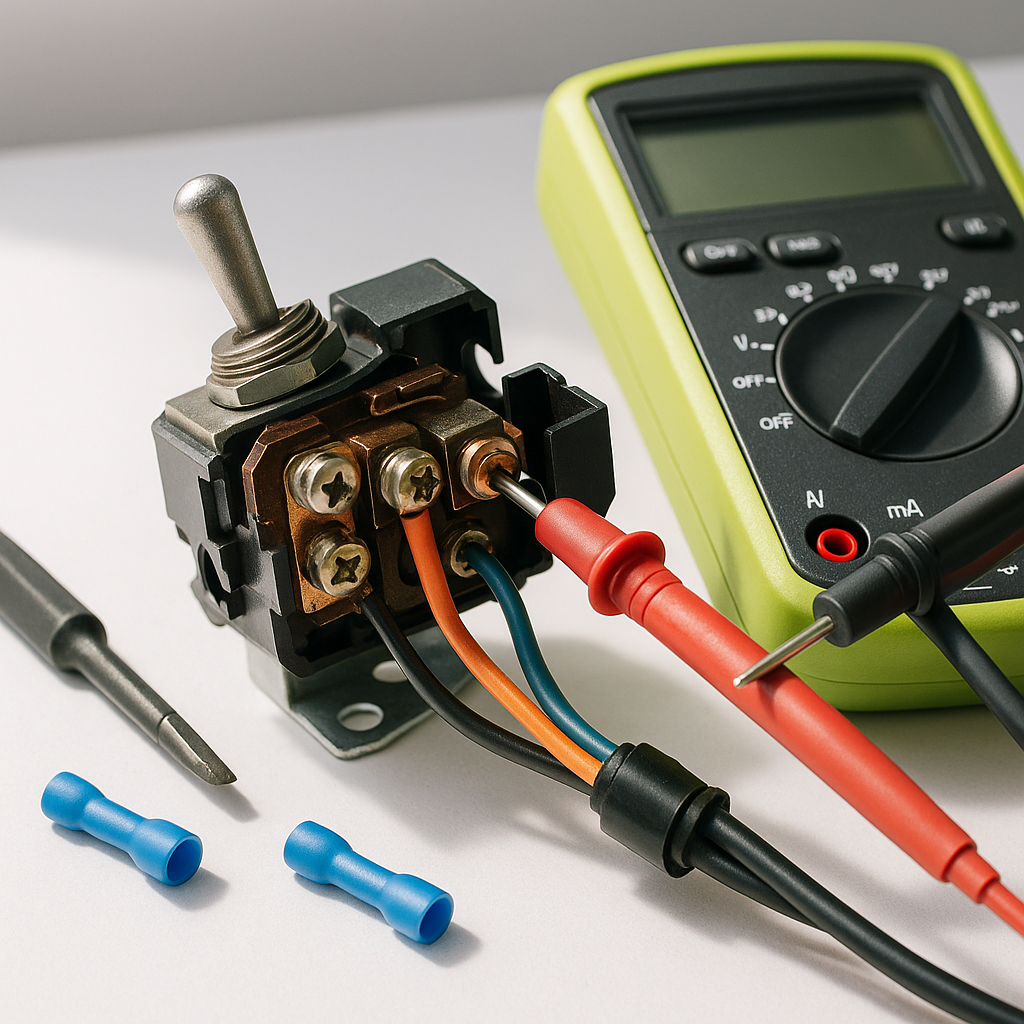
If your golf cart hesitates, moves in only one direction, or won't respond at all when you flip the forward/reverse lever, the forward/reverse (F&R) switch is one of the first things to investigate. This switch is a high-use mechanical component that takes a beating over time — dirt, moisture, and thousands of gear changes all add up. The good news is that testing and replacing one is a straightforward job most owners can handle with basic tools and some patience.
Understanding What the F&R Switch Actually Does
The forward/reverse switch is an electromechanical selector that changes the polarity of the current going to the drive motor, which is what reverses the direction of rotation. On electric carts, it sits between the key switch and the controller, and it must be in a fully committed position — forward or reverse — for the cart to receive a proper signal. On older carts especially, these switches use physical copper contacts that wear, corrode, or pit over time, causing intermittent or complete loss of function.
Symptoms of a Failing Forward/Reverse Switch
The most obvious sign is a cart that works in one direction but not the other. Equally common is a cart that works fine sometimes and then suddenly won't move — that intermittent behavior almost always points to worn or corroded contacts inside the switch. You might also notice a burning smell near the switch, visible scorching on the switch body or terminals, or a lever that feels loose or doesn't click firmly into position the way it used to.
How to Test the Switch Before Replacing It
Before you buy a replacement, confirm the switch is actually the problem. Start by disconnecting the battery pack and waiting a few minutes to let any residual charge dissipate. With the switch out of the circuit, use a multimeter set to continuity or resistance mode. With the switch in the forward position, you should see continuity across the correct terminal pairs; in reverse, continuity should shift to the opposite pair. If you get no continuity in one position, or continuity in both positions at once, the switch has failed. A wiring diagram for your specific cart model is invaluable here — terminal labeling varies by manufacturer and model year.
Replacing the Switch: General Process
Take clear photos of your existing wiring before disconnecting anything — this is the single most important thing you can do to make reinstallation straightforward. Label each wire with masking tape if needed. Carefully remove the wires from the old switch terminals, noting that on many carts the terminals use spade connectors or ring terminals that simply pull off or unscrew. Remove the mounting hardware holding the switch in place, swap in the new switch, and reconnect the wires in exactly the same configuration. Double-check every connection is snug before reassembling any panels or covers.
A Note on Compatibility and Universal Switches
F&R switches are not universally interchangeable — terminal count, lever style, mounting hole pattern, and voltage rating all vary between manufacturers and between model years of the same brand. When sourcing a replacement, know your cart's make, model, and year before you buy. Many "universal" switches are designed to fit a broad range of carts but still require you to verify that the terminal layout matches your application. When in doubt, bring your old switch to the parts supplier or match it side by side before installing.
After Installation: Testing Safely
Before your first test drive, reconnect the batteries and — with the cart on a flat surface with clear space in both directions — test forward and reverse at low throttle. The transition between directions should be crisp and immediate. If the cart still behaves erratically, recheck your wiring connections and confirm the switch is fully seating in each position. Persistent issues after a confirmed-good switch installation usually point upstream to the controller or solenoid, which would be the next components to evaluate.


