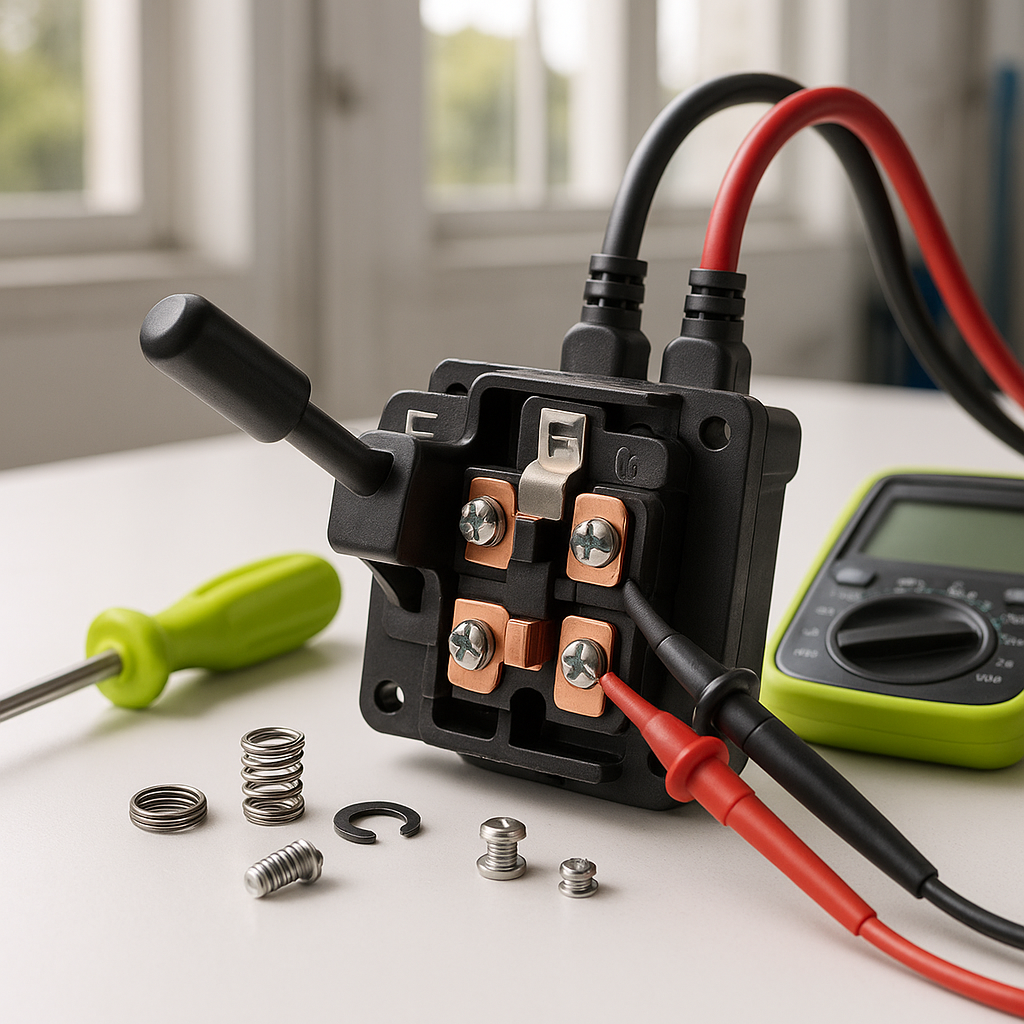
If your golf cart moves in one direction but not the other, or refuses to move at all despite good batteries and a working solenoid, the forward/reverse switch is a prime suspect. This small but critical component tells the cart's electrical system which direction to send power to the motor. When it fails — and it does fail, especially on older carts with heavy use — the symptoms can look like a dead controller or a bad motor. Testing it first can save you a lot of time and money.
Understanding What the F&R Switch Actually Does
On electric golf carts, the forward/reverse switch (sometimes called the F&R switch or direction switch) reverses the polarity or signal path to the motor, allowing it to spin in either direction. On older series-wound motor setups, the switch physically reverses current flow through the motor windings. On newer carts with solid-state controllers, the switch may send a low-current signal to the controller, which handles direction electronically. Knowing which type your cart has matters because the failure modes and testing methods differ slightly.
Common Signs of a Failing Forward/Reverse Switch
The most obvious sign is that the cart only works in one direction. But switches can also fail in subtler ways: intermittent operation where the cart sometimes engages and sometimes doesn't, a burning smell or visible scorching around the switch housing, or a switch that feels loose, sticky, or doesn't click firmly into each position. Corrosion on the terminals — especially on carts stored outdoors or in humid environments — is another common culprit that can cause the same symptoms as a fully dead switch.
How to Test the Forward/Reverse Switch
Before you touch anything, disconnect the main battery pack or engage the main disconnect. Safety first — golf cart electrical systems carry enough current to cause serious injury. Once the cart is de-energized, locate the F&R switch, which is usually mounted near the key switch or on the dash assembly. Disconnect the wiring harness from the switch. Using a multimeter set to continuity or resistance mode, test each pair of terminals in both the forward and reverse positions. In each position, certain terminal pairs should show continuity (very low resistance) while others should show an open circuit. Consult a wiring diagram for your specific cart model — they're widely available from manufacturers and online forums — to know exactly which terminals should be closed in each position. If you find a terminal pair that should be closed but shows no continuity, or one that should be open but shows continuity, the switch has failed internally.
Inspecting for Corrosion Before Replacing
Don't assume the switch is dead just because it tests poorly with corroded terminals. Disconnect all wires, clean each terminal with fine-grit sandpaper or a wire brush, apply a small amount of dielectric grease, and retest. Corrosion-related resistance can mimic an internal failure. If the switch tests correctly after cleaning, you may have gotten lucky — but keep an eye on it and consider replacing it soon anyway if it's heavily corroded or very old.
Replacing the Switch
Replacing an F&R switch is a straightforward job, but labeling your wires before you disconnect them is non-negotiable. Take a photo of the original wiring, then use masking tape and a marker to label each wire with its terminal position. Most switches use spade connectors or ring terminals, so no soldering is typically required. Remove the old switch from its mounting bracket, install the new one, and reconnect each wire exactly as it was on the original. Some switches are direct-fit replacements for specific cart models; others are universal and require you to match up the terminal layout manually using your wiring diagram. Double-check every connection before re-energizing the system.
After Installation: Testing Before You Drive
Reconnect your batteries and test both directions at low speed in a safe, open area. The cart should engage smoothly in forward and reverse with no hesitation, burning smell, or unusual noise from the motor. If the cart still doesn't work correctly in one direction, the problem may be upstream (the controller or key switch) or downstream (the motor itself). But in most cases, a properly installed replacement switch restores full function immediately. A few dollars and an hour of your time is a much better outcome than misdiagnosing a perfectly good motor or controller.


