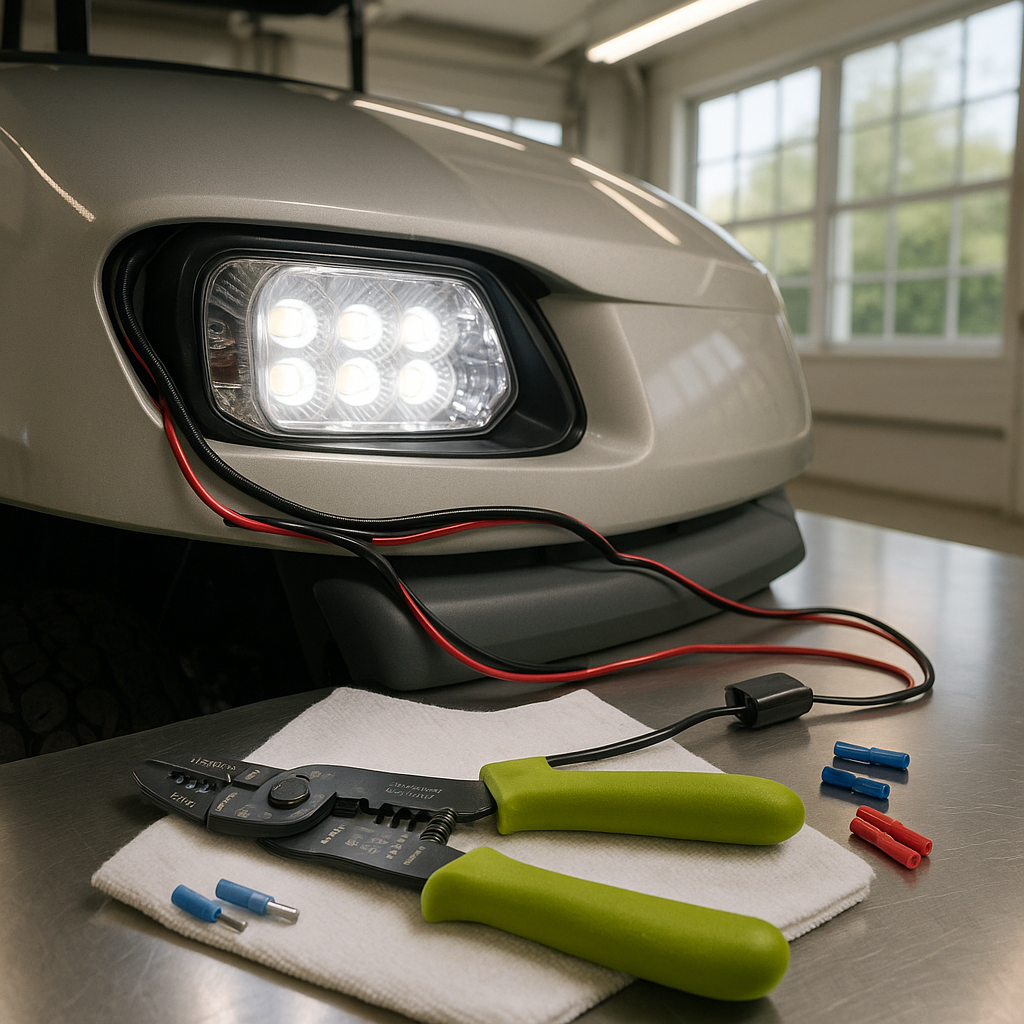
Swapping out old incandescent headlights for LEDs is one of the most popular electrical upgrades on a golf cart, and for good reason: LEDs draw significantly less current, last far longer, and throw a noticeably brighter, cleaner beam. But wiring them incorrectly — even on a low-voltage DC system — can damage your controller, blow fuses, or create a fire hazard. Taking the time to do it right the first time is always worth it.
Before You Touch a Wire: Disconnect Your Power Source
Whether your cart runs on a battery pack or has a key-switched ignition, disconnect power before doing any wiring work. On an electric cart, that means removing the main negative battery cable or pulling the battery disconnect plug if your cart has one. On a gas cart, disconnect the battery. Never assume a key in the off position makes the system dead — capacitors in controllers can hold a charge, and you want zero possibility of a short while your hands are in the wiring.
Understand Your Cart's Electrical System First
Golf carts are not all wired the same. Electric carts operate on battery pack voltages that vary by model and year, and they may or may not have a dedicated lighting circuit separate from the traction circuit. Gas carts typically have a small 12-volt battery for accessories. Before buying any LED kit, confirm what voltage your lighting circuit actually runs — using LEDs rated for the wrong voltage will cause immediate failure or dangerously overheat the wiring. Checking with a multimeter at the existing headlight socket (with the lights switched on) is the most reliable way to confirm this.
Gather Your Materials
A basic LED headlight installation requires the replacement LED assemblies themselves, appropriately rated wire (match or exceed the gauge of the existing headlight wiring), weatherproof wire connectors or heat-shrink butt connectors, electrical tape, zip ties for securing the harness, and a multimeter. If your cart did not come with a headlight switch or fuse on the lighting circuit, adding an inline fuse holder sized to the LED draw is strongly recommended — it protects the wiring if something shorts downstream.
Remove the Old Headlight Assembly
Most golf cart headlights are held in by a bezel ring, a few screws, or a snap-fit bracket. Gently remove the lens or housing, locate the wiring connector behind it, and unplug or cut the leads (leaving enough wire length to work with). Note which wire is positive and which is negative before you disconnect anything — on a DC system polarity matters, and LEDs will not illuminate if wired backwards. A quick photo with your phone before disconnecting is a habit worth keeping.
Wire In the New LED Assembly
Match positive to positive and negative to negative. If your LED housing uses a plug connector, simply plug it in. If you're splicing bare leads, use heat-shrink butt connectors rather than just twisting wires together and wrapping them in tape — bare twisted splices vibrate loose over time and are a common cause of intermittent lighting faults on carts. Once connected, route the wiring so it doesn't contact any hot surfaces, moving parts, or sharp metal edges, and secure it with zip ties every several inches.
Test Before You Button Everything Up
Reconnect your power source and turn on the headlights before reinstalling any trim or bezels. Confirm both lights illuminate, check for any flickering (which usually indicates a loose connection), and verify the switch turns them fully off. If you have a multimeter, confirm the voltage at the connector is what you expected. Only once everything checks out should you fully reinstall the housing and secure any covers.
A Note on Fusing and Load
LEDs draw very little current compared to the incandescent bulbs they replace, which is mostly a benefit — but it can occasionally cause issues on carts that use a load-sensing relay to activate the lighting circuit. If your lights don't come on even though the wiring checks out, a load resistor wired in parallel can solve this by giving the relay enough current draw to trigger. It's an uncommon issue but worth knowing about before you assume something is broken.


