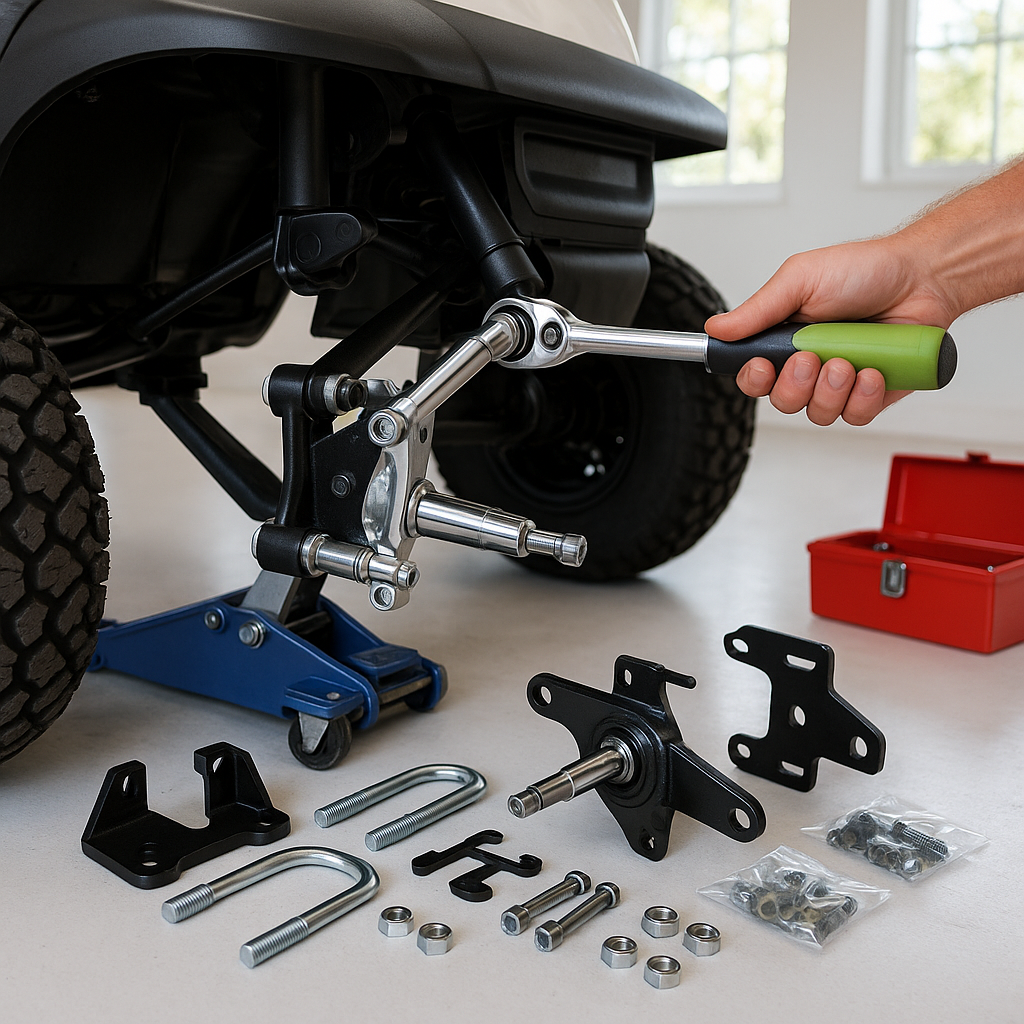
A lift kit is one of the most popular upgrades in the golf cart world, and for good reason. More ground clearance lets you run larger tires, handle rougher terrain, and give your cart an aggressive stance that stock suspension simply can't match. But a lift install isn't a plug-and-play job — it requires mechanical comfort, the right tools, and a clear understanding of what you're getting into before you touch a bolt. This guide walks you through the general process and what to expect at each stage.
Understand What Type of Lift Kit You Have
Golf cart lift kits generally fall into two categories: spindle lifts and A-arm (or long-travel) lifts. Spindle lifts replace the factory spindles with taller units to gain a few inches of clearance without changing the suspension geometry dramatically — they're simpler to install and a good choice for moderate lifts. A-arm kits replace or extend the entire front suspension assembly and typically allow for more lift height and a wider stance, but they're more involved to install. Know which type you're working with before you start, and read through all included instructions completely before picking up a wrench.
Gather Your Tools and Prep the Cart
Most lift installs require a basic set of hand tools — sockets, wrenches, and a torque wrench for final fastening. Depending on your cart model, you may also need a ball joint press or separator, a floor jack, and jack stands rated for the weight of your cart. Work on a flat, hard surface. Disconnect the battery pack before you begin — on electric carts, this is non-negotiable for safety. On gas carts, it's still good practice to prevent accidental engagement. Have your hardware organized and note whether your kit uses metric or standard fasteners.
Remove the Existing Front Suspension Components
Start by safely lifting and supporting the front of the cart so the wheels hang free. Remove the front wheels first, then work methodically through the suspension — typically that means disconnecting tie rod ends, removing the factory spindles or A-arms, and setting aside any components you'll be reusing. Take photos before you disassemble anything. Golf cart suspension is relatively simple compared to a car, but having a reference point for how things were oriented saves real time during reassembly. Keep all factory hardware organized in case any of it gets reused with the new kit.
Install the New Lift Components
Follow your kit's instructions for the correct assembly sequence — some kits require you to partially assemble components before they go onto the cart, others are installed piece by piece. When installing spindles, ensure they're seated fully and oriented correctly before tightening. On A-arm kits, pay close attention to alignment of bushings and pivot points. Thread all fasteners in by hand first before torquing anything down — this helps you spot misalignment early. Use a torque wrench for all critical fasteners and follow the torque specs provided with your specific kit. Don't guess on suspension hardware.
Address the Rear Suspension (If Applicable)
Many lift kits are front-only, which is common on carts with rear leaf springs — the front is raised to match larger tires, and the rear lift is handled with add-a-leaf packs or block spacers sold separately. If your kit includes rear components, install them using the same methodical approach: support the rear of the cart, remove the wheels, and follow the included steps carefully. Rear lift work often involves the rear axle and leaf spring hangers, so take your time and double-check that all U-bolts and spring hardware are torqued correctly when you're done.
Install Your New Tires and Check Alignment
With the lift in place, mount your new tires and wheels and torque the lug nuts to spec. Lower the cart to the ground and do a visual inspection — look for anything that appears bent, rubbing, or misaligned. On most golf carts, toe alignment can be adjusted at the tie rod ends. After a lift, it's worth checking and adjusting toe, as even a slight change in spindle geometry can affect how the cart tracks. A simple toe measurement with a tape measure (checking the distance between the fronts and backs of the front tires) will tell you if you need to make adjustments.
Test Drive and Re-Torque
Before putting the cart back into normal use, take it for a slow test drive in a safe area. Listen for any unusual noises, feel for pulling or instability, and check that the steering returns to center. After the first 10 to 20 miles of use, re-torque all suspension fasteners — this is standard practice any time suspension components are installed, as hardware can settle slightly under initial load. A lift kit done right will give you years of reliable performance; one that's rushed or under-torqued is a genuine safety risk. Take the extra time to do it properly.


