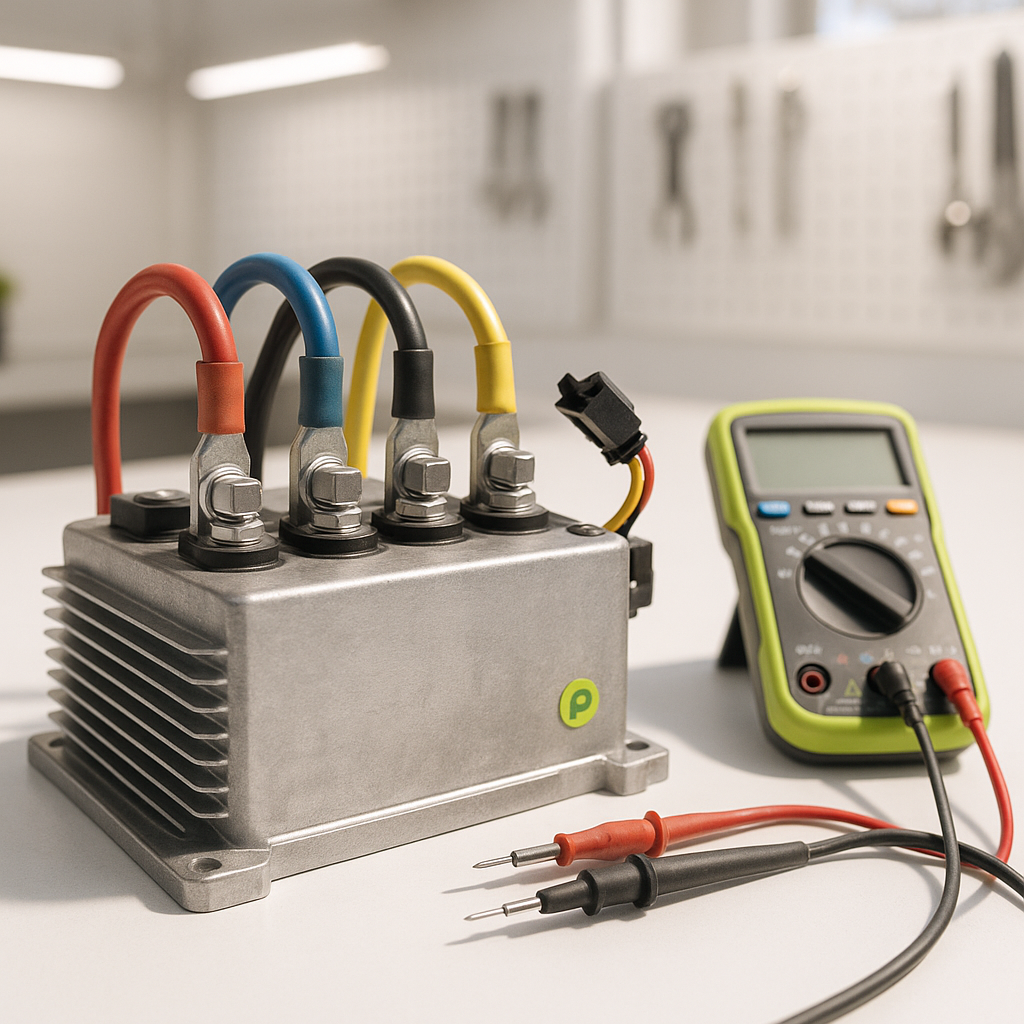
A golf cart that won't move, surges unexpectedly, or loses power under load is a frustrating problem — and the motor controller is often the first thing people blame. Sometimes that's correct. But controllers aren't cheap, and swapping one out only to find the real culprit was a bad solenoid, a worn throttle sensor, or corroded battery connections is an expensive lesson. This guide walks you through a logical diagnostic sequence so you can confirm whether the controller is actually at fault before you spend money on a replacement.
Understand What the Controller Actually Does
The motor controller is the brain of your cart's drive system. It takes input from the throttle (either a mechanical pot box or an ITS-style inductive throttle sensor), reads battery voltage, and precisely regulates the power delivered to the motor — controlling both speed and torque. Because it sits between so many other components, a fault anywhere upstream or downstream can mimic a failed controller. That's why diagnosis has to work outward from the controller, not just straight at it.
Start With the Basics Before Touching Anything Else
Before you ever pull out a multimeter, do a full visual inspection. Check every battery connection and cable for corrosion, looseness, or heat damage. Verify your battery pack is fully charged and that each battery in the series is holding voltage — a weak or dead single battery will rob the whole system and can cause the controller to behave erratically or shut down entirely. Inspect the solenoid for pitting or burning on its contacts. Check the forward/reverse switch for worn contacts. None of these are glamorous checks, but they eliminate the most common culprits fast.
Reading Fault Codes (If Your Cart Supports Them)
Many modern controllers — particularly those found on EZGO RXV, newer Club Car Precedents, and Yamaha Drive carts — have onboard diagnostics accessible through a specific sequence of switch positions or through a dealer-level handheld programmer. If your cart has this capability, read the fault codes first. Common codes point to throttle faults, overcurrent events, undervoltage shutdowns, or motor winding issues. A code that points squarely at an internal controller fault is much stronger evidence than a symptom alone. Check your cart's service manual for the specific code-reading procedure for your model and year.
Testing the Throttle Sensor Signal
One of the most common misdiagnosed "controller failures" is actually a faulty throttle position sensor. With your cart in a safe, stationary position and proper safety precautions taken (chocked wheels, key out until you're ready to test), use a multimeter set to DC voltage to check the signal wire coming out of the throttle sensor as you slowly press the accelerator pedal. The signal voltage should rise smoothly and consistently as you increase throttle input. If the voltage jumps, drops to zero in the middle of travel, or doesn't change at all, the throttle sensor is likely your problem — not the controller. Replace the sensor before condemning the controller.
Checking Voltage In and Out of the Controller
With a fully charged pack, measure the voltage at the battery input terminals of the controller. It should be close to your pack's full charge voltage. Then, with a helper pressing the accelerator slowly while you observe (keep hands clear of all moving parts), check for output voltage at the motor terminals. If you're seeing full pack voltage in but zero or very low voltage out with no motor response, and the solenoid is confirmed good, the controller may indeed be failing to switch. However, also verify the main input fuse or circuit breaker hasn't tripped — some carts have a resettable breaker that's easy to overlook.
Heat and Physical Inspection of the Controller
Controllers generate heat and are designed to shed it — most are bolted directly to a metal frame section that acts as a heat sink. If the controller is running extremely hot even under light use, check that the mounting surface is clean and making full contact. A controller that's thermally throttling or shutting down on hills is sometimes just a heat-sink contact issue, not an internal failure. Also inspect the controller body itself for burn marks, swelling, cracked potting compound, or corrosion on the connector pins. Any of these is a strong indicator of a unit that genuinely needs replacement.
When to Call It and Replace the Controller
If you've confirmed good battery voltage, a functioning solenoid, a clean throttle signal, no blown fuses, and the controller still won't output power to the motor — or outputs it erratically — then replacement is the right call. When sourcing a replacement, match the voltage rating and amperage rating of the original unit exactly, and confirm it's the correct model for your specific cart make, model, and year. Installing an undersized controller is a fire and reliability risk; installing one with the wrong pinout or communication protocol simply won't work. Doing the diagnostic legwork first means you'll replace the right part, once, and get back on the course faster.


