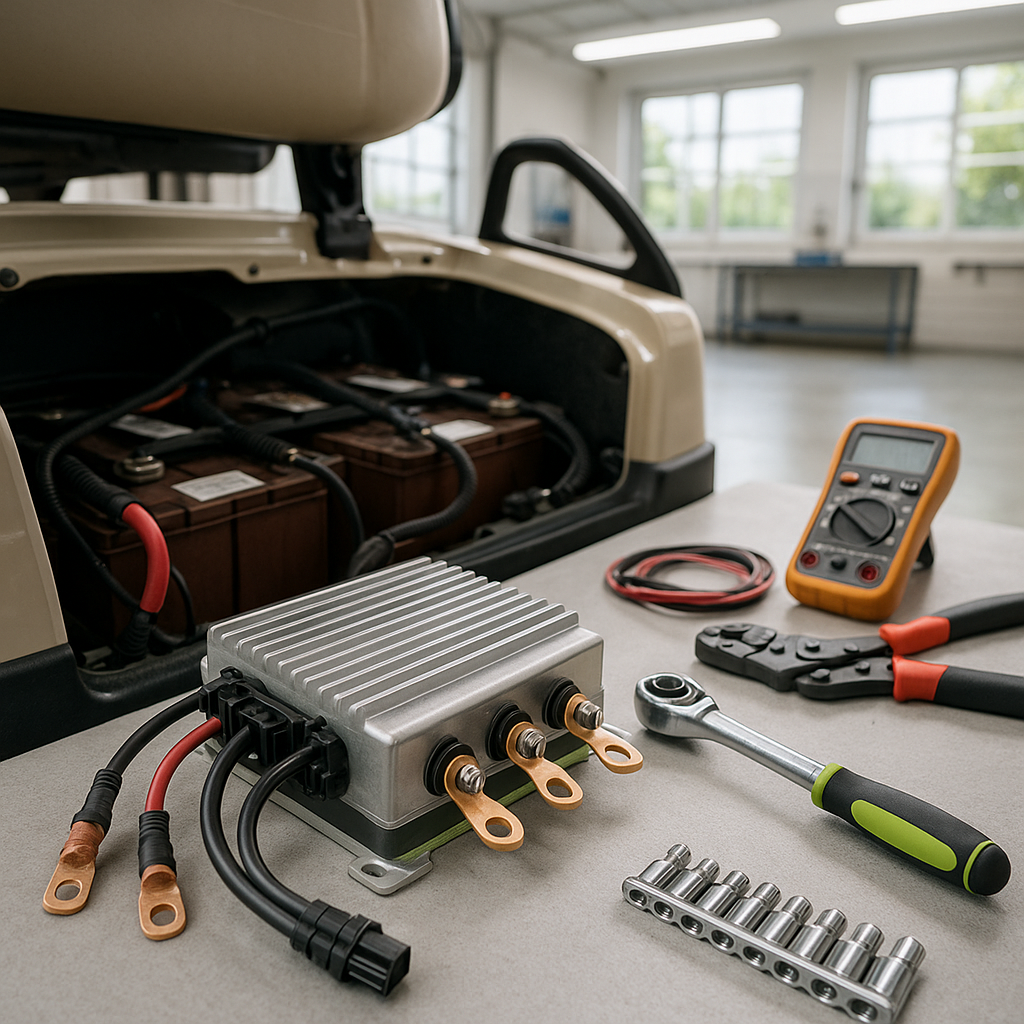
The motor controller is the brain of your electric golf cart. It takes the signal from your accelerator pedal and regulates exactly how much current flows from your battery pack to the motor. When it fails — or when you're upgrading for more performance — replacing it is one of the most impactful jobs you can do on an electric cart. It's also well within the reach of a mechanically capable DIYer if you approach it carefully and methodically.
Before You Buy: Know What You're Matching
Controllers are not universal. Before you order a replacement, you need to know three things: your cart's make and model, your battery pack voltage (common configurations are 36V and 48V, though some older carts run lower), and your motor's current rating. Installing a controller that doesn't match your system voltage is a serious electrical hazard. Installing one rated for too little current will cause it to fail prematurely under load. Check your existing controller's label — it will show the input voltage and the rated amperage. A higher-amperage controller of the same voltage is generally a safe upgrade that can improve acceleration, but only if your motor, wiring, and connections are in good enough condition to handle the increased current.
Diagnosing a Bad Controller First
Don't replace a controller until you've ruled out simpler causes. A cart that won't move or that moves erratically could have a dead battery, a faulty solenoid, a bad accelerator potentiometer (the ITS or throttle sensor), or corroded connections — all of which are cheaper fixes. With a multimeter, confirm your battery pack is at or near its full charge voltage. Check that the solenoid is clicking when you press the pedal. Inspect all high-current connections for corrosion or heat damage. If all of that checks out and the controller is getting power but not sending it to the motor, the controller itself is the likely culprit.
Safety Steps Before You Touch Anything
Electric golf carts carry enough stored energy to cause serious injury or start a fire if you short the wrong terminals. Before you begin, disconnect the main negative battery cable from the battery pack — not just the controller. On 48V systems especially, treat every large terminal as live until you've personally confirmed otherwise. Wear insulated gloves. Remove any metal jewelry. Work in a well-ventilated area and keep a dry chemical fire extinguisher nearby. Take photos of every connection before you disconnect anything — you'll thank yourself when it's time to reassemble.
Removing the Old Controller
Controllers are typically mounted to a metal bracket on the frame, often under the seat or in the front compartment depending on the cart model. Label or photograph every wire and its terminal before removal — pay close attention to the battery positive and negative leads, the motor terminals (usually labeled M- and A1/A2 depending on the design), and any low-voltage signal wires going to the throttle, solenoid, or key switch. Disconnect the low-voltage signal wires first, then the high-current motor leads, and finally the battery leads. Unbolt the controller from its mount. Note how it was oriented — many controllers use the mounting plate as a heat sink and need solid metal contact to manage heat properly.
Installing the New Controller
Mount the new controller securely to the same bracket or a replacement mount, ensuring good contact with the frame or heat-sink surface. Most manufacturers recommend applying a thin layer of thermal paste between the controller base and the mounting surface to improve heat transfer — a hot controller will throttle performance and shorten its lifespan. Reconnect the high-current leads first (battery and motor terminals), then the low-voltage signal wires. Tighten all terminals firmly — a loose high-current connection will arc, overheat, and fail. Double-check your wiring against your photos before reconnecting the main battery negative.
Testing and Initial Commissioning
Reconnect the main negative battery cable. Turn the key on without pressing the accelerator and listen — many controllers will produce a soft relay click or a brief startup sequence. Press the pedal slowly and observe: the cart should move smoothly from a stop. If it lurches, rolls backward, or makes grinding or buzzing noises, shut it down immediately and recheck your motor terminal polarity. Some performance controllers require initial programming via a handheld programmer to set throttle response curves, current limits, and other parameters — check the documentation for your specific unit. Run a few slow test laps before pushing the cart hard, and check all connections for any sign of heat after the first full-speed run.
Maintenance Going Forward
Controllers are largely maintenance-free, but heat is their enemy. Keep the mounting area clear of debris, and periodically inspect the high-current terminals for corrosion or looseness — especially after the first few months of use when connections can settle. If your cart sees heavy use, towing, or frequent hill climbing, the added load increases heat cycling on the controller. An aftermarket heat sink or improved ventilation in the battery compartment can meaningfully extend controller life in those situations.


