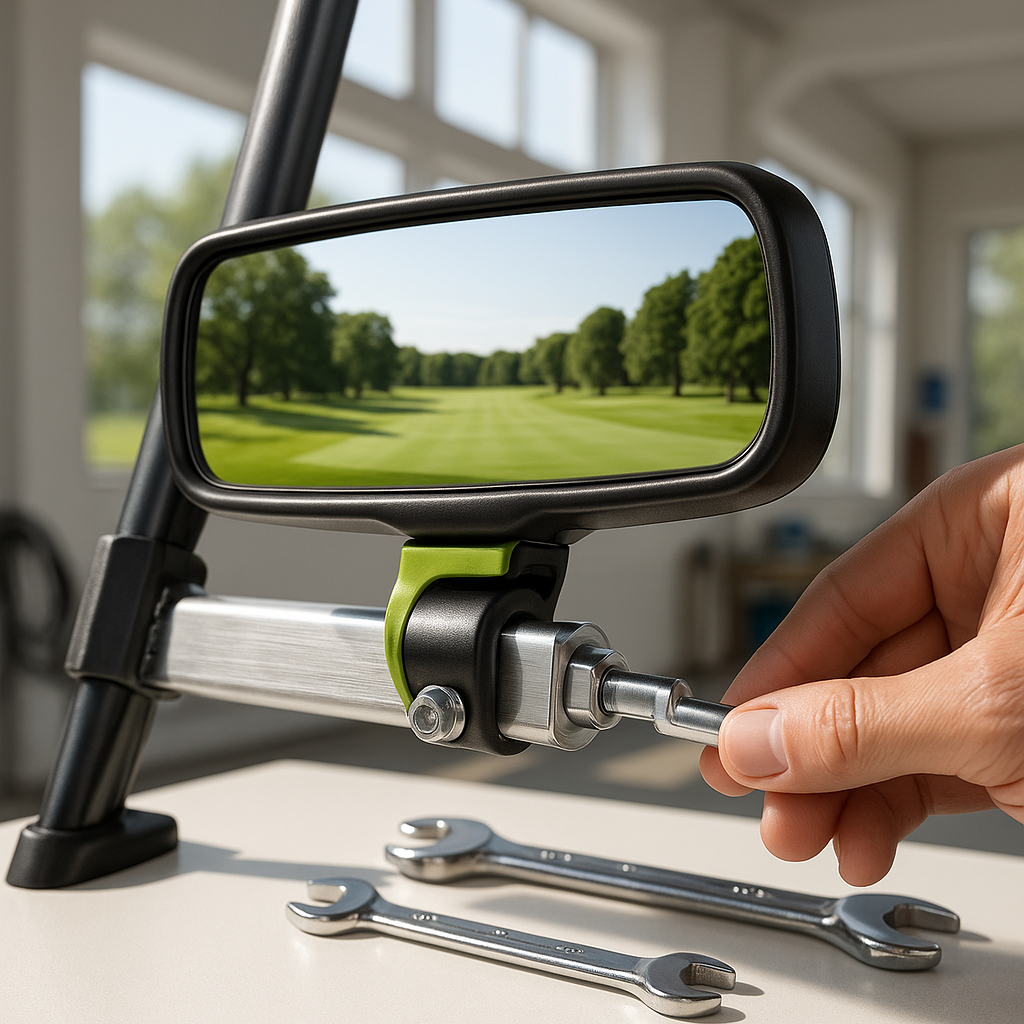
A rear view mirror sounds simple until you're standing in a parking lot squinting at three different mounting options, none of which obviously match your cart's windshield frame or roll bar. The reality is that golf cart rear view mirrors come in several mount configurations, and picking the wrong one means a wobbly mirror, a stripped clamp, or a view that's mostly sky. This guide walks you through the selection process and the installation basics so you get a mirror that holds its position and actually improves your situational awareness.
Understand the Two Main Mount Types
Most golf cart rear view mirrors mount in one of two ways: windshield-frame clamp or overhead bar clamp. Windshield-frame clamps grip the top edge or the upright channel of your windshield frame, making them a good fit for carts that have a forward-positioned windshield but no overhead tube running between the cart and the canopy. Overhead bar clamps wrap around a horizontal tube — common on carts with a full roof — and typically use a U-bolt or split-clamp design. Before you buy anything, identify which structure you have to mount to. Measure the tube diameter or frame thickness with a caliper or even a tape measure, because clamps are sized, and a clamp meant for a thicker tube will never tighten securely on a thinner one.
Check the Viewing Width You Actually Need
Mirrors marketed for golf carts vary considerably in face width. A narrow mirror works fine if your cart is stock width, but if you've added a rear seat, a cargo box, or wider rear tires, a wider mirror face will cover more of what's behind you without requiring you to crane your neck. As a rule of thumb, hold a straightedge or piece of cardboard at the width of your cart's widest point, stand at the driver's seat, and estimate how wide a mirror face you'd need to see edge to edge. You don't need to be precise — this is just to avoid buying something comically undersized.
Gather What You'll Need Before You Start
Installation is straightforward, but having the right tools at hand keeps it from becoming frustrating. You'll generally need the appropriate wrench or hex key for the clamp hardware (metric or standard depending on the mirror), something to clean the mounting surface (a rag and mild cleaner work), and occasionally a second pair of hands to hold the mirror in position while you snug down the clamp. If the mirror arm has a swivel joint, you may also need a separate wrench to lock that joint once you've set the angle. Read through all the hardware before you start — some clamps have a specific assembly order that matters.
Mount the Clamp First, Then Attach the Mirror Arm
The most common installation mistake is tightening the clamp fully before checking that the mirror arm is in the right position. Instead, thread the clamp hardware loosely onto your windshield frame or overhead bar so it holds its position but can still slide. Attach the mirror arm to the clamp if it's a separate piece, then sit in the driver's seat and physically hold the mirror face where you want it. Have a helper snug the clamp while you hold everything in place. Once the clamp is positioned correctly, get back out and tighten it properly — firm and secure, but not so aggressively that you crack a plastic frame or strip a threaded stud. On metal tube clamps, you want the clamp to resist twisting under hand pressure; you don't need to torque it like a lug nut.
Set the Mirror Angle Before Fully Locking the Swivel
Nearly every golf cart rear view mirror has at least one adjustable swivel joint between the clamp and the mirror face. Set the mirror angle before you lock this joint, not after. Sit in your normal driving position, tilt and rotate the mirror face until you can see the full rear of the cart and a comfortable swath of ground behind it, then tighten the swivel lock. The goal is a view that shows you what's directly behind the cart and enough of the sides to catch a pedestrian or another cart approaching from a slight angle. If your mirror has a secondary pivot at the base of the mirror face itself, use it to fine-tune the vertical tilt separately from the arm angle.
Test Stability Before Driving
Once everything is locked down, grip the mirror face and apply moderate pressure in several directions — up, down, forward, back. The entire assembly should feel solid with no creaking or rotation at the clamp. If the clamp slips on a round tube even when tight, the clamp ID is likely too large for your tube; a thin strip of rubber or automotive weather stripping wrapped around the tube before re-clamping will often close that gap. If a plastic windshield frame clamp is cracking under tension, back off and look for a mirror designed for that specific frame style — forcing an ill-fitting clamp risks damaging the frame itself. Take the cart for a short, slow drive and recheck mirror position afterward; vibration sometimes reveals a loose joint you didn't notice at rest.
A properly mounted rear view mirror adds genuine safety, especially on carts used around neighborhoods, campgrounds, or anywhere pedestrian traffic mixes with cart traffic. The install takes less than half an hour when you have the right mount type for your cart — the research beforehand is what actually determines whether it goes smoothly.


