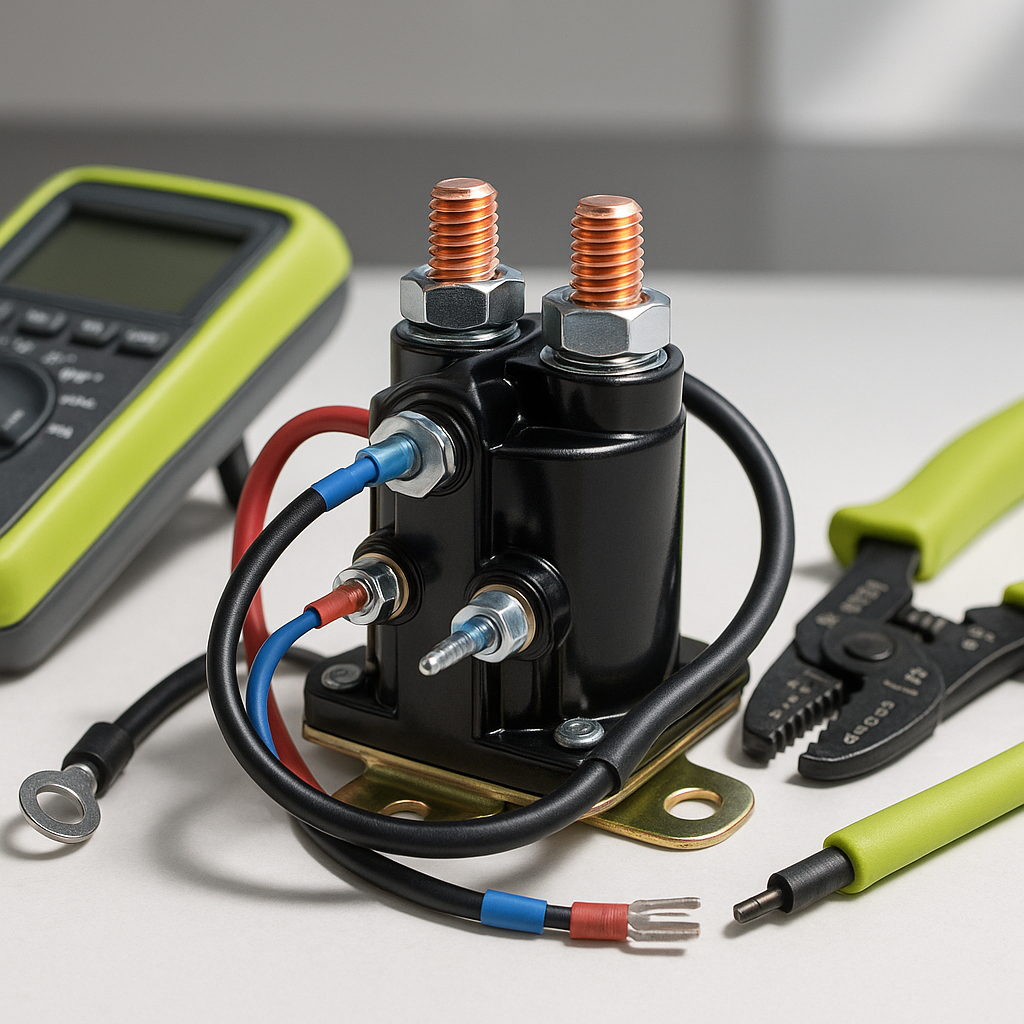
A golf cart that clicks but won't move, or one that's completely silent when you press the pedal, almost always points toward the solenoid circuit. Most people jump straight to replacing the solenoid, but a significant number of these failures trace back to wiring — corroded terminals, loose connections, or a burned wire — rather than the solenoid itself. Before you order a replacement part, it's worth spending 20 minutes working through the wiring systematically. You'll either find the real problem or confirm the solenoid is genuinely bad, and either way you'll be better off.
Understand What the Solenoid Wiring Actually Does
The solenoid sits between your battery pack and the motor controller (or motor, depending on cart design), acting as a high-current switch that closes when you press the accelerator. It has two circuits: a small-gauge coil circuit that gets a signal from the key switch and throttle, and a heavy-gauge main circuit that carries the full pack voltage to the drivetrain. Problems can develop in either one. Coil circuit issues usually cause a silent cart — no click at all. Main circuit issues often produce a click but no movement, since the solenoid is activating but not passing enough current through to the motor. Knowing which circuit is misbehaving narrows your diagnosis immediately.
What You'll Need Before You Start
You'll want a digital multimeter capable of reading DC voltage in your cart's voltage range, a wire brush or fine-grit sandpaper for cleaning terminals, and basic hand tools for removing and reseating connectors. Safety is non-negotiable here: disconnect the main negative battery cable before touching any solenoid terminals, and be aware that the large terminals on the solenoid may still hold a charge path even with the key off. Wear insulated gloves if you have them. This is a high-voltage, high-current system — particularly on 48-volt packs — and careless contact can cause serious injury or damage.
Step 1: Visual Inspection First
With power disconnected, start by looking at every wire connected to the solenoid. You're looking for insulation that's melted, cracked, or charred — a sign that the wire has been carrying more current than it should, often because of a loose terminal creating resistance and heat. Check the terminal lugs where the heavy cables bolt on. These are a common failure point: they corrode, loosen slightly over time, and that small amount of resistance under high current produces heat that accelerates further damage. Any terminal that looks green, white, or burned should be cleaned thoroughly with a wire brush before you go further. A loose or corroded main terminal will mimic a dead solenoid almost perfectly.
Step 2: Check the Coil Circuit Under Power
Reconnect the negative battery cable and — with a helper available if possible — have someone press the accelerator while you use your multimeter to check for voltage across the two small terminals on the solenoid. If your cart's coil circuit is working correctly, you should see voltage there when the pedal is pressed. No voltage means the problem is upstream: the key switch, the run/tow switch, the throttle sensor or microswitch, or a broken wire in that low-current loop. Voltage present but no click means the solenoid coil itself has likely failed. Voltage present, audible click, but no movement means the solenoid is activating but the main contacts inside may be burned or pitted — or the heavy cable connections are too corroded to pass adequate current.
Step 3: Test the Main Circuit Connections
With power disconnected again, use your multimeter in continuity or resistance mode to check each heavy cable end-to-end — from the battery terminal, through the cable, to the solenoid lug. Any significant resistance in what should be a near-zero-resistance connection tells you that wire or its termination is compromised. Pay close attention to the ring terminals crimped onto the cable ends. A terminal that was crimped years ago, exposed to weather and vibration, can develop a hidden high-resistance joint right inside the crimp that you can't see from the outside but that causes real voltage drop under load. If a cable is questionable, replacing it is usually the right call — heavy-gauge cable is relatively inexpensive compared to chasing intermittent problems.
Step 4: Inspect the Ground Path
Solenoid wiring problems aren't always on the positive side. The ground path — from the solenoid back to the battery negative, and the chassis ground connections throughout the cart — matters just as much. A weak or corroded ground connection causes erratic behavior: the cart might work fine cold and fail when warm, or work on flat ground but cut out under load on a hill. Trace the ground cable from the solenoid to where it connects to the battery pack and look for the same signs of corrosion and loose terminals you checked on the positive side. Clean and retorque any questionable connection.
When to Replace the Solenoid vs. the Wiring
If your inspection and testing show clean, tight, properly conducting wiring on both the coil and main circuits, but the solenoid still doesn't click or still fails to pass current when it does click, the solenoid itself is the problem and should be replaced. On the other hand, if you find and fix a corroded terminal or a damaged wire and the cart returns to normal operation, you've saved yourself a parts cost and more importantly found the actual root cause. Either way, take note of what you found — solenoid wiring failures are almost always caused by water intrusion, loose hardware, or years of vibration, and a periodic visual check of these connections every season will catch problems before they strand you on the course.


