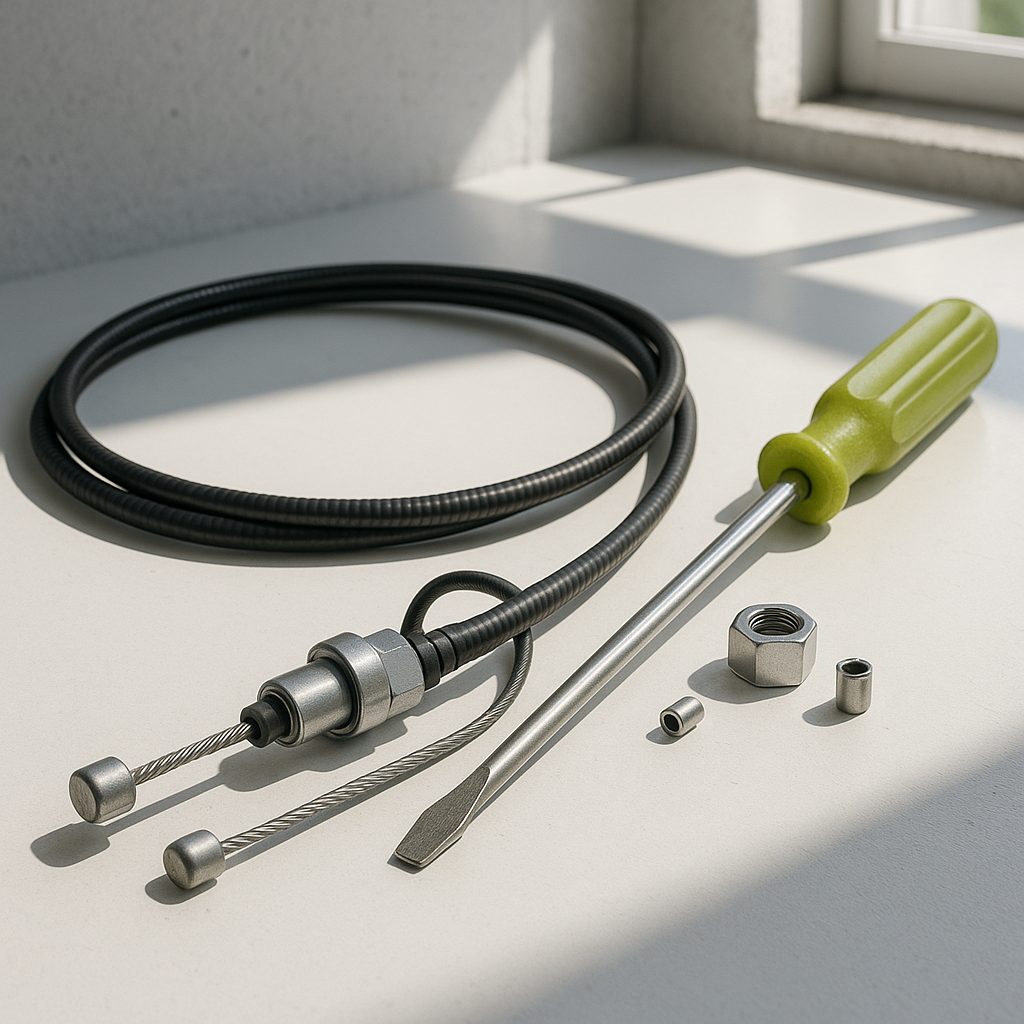
The throttle cable is one of those components that quietly does its job until it doesn't — and when it starts to fail, the symptoms range from annoying to genuinely dangerous. A fraying cable can snap mid-ride, a kinked one can stick the throttle open, and a stretched one can leave you with a cart that barely responds to the pedal. Inspecting and servicing your throttle cable is a straightforward job that most owners can handle at home, and it's worth doing on a regular maintenance schedule rather than waiting for something to go wrong.
How a Golf Cart Throttle Cable Works
On both electric and gas golf carts, the throttle cable is a steel-braided wire running inside a protective housing that connects the accelerator pedal to the throttle mechanism — either a carburetor on a gas cart or a throttle position sensor or potentiometer on an electric cart. When you press the pedal, the cable pulls on that mechanism to increase power. When you release it, a return spring pulls everything back to idle or neutral. The cable has to move smoothly in both directions for the system to work properly. Any resistance, slack, or damage in the cable disrupts that relationship and creates unpredictable acceleration behavior.
Signs Your Throttle Cable Needs Attention
The most obvious warning sign is a throttle pedal that feels different than normal — either stiffer than usual, spongy, or slow to return after you lift your foot. On electric carts, a sticky throttle can cause the cart to creep forward when you're not pressing the pedal, which is a safety issue on any terrain. On gas carts, a stuck-open throttle can cause the engine to rev high on its own. You might also notice a delayed response between pressing the pedal and the cart actually moving. Visually, look for fraying wire strands near the cable ends, rust or corrosion on the exposed metal, cracks in the cable housing, or any sharp bends in the routing path.
How to Inspect the Cable
Start with the cart powered off and the key removed. Trace the throttle cable from the pedal assembly all the way to the other end, checking the entire length. You're looking for any spots where the outer housing is cracked, kinked, or compressed. Pay close attention to the endpoints — where the cable attaches to the pedal and where it terminates at the carburetor or throttle sensor — because those areas experience the most stress and are where fraying typically starts. Gently flex the cable housing along its length; any stiff spots or grinding sensations indicate the inner wire is corroding or binding against the housing. Also check that the cable is properly routed through all its guides and clamps and isn't rubbing against any moving parts or heat sources.
Adjusting Throttle Cable Slack
Most throttle cables have an adjustment point — typically a threaded barrel adjuster — at one or both ends. A small amount of slack in the cable is normal and intentional; it prevents the throttle from being held slightly open when the pedal is fully released. Too much slack means the pedal has to travel a significant distance before anything happens, giving you that sluggish, unresponsive feel. Too little slack creates the opposite problem and can hold the throttle partially open at rest. The goal is a slight but noticeable amount of free play at the pedal before the cable goes taut. Make small adjustments, then test pedal feel and confirm the throttle returns fully to its resting position each time before buttoning anything up.
When to Replace Rather Than Adjust
Adjustment buys time on a cable that's just developed a little stretch, but it can't fix physical damage. If you find any broken or frayed strands, replace the cable — a frayed cable is one hard pull away from snapping completely. The same goes for a cable with significant rust or corrosion on the wire itself, as that indicates the protective coating has failed and the structural integrity is compromised. A kinked cable that won't straighten out should also be replaced rather than worked around, because the kink creates a weak point and restricts smooth movement. When sourcing a replacement, match the overall cable length and end fitting types to what came off your cart, and confirm the housing length is compatible with your routing path.
Routing and Reinstallation Tips
When installing a new cable, take a photo of the original routing before you remove the old one — it's easy to forget how the cable passed through brackets and guides once you've pulled it out. Route the new cable with gentle, gradual curves; avoid any sharp bends that would restrict the inner wire from sliding freely. Make sure the cable is clear of moving parts like steering components, the front axle, and any belts or pulleys on gas carts. After installation, cycle the throttle pedal several times by hand before powering up, confirming that the cable pulls and returns smoothly through its full range and that nothing is catching or binding along the route.
A properly adjusted, undamaged throttle cable gives you smooth, predictable power delivery and a pedal that snaps back cleanly every time you lift your foot. It's a small part, but it's directly in the control loop between you and the drivetrain — treat it like the safety-critical component it is, and inspect it at least once a season or any time your acceleration feel changes.


