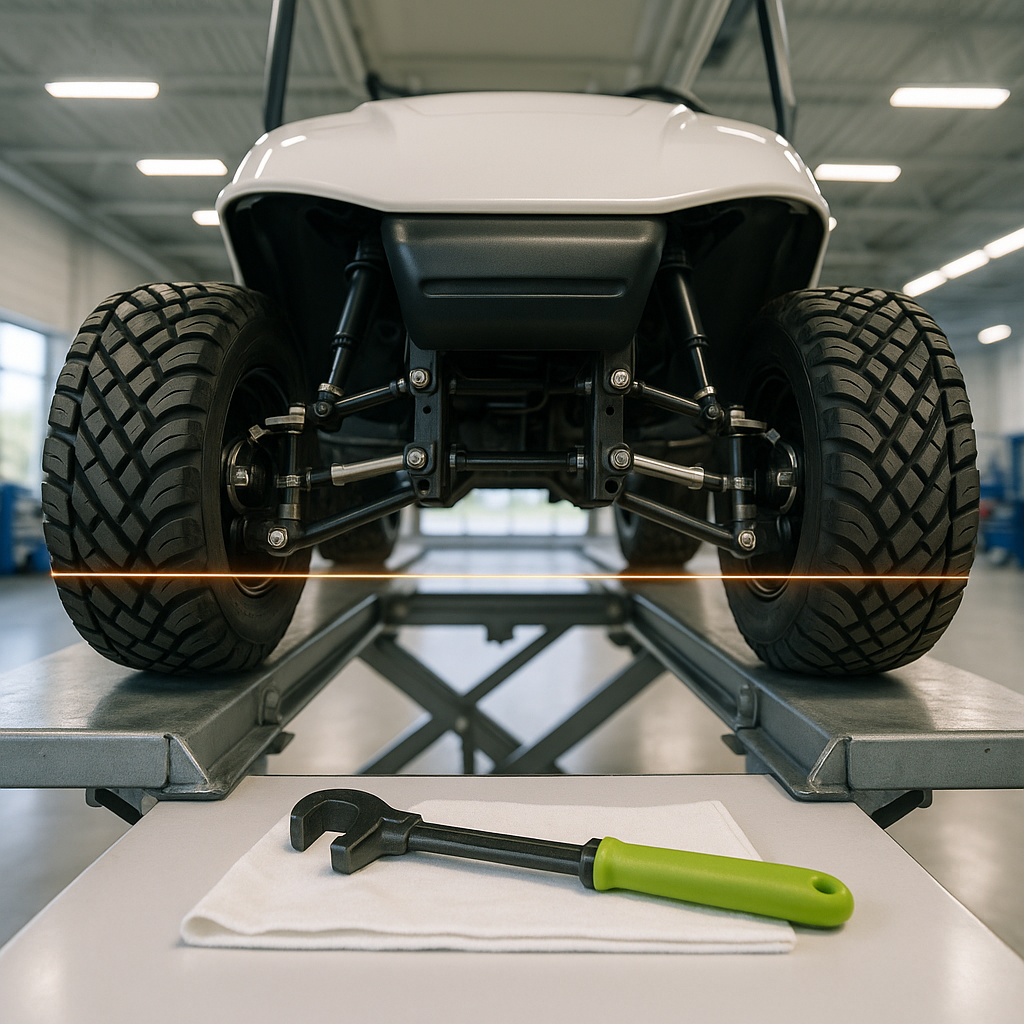
Installing a lift kit is one of the most satisfying upgrades you can make to a golf cart — more ground clearance, bigger tires, a more aggressive stance. But once the kit is bolted on and the new wheels are mounted, a lot of owners just drive off without checking alignment. That's a mistake. Lifting a cart changes the angles of your spindles, tie rods, and A-arms, and if the wheels aren't pointing straight and tracking properly, you'll get uneven tire wear, pulling to one side, and sluggish handling. Taking an hour to check alignment after a lift is cheap insurance against all of that.
Understand What Changes When You Lift
When you raise the suspension on a golf cart, you're altering the geometry that the manufacturer originally set at stock ride height. The most important angle to reconsider is toe — the degree to which your front wheels point inward or outward when viewed from above. Even a modest lift can shift toe enough to cause the tires to scrub against the pavement rather than roll cleanly. Camber (the vertical tilt of the wheel) can also shift, though most golf cart lift kits are designed to keep camber changes minimal. Toe is the one you'll almost always need to address manually after a lift.
What You'll Need
Professional alignment racks are overkill for a golf cart. A basic toe check only requires a tape measure, a flat and level surface to park on, and a straight edge or chalk line if you want to be precise. Some owners use a length of string stretched between jackstands at wheel-center height — this gives you a reliable reference line along the side of the cart. You'll also need the appropriate wrench or pliers to loosen the tie rod end jam nuts and turn the tie rod sleeves, since that's how toe is adjusted on nearly all golf carts.
How to Measure Toe
Park the cart on a flat, level surface with the wheels pointed straight ahead. Find the center of each front tire — most people mark a small line on the tread at the widest point of the tire using chalk or tape. Measure the distance between the two marks at the front of the tires, then measure the distance between the same marks at the rear of the tires (at the same height off the ground). If the front measurement is slightly smaller than the rear measurement, the wheels have toe-in. If the front is larger, that's toe-out. Most golf carts are spec'd for a small amount of toe-in at stock height — typically just a few millimeters — but after a lift, you may find you're sitting well outside that range. Refer to a service manual for your specific cart model to confirm the target toe spec before making adjustments.
Adjusting Toe via the Tie Rods
Toe is corrected by lengthening or shortening the tie rods — the lateral links that connect the steering rack or drag link to each front spindle. Each tie rod has a threaded sleeve in the middle and a jam nut at each end. Loosen the jam nuts, then rotate the sleeve: threading it in shortens the tie rod and typically increases toe-in on that side, while threading it out does the opposite. Make small adjustments — a quarter turn at a time — and re-measure after each change. When both sides read within the target range, retighten the jam nuts firmly to lock the adjustment in place. Do not leave the jam nuts loose; they will back off under driving and your alignment will drift.
Check Steering Wheel Centering
After adjusting toe, drive the cart slowly in a straight line on flat pavement and pay attention to where the steering wheel sits. If the wheel is noticeably off-center while the cart tracks straight, the toe adjustment may be uneven between the left and right tie rods. Go back and split the adjustment more evenly across both sides rather than correcting entirely on one. A centered steering wheel is a good indicator that the workload is balanced between both front wheels.
Do a Final Road Check and Re-Inspect
Take the cart for a short test drive over varied terrain — straight pavement, a gentle turn in each direction, and a slow stop. Listen for any unusual tire noise (scrubbing or droning can indicate remaining misalignment) and feel for pulling. Then bring it back and do a quick visual inspection of all the suspension hardware you disturbed during the lift install: check that spindle bolts, A-arm pivot bolts, and tie rod jam nuts are all properly torqued. It's common for things to settle slightly after the first drive on a new suspension setup. A re-check after the first 10 to 20 miles of use is a smart habit any time you've done suspension work.


