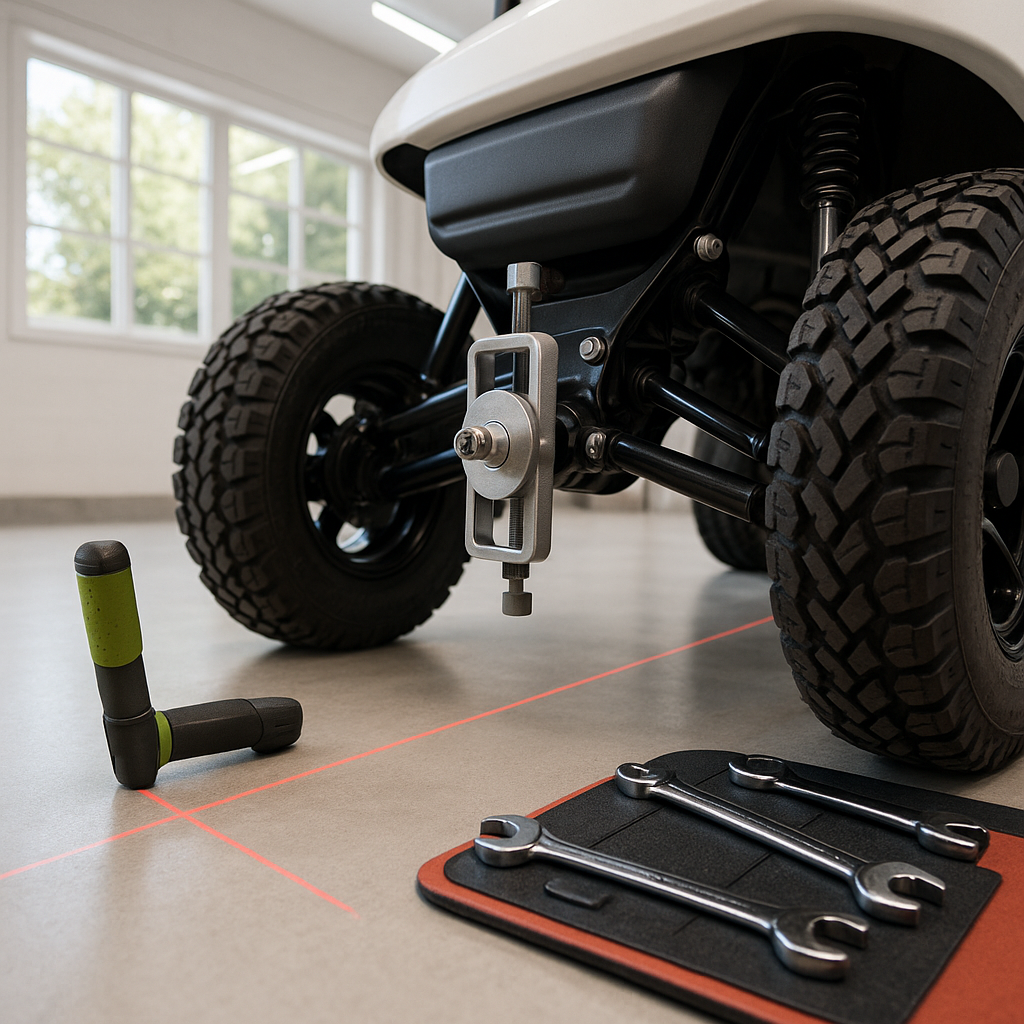
Installing a lift kit is one of the most satisfying upgrades you can make to a golf cart — more ground clearance, bigger tires, a more aggressive stance. But once the kit is bolted on and the new wheels are mounted, a lot of owners just drive off without checking alignment. That's a mistake. Lifting a cart alters the suspension geometry, camber angles, and steering linkage in ways that almost always require some realignment work. Skipping this step leads to uneven tire wear, pulling to one side, heavy or twitchy steering, and extra stress on wheel bearings and tie rods.
Understand What Changes When You Lift a Golf Cart
Most golf cart lift kits work by adding a spindle-style drop or a block-and-spring system that repositions the wheel hubs lower relative to the frame. Either approach changes the angle at which the front wheels sit relative to the ground — this affects camber (the tilt of the wheel when viewed from the front) and can shift the toe setting (whether the fronts of the tires point slightly in toward each other or out). Higher lifts tend to produce more noticeable changes. Some kits include adjustable components specifically to compensate for this, while others require you to dial things in manually after installation. Know which type you're working with before you start.
What You're Looking to Correct
The two alignment settings that matter most on a golf cart are toe and camber. Toe is the most critical for tire wear — if the fronts of your tires are angled inward (toe-in) or outward (toe-out) by more than a small amount, your tires will scrub against the pavement every time you roll forward. Camber refers to the vertical tilt of the wheel. A small amount of negative camber (top of the tire leaning inward slightly) is often acceptable, but significant camber change after a lift can accelerate inside or outside edge wear and reduce handling stability. On most lifted carts, toe correction is the priority; camber is often not fully adjustable without aftermarket components.
How to Check Toe at Home
You don't need a professional alignment rack to get a reasonable toe measurement on a golf cart. Park on a flat, level surface with the wheels pointing straight ahead. Use a tape measure or a long ruler to measure the distance between the front edges of both front tires (at hub height, not at the fender) and then the distance between the rear edges of the same tires. If the front measurement is slightly smaller than the rear, you have toe-in; if it's larger, you have toe-out. Most golf carts are spec'd for a small amount of toe-in — check your cart's service manual for the exact figure, as it varies by model and year. After a lift, you'll often find the toe has shifted and needs to be brought back into spec.
Adjusting Toe via the Tie Rods
Toe is adjusted by lengthening or shortening the tie rods, which connect the steering rack or drag link to the front spindles. Loosen the jam nut on the tie rod end, then rotate the tie rod sleeve — clockwise or counterclockwise depending on which direction you need to move the toe setting. Make small adjustments, re-measure, and repeat. Always adjust both sides evenly to avoid pulling the steering center off. Once you're within spec, tighten the jam nuts securely to lock the adjustment in place. This is standard mechanical work, but take your time — rushing tie rod adjustments is how you end up with a cart that wants to dart into a bunker on its own.
Checking Camber After a Lift
To check camber, use a digital level or a dedicated camber gauge held against the face of the wheel (not the tire sidewall). A reading close to zero is ideal; moderate negative camber is usually acceptable. If your lift kit significantly tilted the wheels and no adjustment is available on the spindles or A-arms, you may need camber correction bolts or aftermarket adjustable components to bring things back in line. This is more involved and sometimes requires parts beyond the lift kit itself — it's worth researching before you buy a kit whether camber adjustment will be needed for your specific cart model and lift height.
Don't Forget the Rear End and Steering Center
On four-wheel carts, check that the rear axle is properly seated and centered after the lift — particularly if you've added a rear block lift or spring spacers. A shifted rear axle can cause the cart to track crooked even if the front alignment is perfect. Also, after adjusting toe, sit in the driver's seat and check that your steering wheel is centered when the wheels are pointed straight. If it's off, the drag link or tie rods may need a small tweak to re-center it. This is a detail that's easy to overlook but immediately obvious every time you drive.
Test Drive and Recheck
Once everything is adjusted and tightened, take the cart on a slow test drive on flat pavement. Let go of the wheel briefly at low speed and see if it tracks straight. Check for any pulling, vibration, or unusual steering feel. Then get back under the cart and recheck all fasteners — lift hardware can settle slightly after the first few miles, especially if you've added heavier wheels and tires. A second look at toe after the initial break-in period is good practice. Getting alignment right after a lift takes a little patience, but it protects your tire investment and makes the cart genuinely pleasant to drive instead of a handful.


