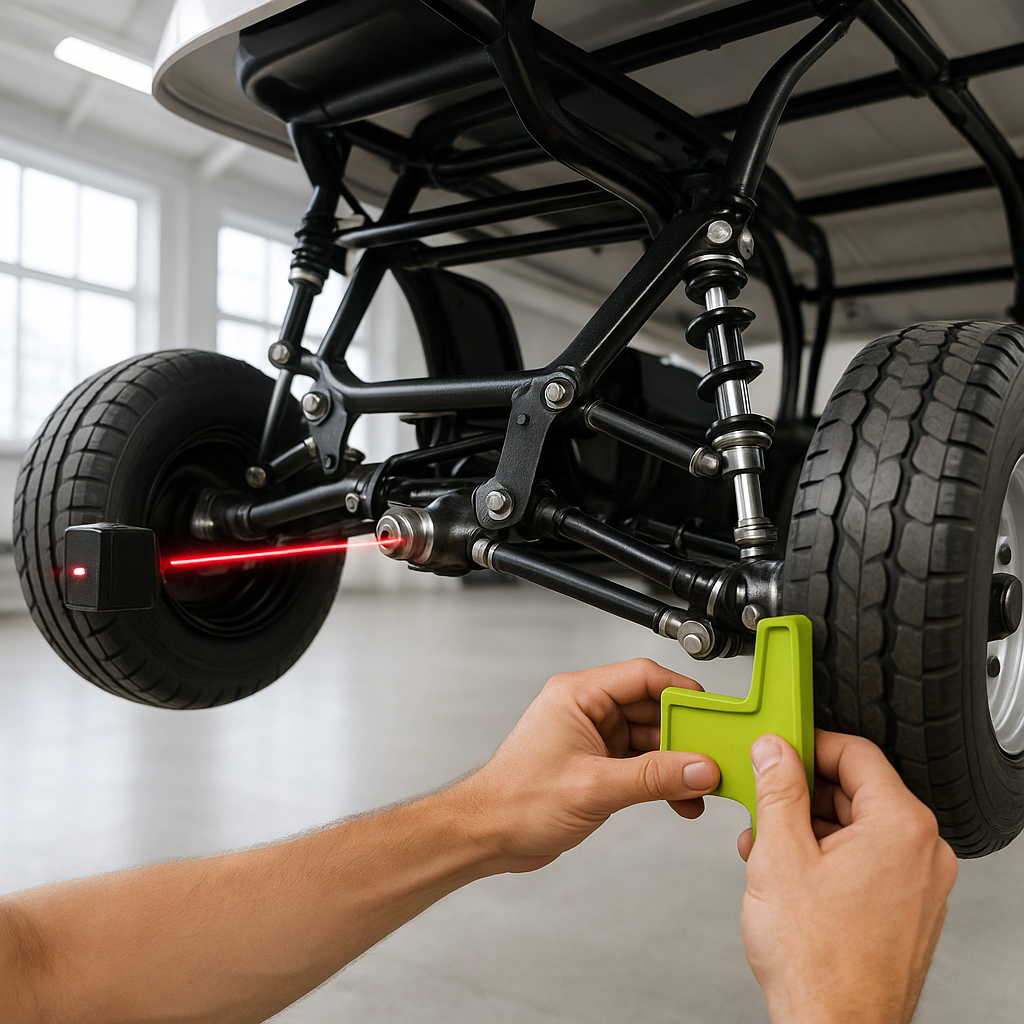
Installing a lift kit is one of the most rewarding upgrades you can make to a golf cart — but it's also one of the most commonly left unfinished. Once the lift is bolted up and the bigger tires are on, most owners take it for a spin and call it done. What they skip is alignment, and that oversight quietly causes uneven tire wear, pulling to one side, loose-feeling steering, and extra stress on ball joints and tie rods. A freshly lifted cart almost always needs alignment work. Here's what to check and how to do it correctly.
Why Lifting Changes Your Alignment
When you raise a golf cart's suspension, you change the geometry of every steering and suspension component connected to the front axle. The angles at which the spindles, tie rods, and A-arms sit relative to each other and the ground all shift. Even a modest lift — say three or four inches — can push toe, camber, and caster noticeably out of spec. Spindle-style lifts and A-arm lifts affect geometry differently, but both require a check afterward. This isn't a flaw in the kit; it's just physics. The fix is straightforward once you understand what to look for.
Tools You'll Need
You don't need a professional alignment rack to get a golf cart's alignment close enough. A flat, level surface is the single most important requirement — a garage floor works well. Beyond that, gather a tape measure, a straight edge or long level, a marker, and a wrench set that fits your tie rod jam nuts. Some people use a simple toe plate or toe bar tool designed for small vehicles; these are inexpensive and make the job faster. A floor jack and jack stands are helpful but not always necessary depending on your cart's configuration.
Check Toe First — It Matters Most
Toe is the most critical alignment setting on a golf cart and the one lift kits affect most directly. Toe refers to whether the fronts of the tires point inward (toe-in) or outward (toe-out) relative to perfectly parallel. To measure it, park the cart on your level surface and mark the center of each front tire's tread at axle height — both front and rear of the tire. Measure the distance between the two rear marks, then measure between the two front marks. Most golf carts run a slight amount of toe-in from the factory, meaning the front measurement is a hair smaller than the rear. After a lift, this spec often changes. Check your cart's service manual or the lift kit manufacturer's documentation for the target toe spec; if you don't have that, a general starting point commonly used on small utility vehicles is a small amount of toe-in — typically just a few millimeters. Significant toe-out after a lift is a warning sign that needs immediate correction.
How to Adjust Toe
Toe is adjusted by lengthening or shortening the tie rods. On most golf carts, the tie rod ends thread onto the tie rod shaft and are locked in position with a jam nut. To adjust, loosen the jam nut on each tie rod end, then turn the tie rod shaft itself — clockwise or counterclockwise depending on which direction you need to move the tire. Make small adjustments, re-measure, and repeat. Adjust both sides equally to keep the steering wheel centered. Once you've hit your target toe measurement, hold the tie rod shaft firmly while you re-tighten the jam nuts so the setting doesn't shift. Take the cart for a slow test run on a straight path and observe whether it tracks straight without input from the wheel.
Check Camber and Caster Visually
Camber is the inward or outward tilt of the tire when viewed from the front. On most stock and lifted golf carts, camber isn't independently adjustable — it's built into the spindle and A-arm geometry. What you can do is inspect it visually and compare left to right. If one tire leans noticeably more than the other, or if both front tires lean significantly outward after a lift, it may indicate that a component wasn't fully torqued during installation, or that you're using the wrong spindle lift height for your specific axle configuration. Caster — the forward or rearward tilt of the steering axis — similarly affects straight-line tracking and steering feel. Again, most golf cart setups don't offer a dedicated caster adjustment, but extreme caster issues after a lift often trace back to an incorrectly installed or wrong-spec lift block or A-arm.
Inspect Tie Rod Ends and Ball Joints While You're In There
Alignment work is the perfect time to check the condition of your tie rod ends and ball joints. With the front of the cart lifted and the wheel hanging free, grab the tire at the 9 and 3 o'clock positions and try to wiggle it side to side — any noticeable play points to a worn tie rod end. Then grab at 12 and 6 o'clock and repeat — play here suggests ball joint wear. If your cart had significant miles on it before the lift, these components may already be near the end of their life. Worn steering components make precise alignment impossible and create a safety issue, so replace them before finalizing any alignment work.
Final Check: Take It Slow and Re-Inspect After Break-In
After adjusting and re-checking everything at a standstill, do a real-world test on a flat road or path. Drive in a straight line with light hands on the wheel and see if the cart drifts. Make a few low-speed turns and note whether the steering returns to center smoothly. Check for any rubbing between the tires and the lift components or body at full lock in both directions — bigger tires after a lift sometimes require a small amount of trimming or a wheel spacer to clear properly. Plan to re-inspect the alignment after the first 50 to 100 miles of use. Components settle slightly after installation, and a minor follow-up adjustment at that point is normal and keeps everything dialed in for the long run.


