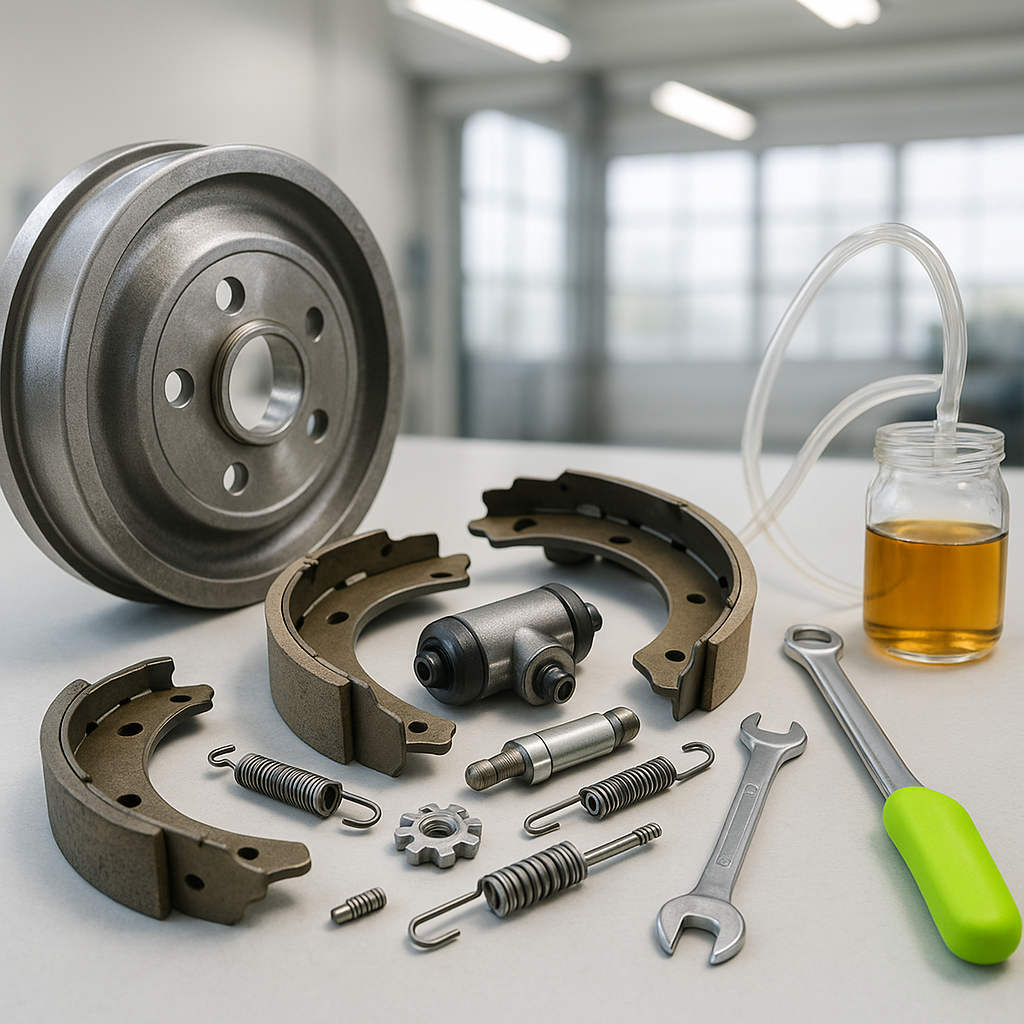
Golf cart brakes don't get much attention until something feels off — a spongy pedal, uneven stopping, or a cart that drifts to one side when you slow down. These are almost always signs that your brakes need adjustment, bleeding, or both. The good news: brake service on most golf carts is well within DIY range. You don't need a lift or special tools, just a methodical approach and a willingness to take your time. Here's how to do it right.
Understand What Kind of Brakes Your Cart Has
Before you touch anything, identify your brake system. Most golf carts use one of two setups: mechanical drum brakes actuated by a cable, or hydraulic drum brakes using brake fluid and a master cylinder. Electric carts from major manufacturers — EZGO, Club Car, Yamaha — have used both over the years depending on model and era. Cable-actuated systems are simpler and more common on older carts; hydraulic systems offer more consistent feel but require bleeding when air enters the lines. Disc brakes exist on some performance and utility models but are less common. Knowing which system you have determines every step that follows.
Safety First: Chock, Block, and Disconnect
Park the cart on a flat, hard surface. Chock the tires that will remain on the ground — if you're working on the rear brakes, block the front wheels. For electric carts, disconnect the battery pack before you start. For gas carts, remove the key. Brakes are a safety-critical system; there's no shortcut worth taking here. Have rags and a small container ready if you're working on a hydraulic system — brake fluid damages paint and irritates skin.
Adjusting Cable-Actuated Drum Brakes
On cable-driven systems, brake adjustment is usually done at the cable adjuster — typically a threaded rod and locknut located where the cable meets the brake assembly at each wheel, or at a central equalizer bar on the rear axle. Loosen the locknut, then thread the adjuster in small increments to take up slack in the cable. The goal is a firm pedal that engages braking force without dragging when released. Spin the wheel by hand after each adjustment: it should rotate freely with only very light resistance. If the wheel drags or won't spin, you've tightened too far — back off slightly. Once you have even, firm engagement on both sides, tighten the locknuts to hold the adjustment in place. Many carts also have a self-adjuster or star wheel inside the drum that can be accessed through a small slot in the backing plate using a brake spoon tool — turning this expands the shoes outward toward the drum for a closer contact point.
Bleeding Hydraulic Brakes
If your cart has a hydraulic brake system and the pedal feels spongy or travels too far before engaging, air has entered the lines and you need to bleed them. Start by checking the master cylinder reservoir — it's usually located under the seat or on the frame near the brake pedal. Top it off with the correct fluid type for your system (check your owner's manual; most golf cart hydraulic systems specify DOT 3 or DOT 4, but confirm before adding anything). Do not overfill. Next, locate the bleeder screws on each wheel's brake caliper or wheel cylinder — these are small brass fittings, usually covered by a rubber dust cap. Attach a clear plastic hose to the bleeder screw and run the other end into a small jar with a bit of fresh brake fluid in it. Have a helper slowly pump the brake pedal several times and hold it down. While they hold pressure, crack the bleeder screw slightly — you'll see fluid (and any air bubbles) push out into the jar. Close the screw before your helper releases the pedal, or you'll draw air back in. Repeat until no bubbles appear in the fluid coming out. Work from the wheel farthest from the master cylinder to the closest. Keep the reservoir topped off throughout — letting it run dry introduces more air and restarts the problem.
Check Pedal Feel and Test Safely
After adjustment or bleeding, pump the brake pedal several times before moving the cart. The pedal should feel firm and consistent, not spongy, and should engage at roughly the same point each time. Do a slow-speed test on flat ground — apply the brakes and note whether the cart stops straight and smoothly. If it pulls to one side, the brakes aren't balanced: one side is adjusted tighter than the other on a cable system, or one wheel cylinder isn't fully bled on a hydraulic setup. Go back and equalize before driving normally.
When to Replace Rather Than Adjust
Adjustment and bleeding fix performance issues caused by wear, slack, or air in the lines — they can't fix components that are genuinely worn out. If you're adjusting a cable system and the adjuster is nearly fully threaded in with no remaining travel, the shoes are worn and it's time to replace them. On hydraulic systems, a pedal that won't firm up after thorough bleeding often points to a failing master cylinder or wheel cylinder leaking internally. Inspect your drums for deep scoring or heat cracks whenever you have a wheel off. Brake hardware is inexpensive compared to the alternative — don't delay replacing parts that are genuinely at the end of their service life.
Brake maintenance isn't complicated, but it rewards patience and attention to detail. Work through it methodically, test conservatively, and your cart will stop the way it's supposed to — every time.


