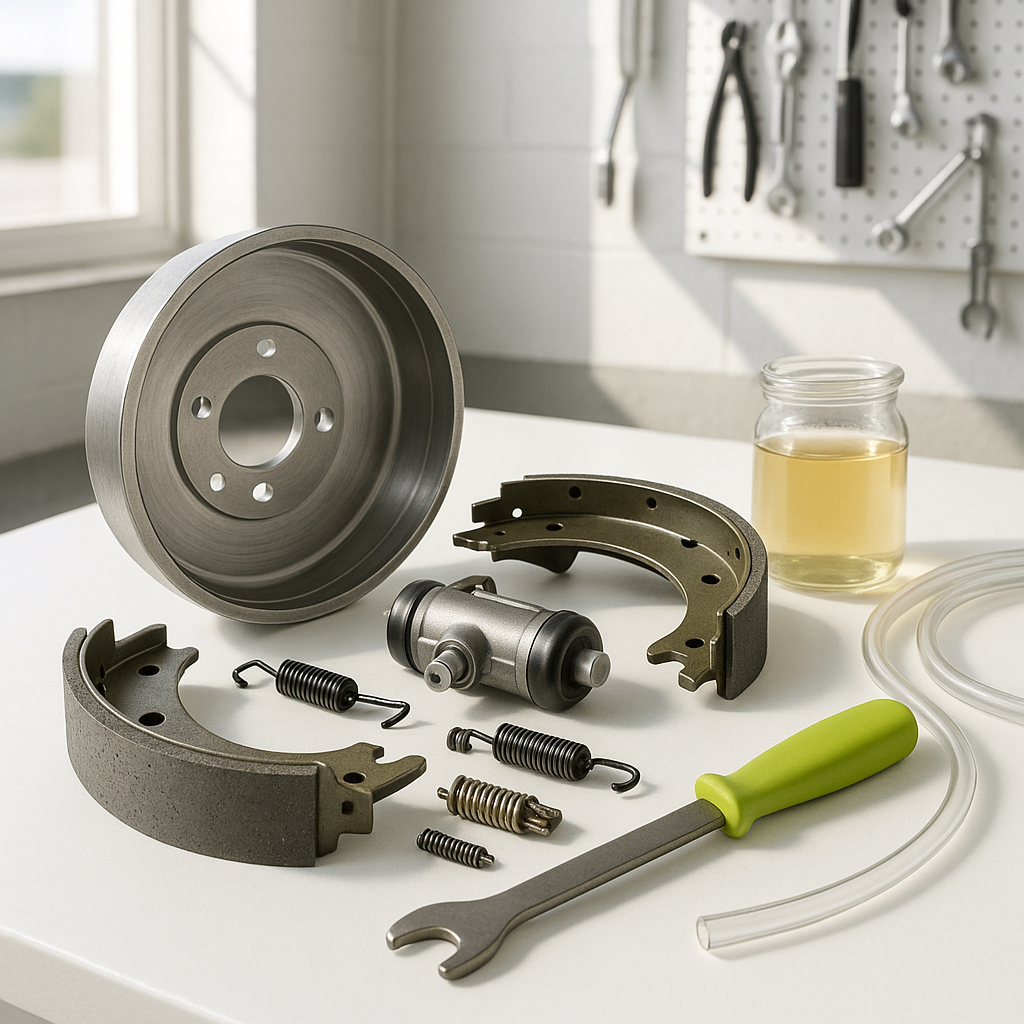
Most golf carts — especially older EZGO and Club Car models — use drum brakes rather than disc brakes. Drum brakes are simple and durable, but they require periodic adjustment as the brake shoes wear down and the self-adjusting mechanism (if your cart has one) fails to compensate fully. If your cart is rolling farther before stopping, pulling to one side, or the brake pedal feels soft or spongy, a brake adjustment is often the first fix to try before replacing any parts.
What You'll Need Before You Start
For a basic drum brake adjustment, you'll typically need a floor jack and jack stands (or wheel chocks and a secure flat surface), a lug wrench, a flathead screwdriver, and a brake spoon or adjuster tool if you have one. For hydraulic drum brake systems, bleeding the brakes requires brake fluid appropriate for your system, a clear plastic hose, a small container, and a wrench to open the bleeder valve. Always wear safety glasses and gloves when working around brake components. Never work under a cart supported only by a jack — use jack stands.
Step 1: Inspect the Brake Drums and Shoes First
Before adjusting anything, pull the wheel and visually inspect the drum and shoes. Look for scoring or grooves on the inside surface of the drum — light surface rust is normal, but deep grooves mean the drum may need to be resurfaced or replaced. Check the brake shoe lining thickness; if the lining is worn down close to the metal backing plate, adjustment won't save you — it's time for new shoes. Also check for oil or grease contamination on the lining, which causes inconsistent braking and can't be fixed by adjustment alone.
Step 2: Adjust the Brake Shoes
With the drum removed, locate the star wheel adjuster — a toothed wheel that sits between the two brake shoes. Using a brake spoon or flathead screwdriver through the adjuster slot (either on the backing plate or accessible after drum removal), turn the star wheel to expand the shoes outward. Reinstall the drum and spin it by hand. You want slight drag — the drum should turn but with noticeable resistance. If it spins freely with no drag, expand the shoes more. If it won't turn at all or feels locked, back the adjuster off. The goal is the smallest gap that still allows the drum to rotate. Repeat on the opposite wheel, and always adjust both sides so braking stays even.
Step 3: Adjust the Brake Cable (Mechanical Systems)
Many golf carts use a mechanical cable-actuated drum brake system rather than hydraulics. After adjusting the shoes, check the cable tension. There's usually an adjustment nut or barrel adjuster where the cable meets the brake assembly or the equalizer bar under the cart. The pedal should have a small amount of free travel before the brakes engage — too little free travel and the brakes will drag constantly, causing premature wear and heat buildup. Too much free play and you'll have a long, mushy pedal before the brakes bite. Aim for firm engagement within the first half of the pedal's travel range.
Step 4: Bleeding Hydraulic Drum Brakes (If Applicable)
Some golf carts — particularly higher-end or newer models — use hydraulic drum brakes. If the pedal feels spongy after adjustment, air has likely entered the hydraulic line and bleeding is necessary. Start at the wheel farthest from the master cylinder and work your way closer. Attach a clear hose to the bleeder valve on the wheel cylinder, submerge the other end in a container with a small amount of brake fluid, and have a helper slowly press and hold the pedal while you crack open the bleeder valve. Close the valve before your helper releases the pedal — releasing with the valve open pulls air back in. Repeat until no bubbles appear in the fluid stream. Keep the master cylinder reservoir topped off throughout the process, and never let it run dry.
Step 5: Test Before Driving
Once everything is reassembled, pump the brake pedal several times while the cart is stationary to seat the shoes against the drum and build pressure in hydraulic systems. Then perform a slow test in a safe, open area — start at walking speed and confirm the cart stops straight and evenly. Gradually increase speed with test stops. If the cart pulls to one side, the adjustment on that side is off. If the brakes feel grabby or make a grinding noise, back off the adjustment slightly. Drum brakes often benefit from a short break-in period after adjustment, so avoid hard stops for the first few minutes of use.
Drum brake maintenance is a straightforward job that pays off in safety and component longevity. Checking your brake adjustment once or twice a season — or any time you notice a change in stopping feel — keeps the system dialed in and helps you catch worn components before they become a safety problem. When in doubt about brake condition, err on the side of replacement over adjustment. Brakes aren't the place to squeeze extra life out of worn parts.


