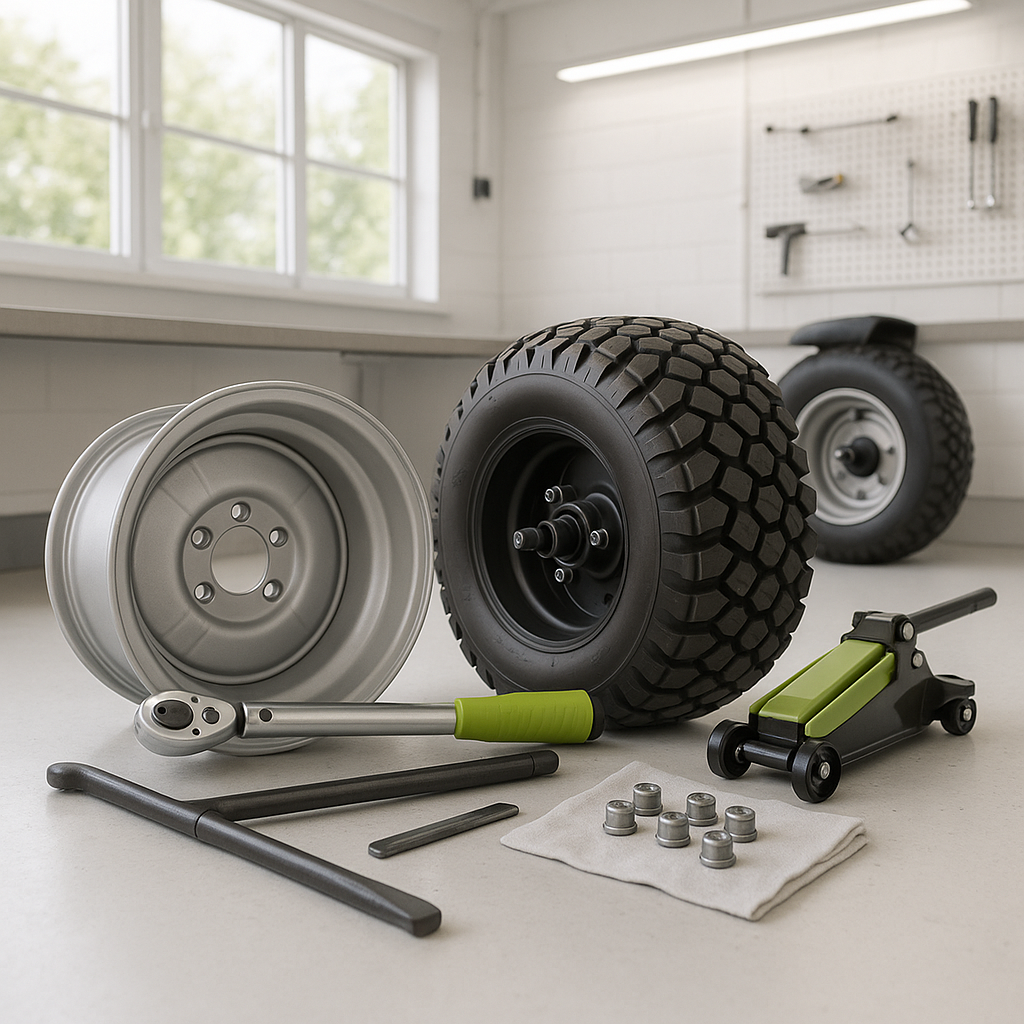
Swapping out golf cart tires and wheels is one of the most satisfying DIY jobs you can tackle — it's straightforward, requires minimal tools, and makes an immediate difference in how your cart rides and looks. Whether you're dealing with a flat, upgrading to a larger tire for a lifted cart, or just refreshing worn rubber, the process is essentially the same. The key is working safely and methodically so nothing gets damaged and the wheels seat correctly when you're done.
What You'll Need Before You Start
Gather your tools before you begin: a floor jack rated for the weight of your cart, jack stands (never rely on a jack alone to hold the cart up while you work), a lug wrench or breaker bar that fits your lug nuts, and a torque wrench for reassembly. If you're dismounting a tire from a rim — rather than swapping a complete wheel-and-tire assembly — you'll also need tire irons or a bead breaker, and some soapy water to lubricate the bead. For most hobbyist installs, though, you're working with pre-mounted assemblies, which keeps things much simpler.
Step 1: Secure the Cart on a Flat, Level Surface
Park the cart on solid, level ground. Engage the parking brake, and if your cart has a forward/reverse switch, set it to neutral. For electric carts, it's good practice to disconnect the main battery pack or tow/run switch to prevent any accidental movement. Place wheel chocks behind the tires on the opposite end from the one you're lifting — this is a simple step that prevents a surprising amount of grief.
Step 2: Loosen the Lug Nuts Before You Jack
With the tire still on the ground, break the lug nuts loose by turning counterclockwise. Don't remove them yet — just crack them free. Trying to loosen them once the wheel is in the air causes the wheel to spin and is both frustrating and potentially dangerous. Golf cart wheels are typically secured with four or five lug nuts depending on the hub pattern; make sure you know yours before ordering replacement wheels, since bolt patterns vary across brands and models.
Step 3: Jack Up the Cart and Support It Properly
Consult your cart's owner manual for the correct jack points — typically the frame rail near the wheel you're working on. Lift the cart until the tire clears the ground by a couple of inches, then place a jack stand under a solid frame point nearby. Lower the jack slightly so the cart rests on the stand rather than the jack. This is non-negotiable for safety. Now finish removing the lug nuts and pull the wheel straight off the hub.
Step 4: Mount the New Wheel and Tire
Before mounting, take a moment to check the hub face and the inside of the new wheel for any debris, corrosion, or damage. Lift the wheel onto the hub studs — they should align easily if you're using a matching bolt pattern. Hand-thread all the lug nuts before applying any torque. Then snug them down in a star pattern (not a circular one) to ensure the wheel seats evenly against the hub face. Using a torque wrench, tighten to the specification listed in your cart's service manual. Over-tightening lug nuts is a common mistake that can warp hubs or make future removal a nightmare; under-tightening can let a wheel work loose over time, which is genuinely dangerous.
Step 5: Lower the Cart and Do a Final Check
Raise the cart off the jack stands, remove the stands, and gently lower the full weight onto the new tire. Give each lug nut a final check with the torque wrench — seating the wheel under load sometimes allows a small amount of additional movement. Visually inspect the tire sidewall and bead to confirm the tire is seated evenly all the way around the rim. If anything looks uneven or puckered, something isn't right and needs attention before driving.
A Note on Sizing and Fitment
If you're changing tire size — going larger for a lifted cart or switching to a low-profile look — double-check that the new tire and wheel combination clears your fenders, lift kit components, and A-arms through the full range of steering travel. Clearance issues that aren't caught before driving can cause tire rub that damages both the tire and the cart body. When in doubt, measure the available space and compare it against the new tire's section width and overall diameter before you buy.


