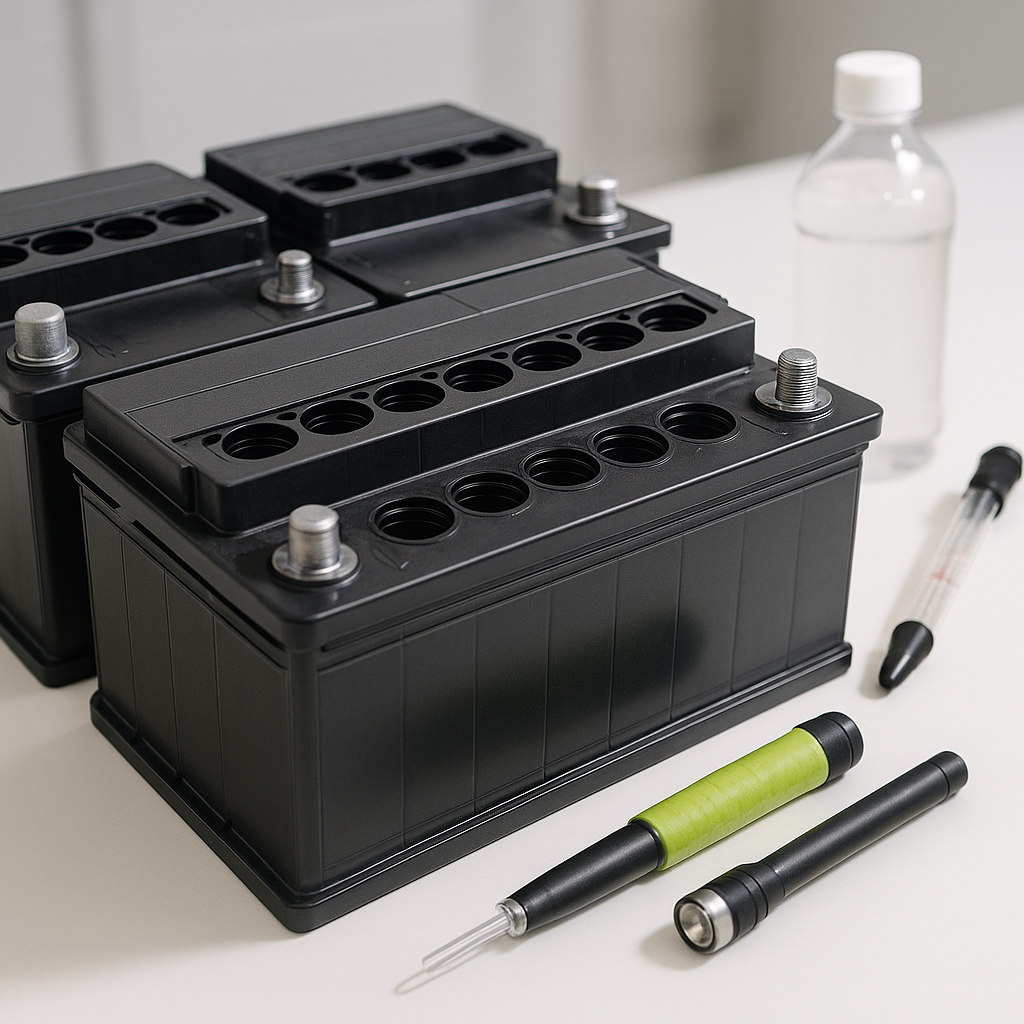
If you run a golf cart with flooded lead-acid batteries — the most common type found in electric carts — checking and maintaining the water level inside each cell is one of the most important things you can do. Neglecting it leads to sulfation, reduced capacity, and premature battery failure. The good news is this task takes less than 15 minutes and requires almost no special tools. Here's how to do it right.
What You'll Need
Gather a few basics before you start: distilled water (never tap water, which contains minerals that contaminate battery cells), a turkey baster or battery water filler bottle, safety glasses, acid-resistant gloves, and a clean rag. That's genuinely all you need for a routine check. A battery hydrometer or refractometer is useful if you also want to test the state of charge of each cell while you're at it, but it's optional for a basic watering job.
Safety First
Flooded lead-acid batteries produce hydrogen gas during charging and contain sulfuric acid. Always work in a well-ventilated area, keep open flames and sparks away from the battery compartment, and wear your gloves and glasses before removing any caps. If battery acid contacts your skin, flush immediately with plenty of water. Baking soda neutralizes acid spills on surfaces — keep some nearby.
Step 1 — Charge the Batteries First
This is the step most people skip, and it matters. Always check water levels after a full charge, not before. During charging, the electrolyte (the water-and-acid mixture inside the cell) expands. If you top off with water before charging, the cells can overflow during the charge cycle, spilling acid and making a mess. Charge fully first, let the batteries sit and cool for at least an hour, then proceed.
Step 2 — Remove the Vent Caps and Inspect Each Cell
Golf cart batteries typically have multiple cells per battery, each with its own removable vent cap. Unscrew or pop off each cap carefully — some use a flat-head screwdriver, others twist by hand. Look down into each cell opening. The electrolyte should cover the lead plates inside and sit at the level indicated by the fill ring or split-ring indicator built into the cell. If you can see the tops of the plates exposed, the level is critically low. If the fluid is close to the top of the fill well, it's fine. Never overfill — the electrolyte needs room to expand.
Step 3 — Add Distilled Water
Using your baster or filler bottle, slowly add distilled water to any low cells. Fill only to the bottom of the fill ring — roughly a quarter to half inch below the cap opening, depending on your battery design. Add a little, check visually, add more if needed. Take your time. Overfilling is just as harmful as underfilling because excess electrolyte gets forced out during charging, weakening the acid concentration and corroding nearby metal components.
Step 4 — Replace Caps and Clean Up
Reseat each vent cap firmly but without overtightening — they need to vent gas safely during charging. Wipe down the top of each battery with a damp rag to remove any residue. If you notice white or blue-green corrosion on terminals or cable connections, address that separately with a terminal cleaning session (baking soda paste and a stiff brush works well). Rinse, dry, and apply a thin coat of terminal protector spray or petroleum jelly to slow future corrosion.
How Often Should You Do This?
For most recreational golf cart owners, checking water levels once a month during the active season is a solid baseline. If you use your cart daily or live somewhere hot, check more frequently — heat accelerates water loss through evaporation. During winter storage, check before you put the cart away and again when you bring it back out. Batteries that are consistently low on water will degrade faster regardless of how well you charge them, so this simple habit pays for itself many times over.


