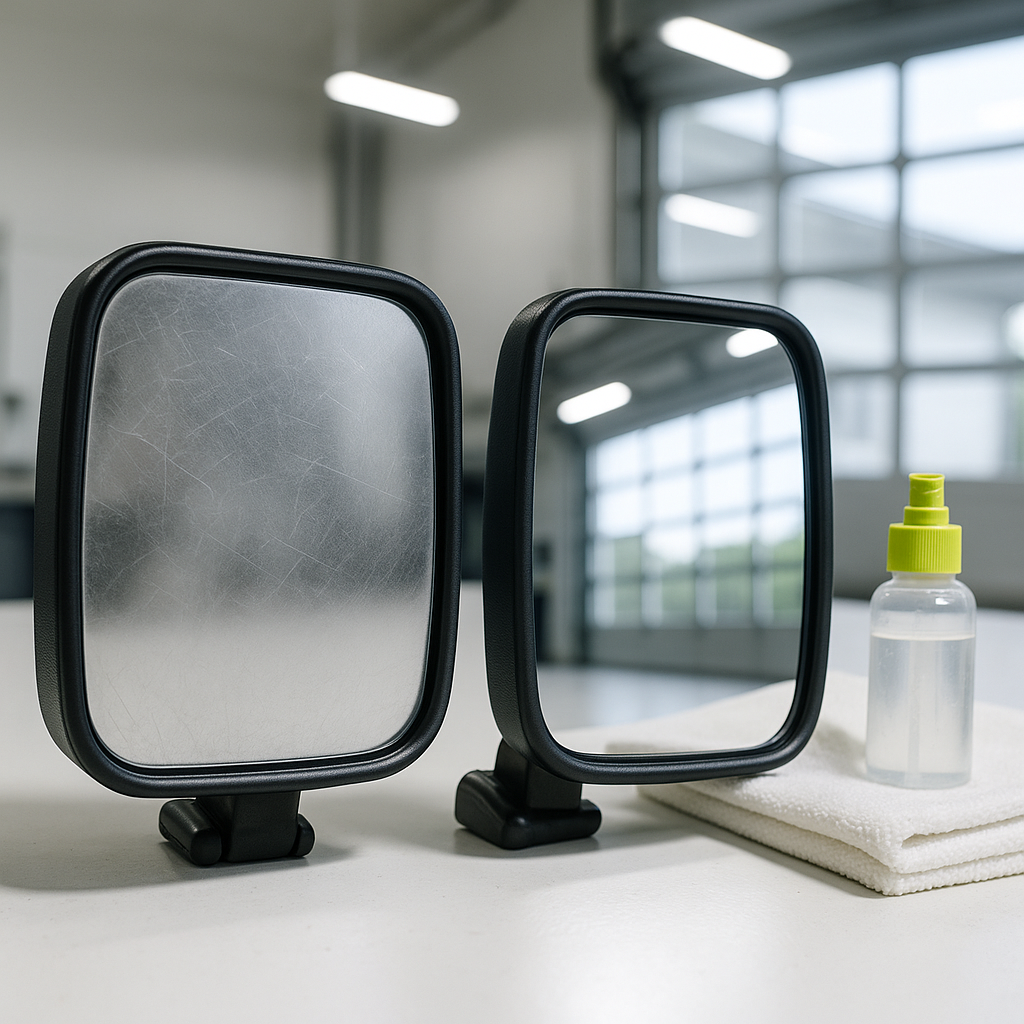
Golf cart mirrors take a beating. UV exposure, humidity, road dust, and the occasional low-hanging branch all conspire to leave your mirrors hazy, scratched, or outright yellowed. A cloudy mirror isn't just an annoyance — it's a real safety hazard, especially when you're navigating cart paths, crossing streets, or reversing in a crowded area. The good news is that most mirror degradation is cosmetic and fully reversible with basic materials and a little patience.
Figure Out What You're Actually Dealing With
Before you reach for a cleaner, take a close look at the mirror surface in good lighting. There are three common problems, and they each need a different fix. Surface grime and film — the most common — is a thin layer of dust, pollen, sunscreen residue, or water mineral deposits. This cleans up easily. Oxidation or yellowing typically affects plastic-backed or acrylic mirrors that have been sun-baked for years; the surface itself has degraded. Actual scratches or abrasions are physical damage to the reflective layer or protective coating. Knowing which problem you have tells you how far you need to go.
Cleaning Surface Film and Grime
For routine dirty mirrors, start simple. Mix a few drops of dish soap into a spray bottle of distilled water — tap water can leave mineral spots. Spray the mirror lightly and wipe with a clean microfiber cloth using straight strokes, not circles, which tend to spread debris and create micro-scratches. For stubborn water spots or mineral buildup, a 50/50 mix of white vinegar and distilled water cuts through mineral deposits effectively. Spray it on, let it sit for about 30 seconds, then wipe clean. Avoid paper towels — they're rougher than they look and will leave fine scratches on mirror coatings over time. Never spray cleaner directly onto the mirror mounting hardware or into any joints where it could wick into the adjustment mechanism.
Restoring Hazy or Oxidized Acrylic Mirrors
Plastic and acrylic mirrors yellow and cloud from UV exposure in a way that no amount of cleaning will fix — because the damage is in the material itself, not on the surface. For this you need a mild abrasive polish. Plastic headlight restoration kits work well here; they're designed for exactly this type of UV-oxidized clear plastic. Apply a small amount of polish to a clean microfiber applicator and work it in with light circular pressure. You're essentially removing a thin layer of degraded material to expose the clearer plastic underneath. Wipe off the residue and inspect. Repeat if needed. Finish with a UV-protective plastic sealant or wax to slow future oxidation — this step is worth doing even on mirrors that aren't cloudy yet.
Dealing with Scratches
Light surface scratches on acrylic mirrors can sometimes be buffed out with the same plastic polish described above, using progressively finer grits if you're using wet-dry sandpaper as a first step (start no coarser than 800 grit, finish at 2000 or finer, then polish). This takes patience and a light touch — you're sanding wet with very fine paper to level the scratch, then polishing to restore clarity. Deep scratches that distort your reflection or penetrate to the reflective backing are a different story. At that point, continued attempts to buff them out will thin the mirror too much and compromise the reflective surface. A mirror with deep scratches in a critical viewing zone — the center of your rearview field, for example — should be replaced. Mirrors are inexpensive enough that trying to save a genuinely damaged one rarely makes sense.
Cleaning Glass Mirrors
If your cart has glass mirrors (common on higher-end or aftermarket setups), the process is simpler. Standard automotive glass cleaner works well, applied with a microfiber cloth. Avoid ammonia-based household glass cleaners on tinted or coated glass, as ammonia can break down certain coatings over time. For stubborn spots, a dedicated automotive glass polish will handle water spots and light haze without the abrasiveness that would damage a reflective coating. Glass mirrors are more scratch-resistant than acrylic but will shatter under impact, so keep that in mind if you're evaluating a replacement.
Preventive Maintenance Going Forward
Once your mirrors are clear, a little routine care goes a long way. Wipe them down whenever you wash the cart — takes 30 seconds. Apply a plastic UV sealant to acrylic mirrors two to three times per season if the cart lives outside. If you store the cart for extended periods, a simple cloth cover over the mirrors prevents UV degradation and keeps debris from settling into the reflective surface. Checking mirror tightness at the same time is smart — a loose mirror pivot that lets the mirror vibrate while driving accelerates wear on both the mirror surface and the mounting hardware.
Visibility is a safety issue, not just a comfort one. Clear, properly positioned mirrors let you react to what's behind and beside you before it becomes a problem. Spending ten minutes cleaning your mirrors is one of the lowest-effort, highest-value maintenance tasks on a golf cart — and now you know exactly how to do it right.


