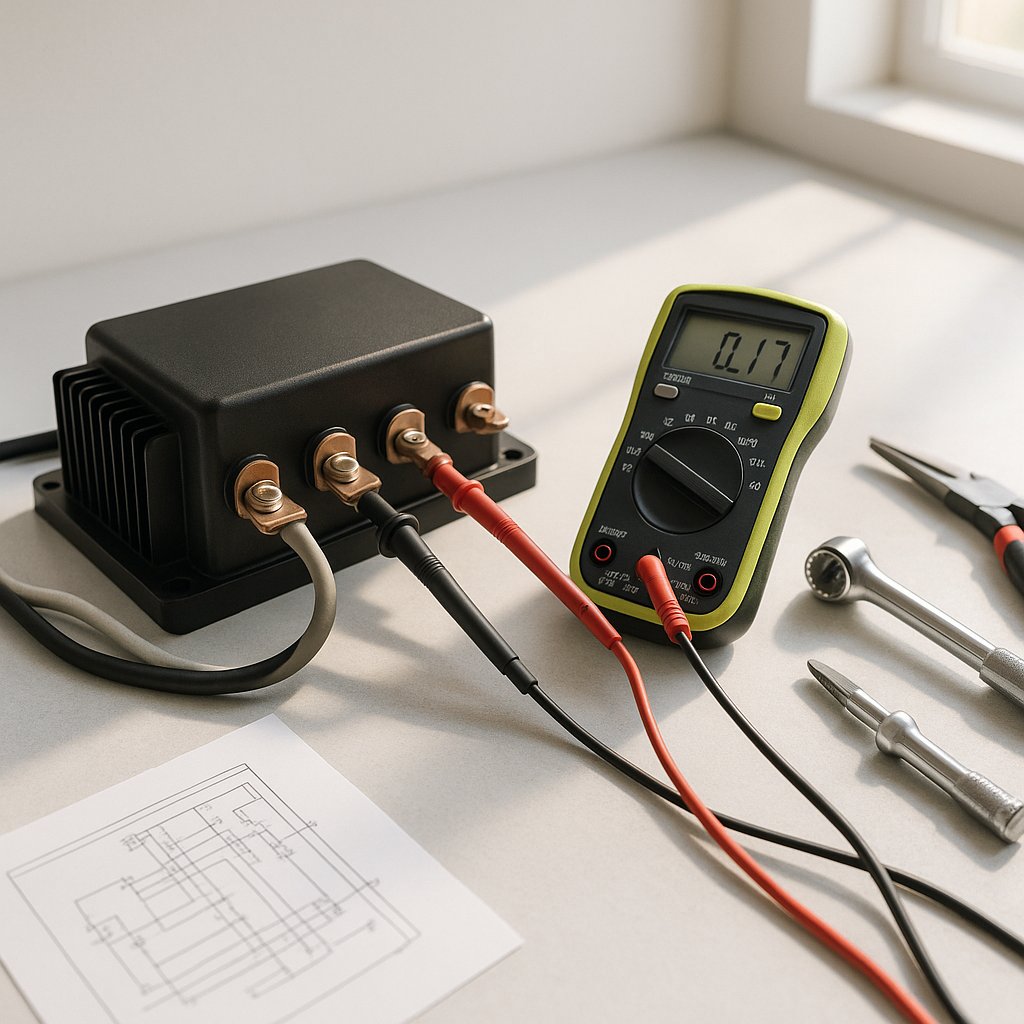
A bad motor controller is one of the more expensive fixes on a golf cart, so the last thing you want is to swap one out only to discover the real culprit was a loose connection or a worn solenoid. Fortunately, a systematic diagnostic process can tell you with reasonable confidence whether the controller is failing — or whether something upstream is letting it down. This guide walks through that process using general electrical knowledge that applies to most 24V, 36V, and 48V DC series-wound golf cart systems.
Understand What the Controller Actually Does
The motor controller is the brain of your golf cart's drive system. It reads the throttle input (from the accelerator pedal and its associated throttle position sensor or pot box), checks the state of the battery pack, and sends regulated power to the motor. When it fails, symptoms can range from total loss of movement to jerky acceleration, unexpected shutdowns under load, or a cart that creeps forward at full speed. Because the controller sits between so many other components, a fault anywhere in that chain can look like a controller problem when it isn't.
Step 1: Start With a Visual and Physical Inspection
Before you break out a multimeter, do a thorough visual check. Remove the controller cover and look for burnt smell, melted plastic, discolored or swollen areas on the controller housing, and any wiring that shows heat damage or corrosion at the terminals. Check that every terminal bolt is tight — loose connections cause resistance, resistance causes heat, and heat kills controllers prematurely. If anything looks scorched or melted on the controller body itself, that's a strong sign the unit has failed internally. If the wiring looks damaged but the controller body looks clean, address the wiring first.
Step 2: Check Battery Pack Voltage Under Load
A low or unbalanced battery pack is one of the most common reasons a controller appears to malfunction. With a fully charged pack, measure total pack voltage at rest, then have a helper press the accelerator while you monitor voltage. A significant voltage drop under load points to weak batteries, not a bad controller. Also check individual battery voltages — one weak cell dragging down the pack can cause the controller to cut out or behave erratically as a self-protection measure. Resolve battery issues before condemning the controller.
Step 3: Test the Throttle Input (Pot Box or ITS)
The controller responds to a signal from your throttle input device — either a potentiometer (pot box) on older carts or an inductive throttle sensor (ITS) on newer ones. A worn or out-of-range pot box is a very frequent cause of jerky starts, no movement, or runaway behavior. With the key on and the cart safely immobilized, use a multimeter to check that the throttle sensor output sweeps smoothly and stays within the range your controller expects as you slowly depress the pedal. A signal that spikes, drops to zero mid-sweep, or sits outside the normal range will cause the controller to behave exactly like a controller failure — but the fix is just a new throttle sensor.
Step 4: Verify the Solenoid Is Firing Correctly
The solenoid acts as the main power relay between the battery pack and the controller. If it isn't clicking and closing when you turn the key and press the pedal, the controller never receives power to work with. You can verify solenoid function by listening for the audible click when engaging the pedal, and by measuring voltage on both sides of the solenoid when activated. No voltage reaching the controller input terminal is a solenoid or wiring problem, not a controller problem.
Step 5: Check for Fault Codes
Many modern motor controllers — particularly those found in later-model EZGO and Club Car systems — have onboard diagnostics that flash error codes through a dash indicator or can be read with a handheld programmer tool. If your cart has this capability, read the fault codes before doing anything else. A controller in protection mode due to an over-temperature condition, a shorted motor, or low battery voltage will often throw a code that points you straight to the root cause. Erasing the code and operating the cart normally while monitoring for recurrence can also help you determine whether the fault is intermittent or persistent.
When the Controller Is Likely the Actual Problem
After ruling out batteries, wiring, the throttle sensor, and the solenoid, if the cart still has no drive or severely abnormal behavior, the controller itself becomes the likely culprit. Signs that point more directly to internal controller failure include: no response even with verified voltage at the input terminals, a controller that is hot to the touch even on short runs at light load, or one that passes power intermittently with no other fault found. At that point, replacement is the practical path — controller-level repair requires specialized equipment and isn't realistic for most owners. When sourcing a replacement, match voltage, amperage rating, and model compatibility carefully, as these vary significantly across cart brands and model years.


