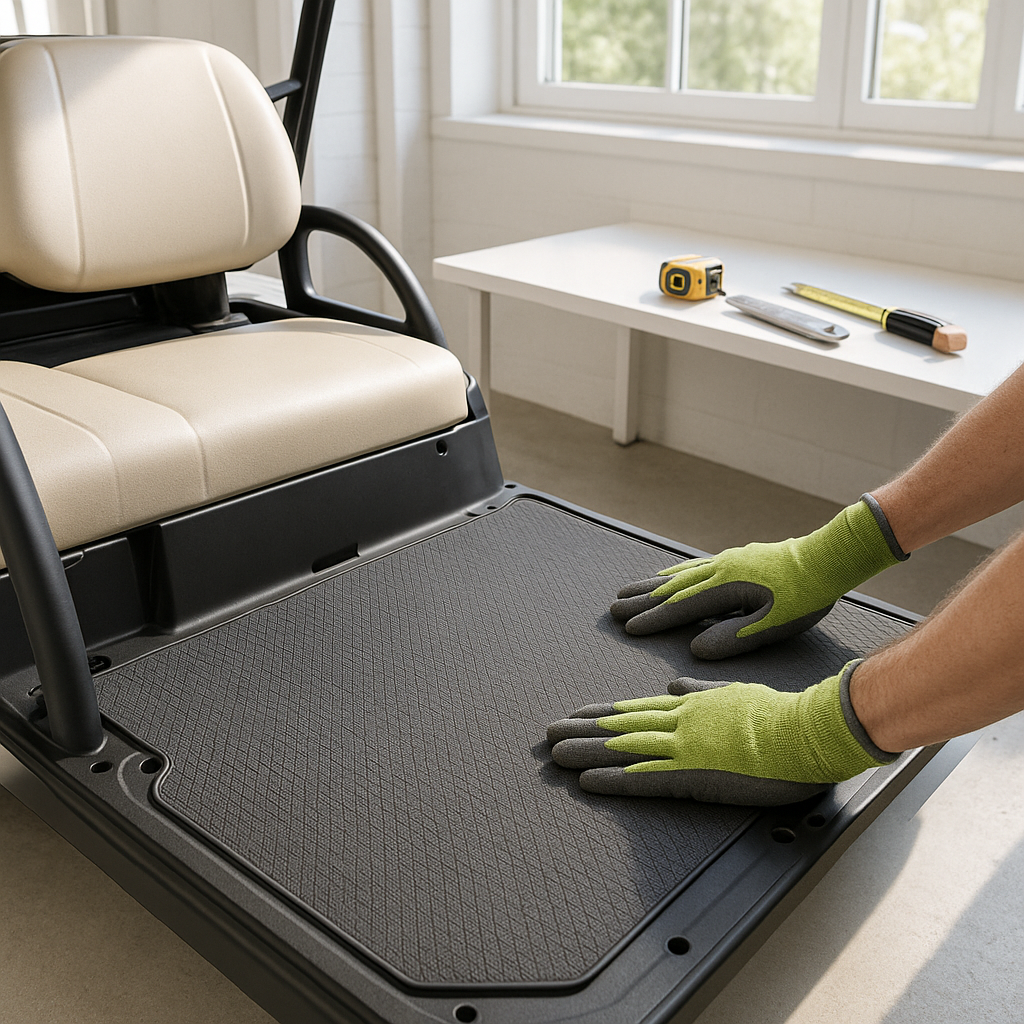
Floor mats and carpet kits are one of the most overlooked upgrades on a golf cart, but they do real work: they protect the floorboard from moisture, dirt, and foot traffic, reduce vibration noise on hard plastic floors, and make the interior look significantly cleaner. Installing one yourself is a straightforward job that requires no special mechanical skills — just some patience, a utility knife, and attention to fit.
What You'll Need Before You Start
Before pulling anything apart, gather your supplies. You'll typically need a utility knife or carpet scissors, a straight edge or ruler, a marker or chalk line, a heat gun or hair dryer (helpful for molded mats that need to conform to curves), and basic cleaning supplies. If you're installing an adhesive-backed carpet, you'll also want a rubber roller or a clean cloth to press the material down firmly. Clear out any items stored on the floorboard and give the floor a thorough cleaning — any dirt or grease trapped underneath will work against a good fit and, with adhesive mats, will cause peeling over time.
Step 1: Remove the Old Mat or Liner
If you're replacing an existing mat, pull it out carefully. On many carts, floor mats simply lift out without any fasteners. Some OEM mats are held in place with retaining clips or a lip around the edge — check around the perimeter before forcing anything. If the old mat used adhesive and has left residue behind, clean it off with an appropriate adhesive remover and let the floor dry completely before moving on. A clean, dry surface is essential for the new mat to sit flat and stay put.
Step 2: Test-Fit Before Cutting
Lay the new mat or carpet into the footwell without cutting or adhering anything yet. This test-fit step is the most important part of the whole job. Golf cart floorboards vary significantly between makes, model years, and body styles — even within the same brand. A universal mat will almost certainly need trimming. Mark where the material overlaps edges, runs into the brake pedal assembly, or bunches around the accelerator. Take your time here; a careful test-fit means fewer mistakes once you start cutting.
Step 3: Trim to Fit
Remove the mat and make your cuts on a flat work surface. Use a sharp utility knife and a straight edge for clean, straight cuts. For curved or irregular edges — around pedal cutouts or wheel well lips — score the material lightly first, then cut in passes rather than trying to cut through in one stroke. Carpet frays easily, so cut with the backing side up when possible and use carpet scissors for the final pass on any exposed pile edges. Test-fit again after trimming before moving to installation.
Step 4: Secure the Mat in Place
How you secure the mat depends on the type you're working with. Non-adhesive rubber or molded mats often rely on a precise fit and their own weight — trimming accurately is the key to keeping them from shifting. Adhesive-backed carpet kits require you to peel the backing and press the material firmly from the center outward, avoiding air bubbles. A rubber roller is the best tool for this. For either type, make sure any pedal cutouts are fully clear and that the mat lies completely flat with no lifted edges that could catch under a foot while driving.
Step 5: Reinstall Pedal Covers and Trim Pieces
Many carts use small plastic trim strips or pedal cover plates that sit on top of or alongside the floor mat to give the interior a finished look and to protect the mat edges from peeling. Reinstall any pieces you removed. If your mat kit included new pedal covers or trim, follow the included guidance for those — they typically snap or screw into the existing mounting points on the floorboard. Double-check that the accelerator and brake pedals move freely through their full range of motion with the mat fully installed before taking the cart out.
Final Check
Sit in the driver's seat and press each pedal fully by hand, confirming nothing binds or catches. A floor mat that interferes with pedal travel is a safety issue, not just an annoyance. If anything feels restricted, recheck the cutout clearance around the pedals and trim accordingly. Done right, a new floor mat installation takes an hour or less and noticeably improves how the interior looks and feels — and the floorboard underneath will thank you for it every time it rains.


