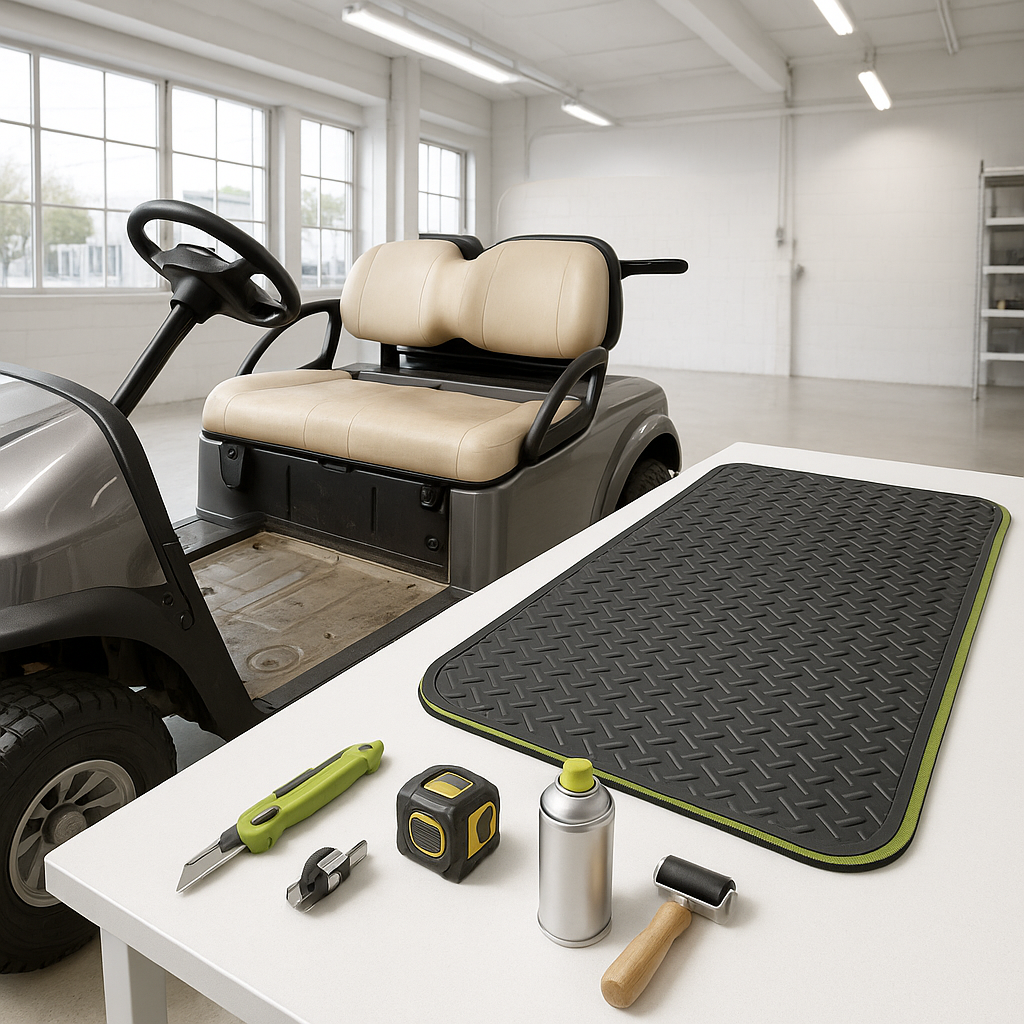
Replacing a worn, cracked, or smelly golf cart floor mat is one of the easiest interior upgrades you can do yourself. Whether you're installing a molded rubber liner, a cut-to-fit carpet kit, or a replacement OEM-style mat, the process is straightforward — but a few preparation steps make the difference between a mat that stays put for years and one that shifts, traps moisture, or looks sloppy after a week. This guide covers what you need to know regardless of your cart brand or mat type.
Step 1: Remove the Old Mat or Carpet
Start by pulling out the existing floor covering. Most golf cart mats are either held in place by friction and trim pieces, secured with hook-and-loop fastener strips, or glued down with carpet adhesive. Peel back one corner and work slowly — if there's adhesive, use a plastic scraper rather than a metal one to avoid gouging the fiberglass or plastic floorboard underneath. On older carts, the mat may be stapled or tucked under the seat base, so check around the perimeter before pulling hard. Set the old mat aside so you can use it as a template if your new mat requires trimming.
Step 2: Clean and Inspect the Floorboard
This step gets skipped constantly and it shouldn't. Once the old mat is out, inspect the bare floorboard carefully. Look for cracks, soft spots in fiberglass, signs of water pooling, or rust on metal frames. A floor mat will hide these problems but won't fix them — address any damage now. Clean the surface thoroughly to remove adhesive residue, dirt, and mildew. Isopropyl alcohol or a dedicated adhesive remover works well for sticky residue. Let the floor dry completely before moving on, especially if you're using any adhesive in the next step. Installing over a damp surface is the fastest way to grow mold under your new mat.
Step 3: Test-Fit Before Committing
Lay the new mat or carpet into the footwell without any adhesive and check the fit. Molded rubber liners designed for a specific model should drop in with minimal fuss, but universal or carpet-style mats almost always need trimming. Use the old mat or a piece of cardboard to create a template first if you're working with a flat sheet of carpet. Mark your cut lines with chalk or a grease pencil — you can always trim more, but you can't add material back. Pay attention to how the mat needs to wrap around the accelerator pedal mount, brake pedal base, and any floorboard protrusions. Cut slowly with sharp scissors or a utility knife using a straightedge for long runs.
Step 4: Secure the Mat
How you fasten the mat depends on the type. Many rubber liners and molded mats are designed to stay in place through their own weight and a snug fit — no adhesive needed. For these, just drop them in and confirm nothing shifts when you press on the pedals. Carpet-style mats usually benefit from either double-sided carpet tape around the perimeter or a light coat of spray contact adhesive on the floorboard surface. If you use spray adhesive, apply it to the floor, let it tack up for the time recommended on the can, then press the carpet firmly from one end to the other to avoid air bubbles. Smooth it down with your hand or a roller. Some installers also use hook-and-loop strips along the edges for a removable-but-secure fit, which makes future cleaning much easier.
Step 5: Trim Around Pedals and Obstacles
With the mat secured, make final relief cuts around the accelerator pedal, brake pedal, and any floor-mounted hardware. Use small scissors for tight spots. The goal is a clean edge that hugs each obstacle without buckling or lifting. On electric carts, check that the mat doesn't interfere with the throttle microswitch or any wiring that runs along the floor. On gas carts, confirm there's clearance around the throttle cable and that nothing is pinched. Tug on the mat in a few places — it should feel locked in, not like it wants to slide toward the pedals when pressure is applied.
Step 6: Reinstall the Seat and Test
Reinstall the seat base if you removed it, and do a final inspection. Sit in the seat, press both pedals through their full travel, and make sure the mat doesn't bunch, lift, or interfere with pedal movement in any way. A mat that catches on the accelerator pedal is a genuine safety hazard, so don't skip this check. If anything feels off, pull the mat back and trim or reposition until it's clean. Once everything checks out, you're done — and your cart's interior will look and feel dramatically better for a very small investment of time.


