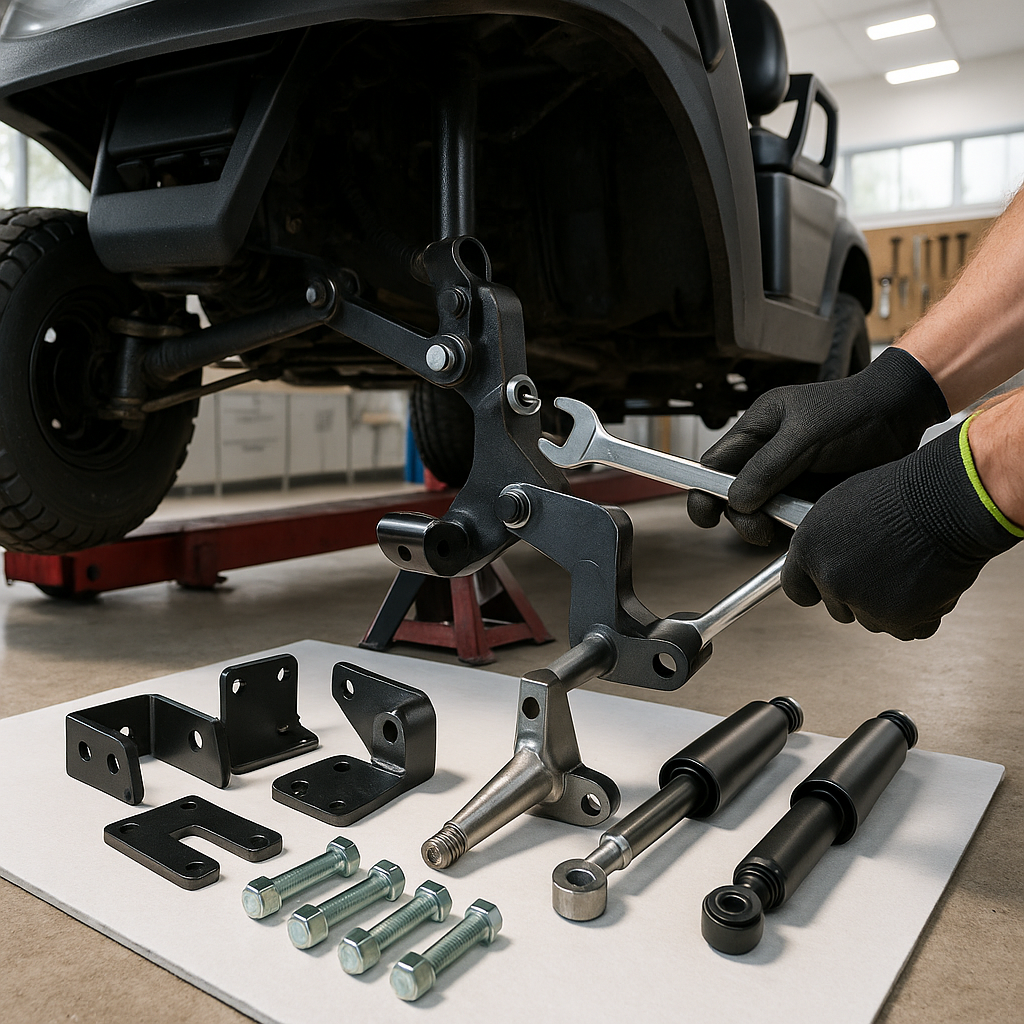
Installing a lift kit is one of the most rewarding upgrades you can make to a golf cart. It opens the door to larger tires, better ground clearance, and genuine off-road capability. But it's also one of the more involved mechanical jobs you'll tackle on a cart. Done right, the result is solid and safe. Done carelessly, you'll have handling problems, premature wear, and potentially a dangerous machine. This guide walks you through the general process and the principles that matter most at each stage.
Gather Your Tools and Understand What You're Installing
Before you touch a bolt, take time to understand what type of lift kit you're working with. Spindle lift kits raise the cart by replacing or extending the spindle — they're simpler, typically used for moderate lifts, and don't require cutting or relocating major components. A-arm or long-travel lift kits replace the entire front suspension geometry and are more complex but allow significantly more lift and better articulation. Know which you have, read through all included hardware before starting, and make sure you have a good floor jack, jack stands rated for the cart's weight, basic hand tools, and a torque wrench. Working on an unlevel or soft surface is a common mistake — always use a hard, flat surface.
Support the Cart Safely Before You Start
Lift the front of the cart with a floor jack, then place jack stands under the frame — never under suspension components. The cart should be completely stable before you crawl under it or begin removing parts. If you're doing a full four-corner lift, work one end at a time. Remove the wheels first and set them aside. This gives you unobstructed access to the spindles, A-arms, and tie rods you'll be working around.
Remove the Factory Suspension Components
On most golf carts, you'll be removing the front spindles, and in some cases the lower A-arms and tie rod ends. Take photos before you disassemble — they're valuable references when you're reinstalling. Note how the tie rod ends are oriented and roughly how many threads are showing, since this gives you a starting point for reinstalling at the correct length to preserve toe alignment. Loosen tie rod ends carefully; a pickle fork or tie rod separator will help if they're seated tightly in the knuckle. Avoid hammering on the threads themselves.
Install the Lift Components
With spindle lift kits, the new extended spindles bolt into place using the same mounting points as the originals — the extra height comes from the geometry change built into the new part. Follow the kit's hardware sequence, and don't fully torque any bolt until the assembly is complete. With A-arm kits, you'll mount new brackets to the frame first, then attach the new arms, then the spindles. In either case, get everything snugged into position before applying final torque. Thread all bolts by hand first to confirm they're not cross-threaded. Apply final torque with a torque wrench — overtightening ball joint and tie rod end nuts is a common cause of premature wear or damaged tapers.
Address the Rear if Your Kit Includes It
Many lift kits include rear lift blocks or extended rear leaf spring hardware. Rear installation typically involves supporting the rear axle, loosening the U-bolts that secure the axle to the leaf spring pack, inserting the lift block between the axle perch and the spring, and re-securing with longer U-bolts included in the kit. Make sure the centering pin on the block seats properly into the axle perch — this keeps the axle from walking forward or backward under load. Torque the U-bolts evenly and in a cross pattern.
Reinstall Wheels and Do a Pre-Drive Check
Reinstall your wheels — this is typically when you'd be mounting larger tires if that's part of your upgrade. Torque the lug nuts to spec in a star pattern. Lower the cart to the ground and visually inspect the full suspension before moving the cart under its own power. Check that no lines, cables, or wiring are pinched or under new stress from the lifted geometry. Cycle the steering lock-to-lock by hand and confirm nothing binds or contacts the frame. Check that brake cables and any steering linkage have adequate slack throughout the full range of motion.
Get an Alignment Before You Drive Seriously
A lift kit changes your suspension geometry, which almost always affects toe alignment. Even if your tie rod ends are at the same thread depth as before, plan to have the alignment checked and corrected before putting any real mileage on the cart. Driving with improper toe causes rapid, uneven tire wear and makes the cart pull to one side. Many golf cart dealers and small engine shops can perform a basic alignment, or you can learn to set toe yourself using a tape measure and a level surface — though a professional check is the safest starting point after a lift installation.


