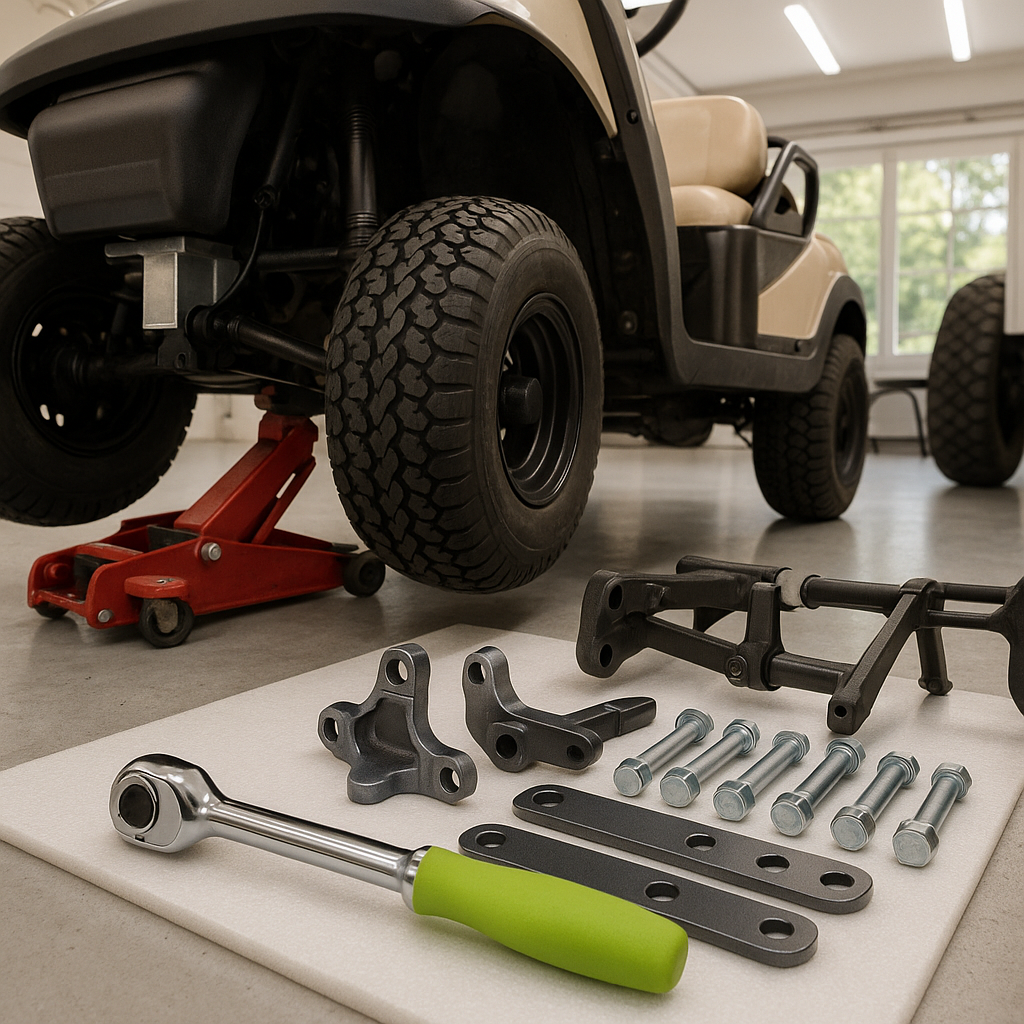
A lift kit is one of the most satisfying upgrades you can make to a golf cart. Done correctly, it gives you ground clearance for trails, fields, and uneven terrain that would bog down a stock machine. Done sloppily, it creates handling problems, premature tire wear, and real safety risks. This guide walks through what's actually involved so you go in with clear expectations and come out with a cart that's genuinely better off-road.
Understand What You're Getting Into Before You Start
Lift kits for golf carts fall into two broad categories: spindle lifts and A-arm (or long-travel) lifts. Spindle kits are generally simpler — they replace or extend the front spindles to raise the front end, with blocks or drop brackets added at the rear. A-arm kits replace the entire front suspension geometry with longer control arms and are a bigger job, but they provide better ride quality and more clearance. Most DIY installs are spindle-style kits. Know which type you have before you touch a bolt, and verify the kit is designed for your specific cart make, model, and year — the bolt patterns, spindle dimensions, and suspension geometry differ significantly between manufacturers and generations.
Gather Your Tools and Prep the Cart
You'll need a solid set of metric and standard sockets, combination wrenches, a torque wrench, a floor jack, jack stands rated for the cart's weight, and penetrating oil for any corroded fasteners. A ball joint separator or pickle fork is useful on many front suspensions. Work on a flat, hard surface — concrete is ideal. Disconnect the battery pack completely before you start. On electric carts, this means pulling the main negative cable. On gas carts, disconnect the battery and make sure the fuel system isn't under pressure. Set the parking brake and chock the rear wheels before you ever get under the front end.
Front End: Disassembly and Lift Installation
Support the front of the cart securely on jack stands placed at the frame, not the suspension components. Remove the front wheels first — you'll need the clearance. On a spindle lift, you'll typically be unbolting the tie rod ends, disconnecting the brake caliper or drum hardware, and unbolting the spindle from the A-arm or kingpin assembly. Take photos before you disconnect anything; steering geometry on a golf cart is simple, but it's easy to forget which end of the tie rod goes where when you're reassembling. New spindles bolt in where the originals came out. Thread fasteners in by hand before torquing to prevent cross-threading, and always use the torque specs provided with your specific kit — overtorqued ball joint hardware or spindle bolts can crack castings.
Rear End: Lift Blocks or Drop Brackets
The rear of most golf carts uses a solid axle with leaf springs. A lift at the rear is accomplished either by inserting a lift block between the axle perch and the leaf spring, or by using a drop bracket that repositions the spring mount. Lift blocks are common and straightforward — the axle U-bolts come off, the block slides in, and the U-bolts are reinstalled and torqued. Longer U-bolts are usually required and should come with the kit; never reuse undersized hardware here. If your cart has a rear shock, check whether the shock needs to be repositioned or replaced with a longer unit to accommodate the new geometry. A shock that's stretched beyond its travel range will fail quickly and compromise handling.
Brake Lines, Cables, and Steering Linkage
This step is where a lot of DIY installs go wrong. Lifting the cart changes the angle and effective length of brake cables on drum-brake systems. After the lift is installed, trace every brake cable and check for binding, kinking, or excessive tension. Hydraulic disc brake carts may need brake line extensions if the original lines can't accommodate the new axle position without pulling tight. Steering tie rods also need to be checked for length — if your kit includes extended tie rod ends or adjustable tie rods, fit them now. The goal is to have all components sitting at natural angles with no component under tension or binding through its range of motion.
Reinstall Wheels and Do a Pre-Drive Inspection
With everything bolted up, reinstall the wheels and torque the lug nuts to spec in a star pattern. Lower the cart to the ground and reconnect the battery. Before you drive, push down on each front corner of the cart and watch how the suspension compresses and rebounds — you're looking for binding, scraping, or anything that doesn't move freely. Turn the steering wheel lock to lock slowly and check that nothing contacts the frame, lift components, or tires at full turn. Check that your brake cables have correct tension and that the brakes apply evenly. Drive slowly in a straight line, then make low-speed turns in both directions before taking it anywhere demanding.
Alignment, Toe, and the Break-In Period
Even if you follow the installation instructions precisely, any time you change spindle or suspension geometry you should check your toe setting. Toe is the angle the front tires point relative to each other — incorrect toe causes rapid, uneven tire wear and can make the cart dart or wander. Basic toe can be measured with a tape measure across the front and rear of the tire sidewalls at hub height; most golf carts run slight toe-in. If it's off, adjust by turning the tie rod sleeves equally on both sides until it's within range. After the first few rides, re-torque all fasteners — new hardware settles, and a loose spindle bolt or U-bolt is not something you want to discover the hard way on a hillside.


