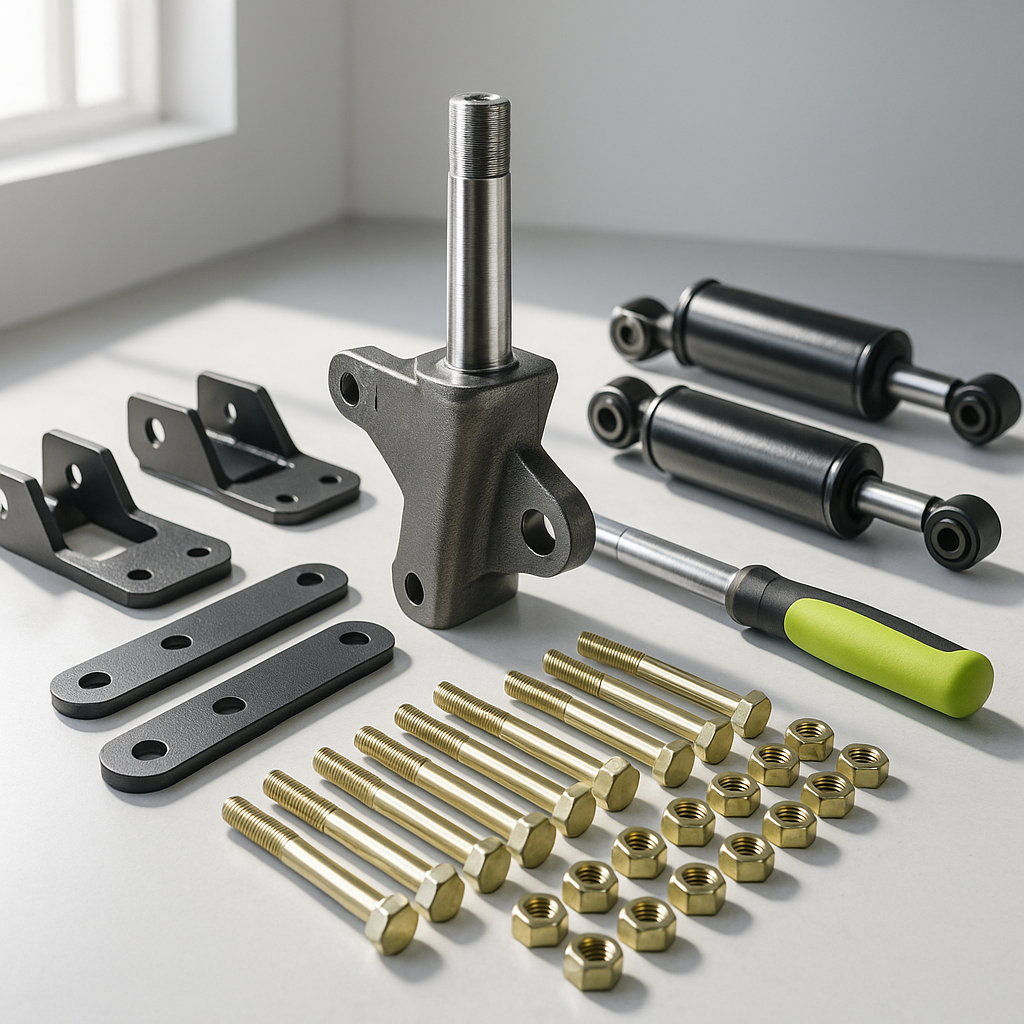
A lift kit is one of the most impactful upgrades you can make to a golf cart. More ground clearance means you can run larger tires, tackle rough terrain, and get through areas that would hang up a stock cart. But the install requires patience, basic mechanical confidence, and a good understanding of what you're changing — because lifting a cart affects steering geometry, brake lines, and overall handling. Done right, it's a satisfying weekend project. Done sloppily, it creates safety problems that are hard to trace back to the source.
Understand What Type of Lift Kit You Have
Golf cart lift kits generally fall into two categories: spindle lifts and A-arm (drop axle) lifts. A spindle lift replaces or modifies the steering spindles to gain a few inches of clearance without dramatically changing the suspension geometry. A-arm lifts — sometimes called long-travel kits — use redesigned control arms and drop axles to gain more height while also improving suspension articulation. Spindle kits are simpler to install and keep things closer to stock. A-arm kits are more involved but give you more lift and better off-road capability. Know which type you're working with before you start, because the steps differ significantly.
What You'll Need Before You Start
Before touching a bolt, gather your tools and create a clean, level workspace. You'll generally need a floor jack and jack stands rated for your cart's weight, a full socket set (both standard and metric, since carts vary by manufacturer), a torque wrench, penetrating oil for any corroded fasteners, and a rubber mallet. A second person is genuinely useful — some components are awkward to hold in position while threading fasteners. Read through your kit's instruction sheet completely before starting, even if you're an experienced wrench. Lift kit designs vary enough that surprises mid-install cost you time.
Safely Raise and Support the Cart
Disconnect the battery pack before you begin — on electric carts, pull the main negative cable or use the tow/maintenance switch if your cart has one. On gas carts, disconnect the battery and set the parking brake. Jack up the front of the cart using a solid lift point on the frame (not on a plastic body panel or thin bracket), and support it on stands before getting underneath. Never rely on a floor jack alone to hold the cart while you work under it. Once the front is secure, you can remove the front wheels — this gives you access to the suspension components and keeps things from flopping around while you work.
Remove the Stock Suspension Components
With the wheels off and the cart supported, start removing the factory components your kit is replacing. This typically means the front spindles, tie rods, and potentially the A-arms depending on your kit type. Take photos before you disassemble anything — your phone camera is your best friend here. Photograph the geometry, the orientation of brackets, and how the steering linkage connects. You'll reference these during reassembly. Keep fasteners organized by location. It's easy to mix up hardware that looks similar but differs in length or thread pitch, and using the wrong bolt in a suspension application is a real safety issue.
Install the New Lift Components
Follow your kit's instruction sequence carefully for this step. Generally, you'll install new spindles or A-arm assemblies first, followed by the drop brackets or extended tie rods. Thread all fasteners in by hand before torquing anything down — this lets you make adjustments and ensures nothing is cross-threaded. Once everything is positioned correctly, torque fasteners to spec using a torque wrench. Do not guess on suspension hardware. If your instructions specify a torque value, hit it. If they don't list values, use a general fastener torque chart for the bolt grade and diameter you're working with. Reinstall the wheels, torquing the lug nuts in a star pattern.
Address the Steering and Brake Lines
Lifting the front of the cart changes the geometry of your steering linkage. After the lift is installed, you'll almost certainly need to adjust your tie rod lengths to bring the toe back into spec — the alignment article in our library covers this in detail. On carts with hydraulic brakes, check that your brake lines have enough slack to accommodate the new suspension travel. Extended brake lines or brake line relocation brackets are sometimes included in more comprehensive kits, or available as add-ons. Don't skip this check — a brake line that's too tight can crack under full suspension compression.
Lower the Cart, Test, and Re-Torque
Once both front and rear (if applicable) lift components are installed and wheels are back on, lower the cart to the ground. Reconnect the battery. Before driving, bounce the front end a few times by pressing down on the hood area and releasing — watch for anything rubbing, binding, or looking wrong. Then take a slow, cautious first drive in an open area and listen for clunks or creaks that shouldn't be there. After the first 10 to 20 miles of use, re-torque all the suspension fasteners. New hardware, especially through bushings, tends to settle slightly under load, and a re-torque is cheap insurance against a loose joint developing down the road.


