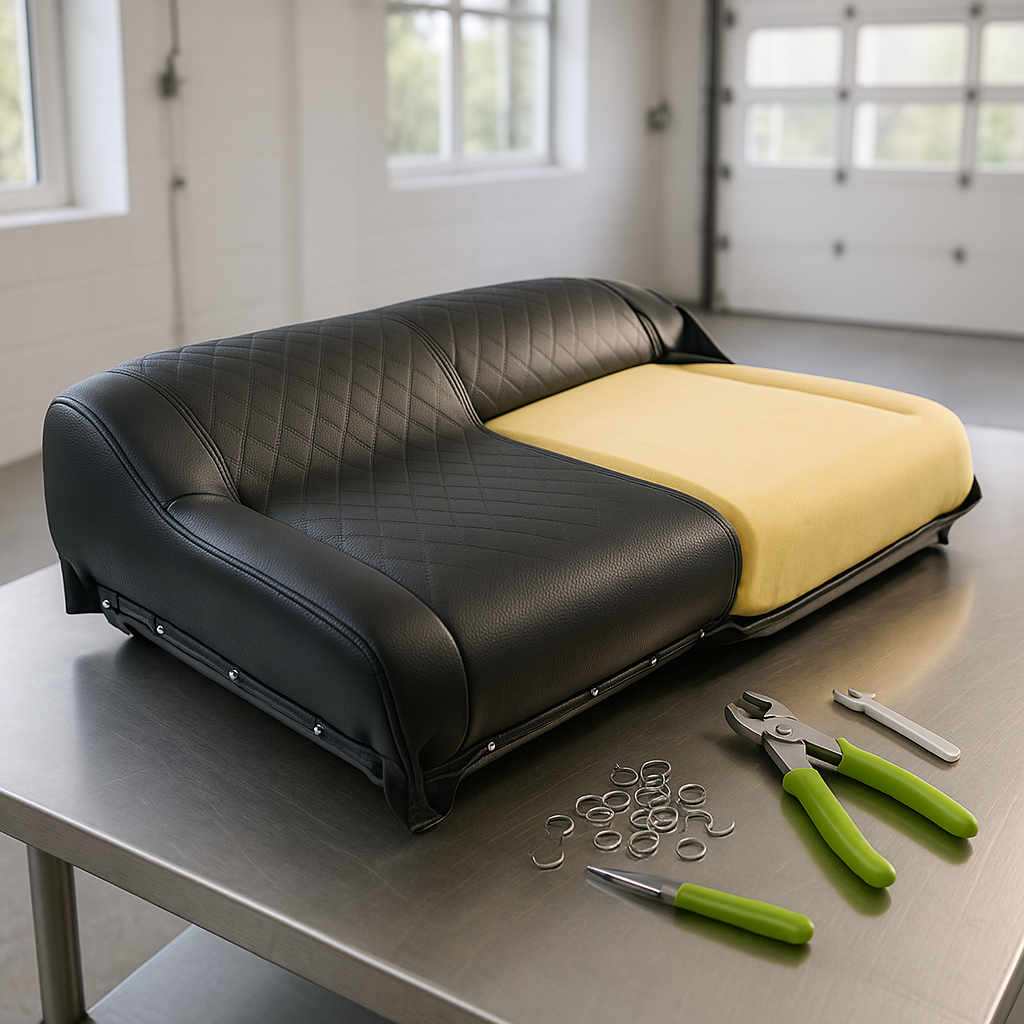
Golf cart seat covers take a beating. Sun, rain, spilled drinks, and years of use turn even decent vinyl into cracked, faded embarrassment. The good news is that replacing a seat cover is one of the more approachable DIY jobs on a cart — no special tools, no electrical knowledge required, just some patience and attention to detail. Whether you're working with a universal cover or one cut for a specific model, the process is largely the same.
Before You Start: Know What You're Working With
Seat covers for golf carts fall into two broad camps: slip-on universal covers that stretch over the existing cushion and staple-on replacement covers designed to be permanently secured to the seat frame. Universal stretch covers are the easiest to install and the most forgiving, but a properly fitted replacement cover will look cleaner and hold up longer. Check whether your seat back and seat bottom are separate pieces — on most carts they are, and each one gets its own cover. Also take a look at the condition of the foam underneath before you order. If the foam is crumbling or waterlogged, a new cover over bad foam still looks and feels rough. Replace the foam at the same time if needed.
Removing the Old Cover
Start by removing the seat from the cart if possible — most golf cart seats are held down by two to four bolts and lift off easily once those are out. Working on the seat off the cart gives you room to maneuver and protects your cart's frame from accidental scratches. Flip the seat bottom over to expose the underside. Most factory covers and aftermarket staple-on covers are secured with a staple gun or hog rings around the perimeter of the seat pan. Use a flathead screwdriver or staple remover to pry out the staples, working your way around the edge. Take your time here — rushing tears the seat pan if it's plastic, and you may want to reuse that pan. Once all fasteners are out, peel the cover off the foam. If it's stuck due to age or adhesive, work it loose slowly from one corner.
Preparing the Seat for the New Cover
With the old cover off, inspect the foam and the seat pan. Clean off any staple remnants flush with the pan — lumpy or protruding staples will show through a new cover and create wear points. If the foam has minor compression but is otherwise solid, it's usually fine to reuse. For any areas where the foam is torn or has significant indentations, either replace the foam pad entirely or fill small spots with upholstery foam. Let everything dry completely if the seat was wet or you used any cleaner on the pan. A dry, smooth surface is what you're working toward before the new cover goes on.
Installing a Staple-On Replacement Cover
Lay the new cover face-down on a clean surface, then place the foam on top of it centered, and the seat pan on top of the foam. Pull the cover up and over the edge of the pan on one side, pulling it snug but not so tight that it distorts the material, and staple it every couple of inches along the underside of the pan. Work opposite sides — do a few staples on the front, then a few on the back, then the two sides — rather than going all the way around in one direction. This keeps the cover centered and prevents bunching. At the corners, fold the material the same way you'd wrap a gift: pull the corner taut, fold in the sides, and staple flat. A heavy-duty staple gun loaded with upholstery staples (typically around 3/8 inch) works well for this. Once the cover is fully stapled, flip the seat over and check for wrinkles or pulls. Minor issues can often be corrected by pulling a staple and reseating that section.
Installing a Universal Stretch Cover
Stretch covers work differently — they're designed with elastic edges that grip the seat cushion without any stapling. Slip the cover over one end of the cushion and work it toward the opposite end, smoothing as you go. Once it's roughly positioned, go back and tug it into final alignment. The fit won't be as tight as a staple-on cover, but a quality stretch cover should have no major gaps or loose panels once it's seated. Some stretch covers include straps or hook-and-loop fasteners underneath to keep the cover from migrating during use — secure these before reinstalling the seat.
Reinstalling the Seat and Finishing Up
Once the cover is on and you're happy with the fit, bolt the seat back onto the cart. Snug the bolts evenly so the seat sits flat and doesn't rock. If you replaced both the seat bottom and seat back, make sure the gap between them looks uniform — this is mostly cosmetic but matters for a clean result. Sit in the seat and shift around to make sure nothing pulls, bunches, or slides. A properly installed cover should feel solid and look like it belongs there. Give the new material a quick wipe-down with a vinyl or marine-grade protectant — this is especially worth doing on light-colored covers before they see their first day of sun.
The whole job typically takes an hour or two for someone doing it the first time, and faster on the second seat once you have the feel for it. It's one of those maintenance tasks where the result is immediately visible every time you get in the cart, which makes it one of the more satisfying upgrades you can do yourself.


