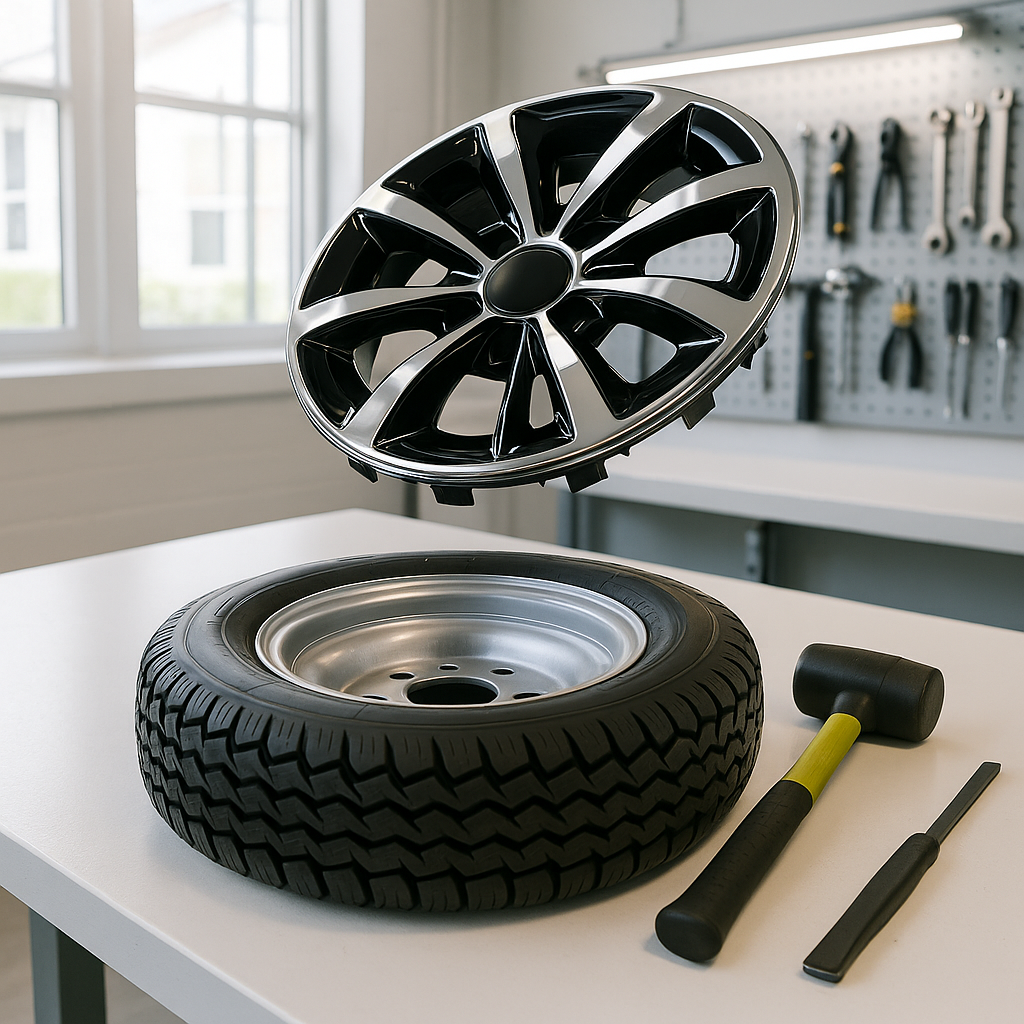
Golf cart hubcaps take a beating. Between curb scuffs, grass clippings, and the occasional parking lot mishap, even a well-maintained cart can end up with cracked, faded, or missing caps. The good news is that replacing them is one of the easiest jobs you can do on a golf cart — no special tools required in most cases, and the result is an instant visual upgrade. This guide walks you through the full process, including how to measure correctly so you buy caps that actually fit.
Step 1: Identify Your Wheel Size and Hub Type
Before you order anything, you need to know what size caps will fit. Golf cart wheel sizes are typically measured in inches across the wheel diameter — common sizes include 8-inch, 10-inch, and larger aftermarket sizes. The cap size must match the wheel it's covering, not just the tire size, so check the wheel itself rather than guessing. You'll also want to note how your existing caps (if any) attach: most golf cart hubcaps use either a snap-on clip system that grips the lug nuts or wheel lip, or a center-cap style that presses into the hub opening. Knowing which style you have — or which style your replacement caps use — saves you frustration at install time.
Step 2: Remove the Old Hubcaps
If you're replacing existing caps, removal is usually straightforward. For snap-on styles, insert a flathead screwdriver or a trim pry tool between the cap and the wheel and work around the perimeter with gentle, even pressure. Don't just pry at one point — you'll risk cracking the cap or scratching the wheel. If the cap has been on for years and the plastic retaining clips have stiffened, a little patience and a steady hand around the full circumference will get it off cleanly. Center-cap styles typically pull straight out once you release the retaining clips behind the wheel. If the cap won't budge, it may have been installed with an adhesive or have a locking ring — inspect closely before forcing it.
Step 3: Clean the Wheel Surface
Once the old cap is off, take a minute to clean the wheel face and hub area. Dirt, rust, and old grease on the contact surfaces can prevent a new cap from seating flush, and they'll cause rattling down the road. A clean rag and a little all-purpose cleaner is all you need. If you notice any corrosion or damage to the lug nuts or wheel itself, deal with that before installing the new cap — a hubcap covers these areas but doesn't fix them, and moisture trapped under a poorly sealed cap can accelerate corrosion.
Step 4: Test-Fit Before You Commit
Hold the new hubcap up to the wheel and confirm the size and clip alignment look correct before pressing it in. The cap should line up evenly around the wheel edge with no obvious gaps. If your new caps have a specific orientation (a logo or valve stem cutout), position it so the valve stem hole aligns with the actual valve stem — this is easy to overlook and annoying to discover after you've snapped the cap in. Some universal-fit caps come with multiple sets of retaining clips to accommodate slightly different wheel profiles; if that's the case, dry-fit it first to see which clip configuration gives the most secure seat.
Step 5: Install the New Hubcaps
For snap-on hubcaps, press the cap firmly and evenly against the wheel, working around the circumference. Most snap-on caps have plastic retention tabs or a wire ring that grips behind the lug nuts or wheel lip. Press with your palm in a steady, circular motion rather than hammering at one point — you'll hear and feel the clips engage. Give the cap a firm tug by hand after installation to confirm it's seated; a properly installed cap shouldn't flex or pull away easily. For center caps, align the retaining tabs with their channels in the hub, press straight in until you feel it click, and tug to verify. Avoid using a mallet unless the manufacturer specifically recommends it — most golf cart hubcaps are plastic and crack easily under impact.
Step 6: Check All Four Wheels and Road-Test
Once all caps are installed, visually inspect each one for even gaps and flush seating. Spin each wheel slowly by hand if the cart is lifted — any wobble or scraping sound means the cap isn't fully seated and should be removed and reset. Take the cart for a short drive at normal speed and listen for rattling. A hubcap that rattles is usually one where a single clip didn't engage; pull it, inspect the clip for damage or incorrect seating, and reinstall. Rattling caps that are ignored tend to vibrate loose and fall off entirely.
The whole job — all four wheels — typically takes less than 30 minutes once you have the right caps in hand. The main mistakes people make are buying the wrong size, forcing a single clip instead of pressing evenly, and skipping the test-fit step. Get those three things right, and new hubcaps are as close to a no-fail upgrade as golf cart work gets.


