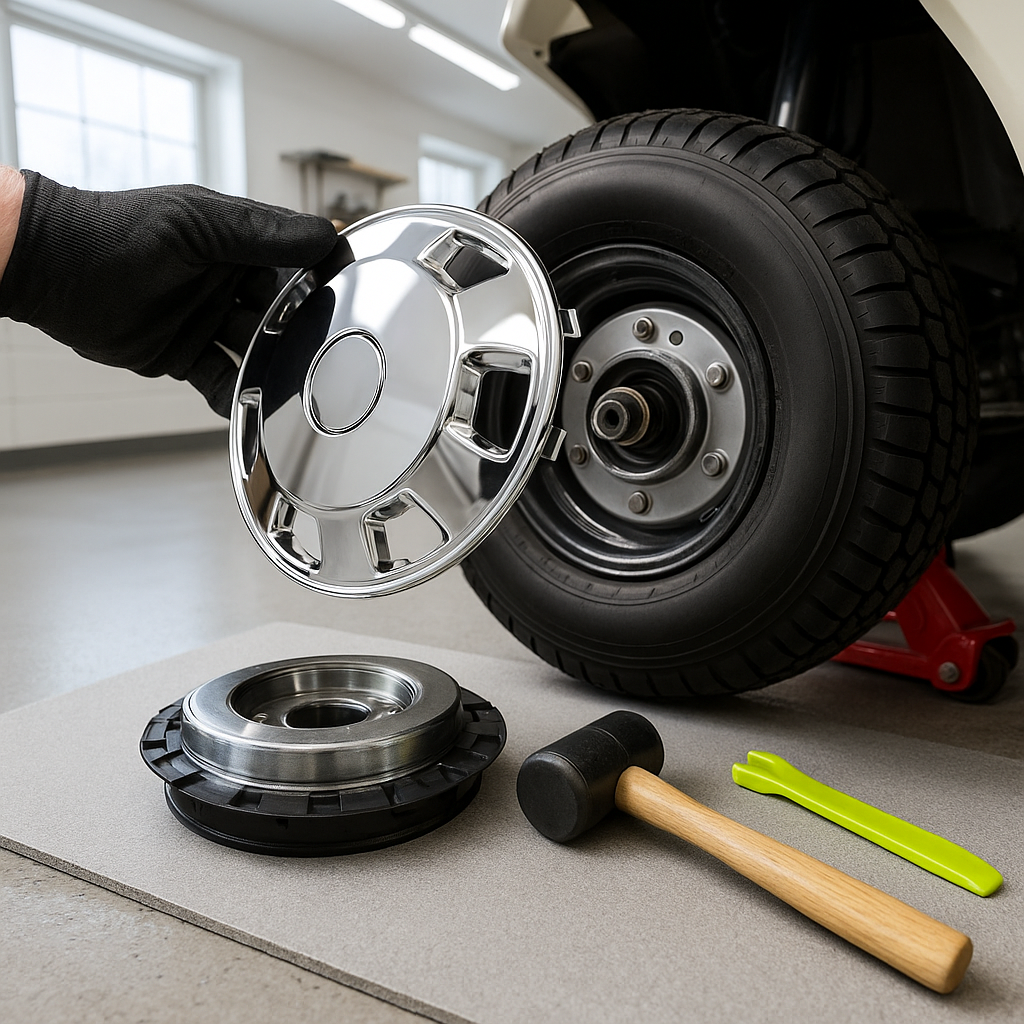
Hubcaps are one of the easiest visual upgrades you can make to a golf cart, but a loose or improperly installed cap will rattle, pop off mid-ride, or scratch your wheel. Getting the install right takes only a few minutes when you understand how the two main attachment styles work — and what to watch out for with each one.
Know Your Attachment Type Before You Start
Most golf cart hubcaps fall into one of two categories: snap-on (clip retention) or screw-on (bolt-through or lug-nut cover style). Snap-on caps use a ring of plastic or metal retention clips that grip the inside lip of the wheel. Screw-on versions mount over the lug nuts or use dedicated fasteners through the cap itself. Figure out which type you have before you do anything else — forcing a snap-on cap onto a wheel designed for a screw-on mount, or vice versa, will result in a poor fit and eventual failure. Check the back of the cap for clips versus holes, and compare that to your wheel's center opening and lug pattern.
What You'll Likely Need
For most snap-on hubcap installs, you won't need tools at all — just clean hands and some patience. Screw-on installs typically require a basic socket set or lug wrench. In either case, it helps to have a clean rag on hand to wipe down the wheel surface before installation, since dirt and debris between the cap and the wheel can prevent a flush seat and cause noise over time. If your old caps left behind adhesive residue or surface rust on the wheel lip, take a minute to clean that off.
How to Install Snap-On Hubcaps
Start by positioning the cap centered over the wheel opening. Most snap-on caps have a defined orientation — look for a valve stem notch or cutout, which should align with your tire's valve stem so it's accessible after the cap is installed. Once aligned, press the cap firmly and evenly toward the wheel, working around the perimeter rather than pushing hard on one side only. You should hear and feel each clip engage as the cap seats. Give the installed cap a firm tug and a sideways twist to confirm it's locked in — it should have no play. If it feels loose or one section won't seat, check whether the retention clips are bent or whether debris is blocking the wheel lip.
How to Install Screw-On Hubcaps
Screw-on caps require a bit more care because overtightening can crack the cap or strip threads, while undertightening obviously leaves them loose. Start all fasteners by hand to avoid cross-threading, then snug them down evenly in a cross pattern — the same logic as lug nuts on a car wheel. Check your specific cap's instructions for whether fasteners should be snugged against the wheel surface or torqued to a specific value; when in doubt, firm hand-tight plus a quarter turn is a reasonable starting point for plastic-bodied caps. Again, make sure your valve stem cutout is aligned before you commit to tightening.
Checking Fit on Different Wheel Sizes
Golf cart wheels commonly come in 8-inch, 10-inch, and larger diameters depending on whether a lift kit is installed. Hubcap fit is wheel-diameter-specific — an 8-inch cap will not fit a 10-inch wheel, and vice versa. If you're unsure of your wheel size, measure the diameter of the metal wheel (not the tire) from edge to edge, or check the wheel itself, as the size is often stamped into the back. Universal-fit caps are designed to cover a range of wheel diameters through adjustable or flexible retention, but they still have limits — always confirm the stated fit range includes your actual wheel size before installing.
Post-Install Checks
After installing all four caps, take the cart for a short, slow loop and then re-check each one. Vibration from even a brief run will reveal any cap that wasn't fully seated. Snap-on caps that loosen after a short ride almost always have one or more clips that didn't fully engage — remove, inspect the clips, and reseat. For screw-on caps, verify no fasteners have backed out. Going forward, include a quick hubcap check in your regular pre-ride inspection, especially after driving on rough terrain where impacts can gradually work a cap loose over time.


