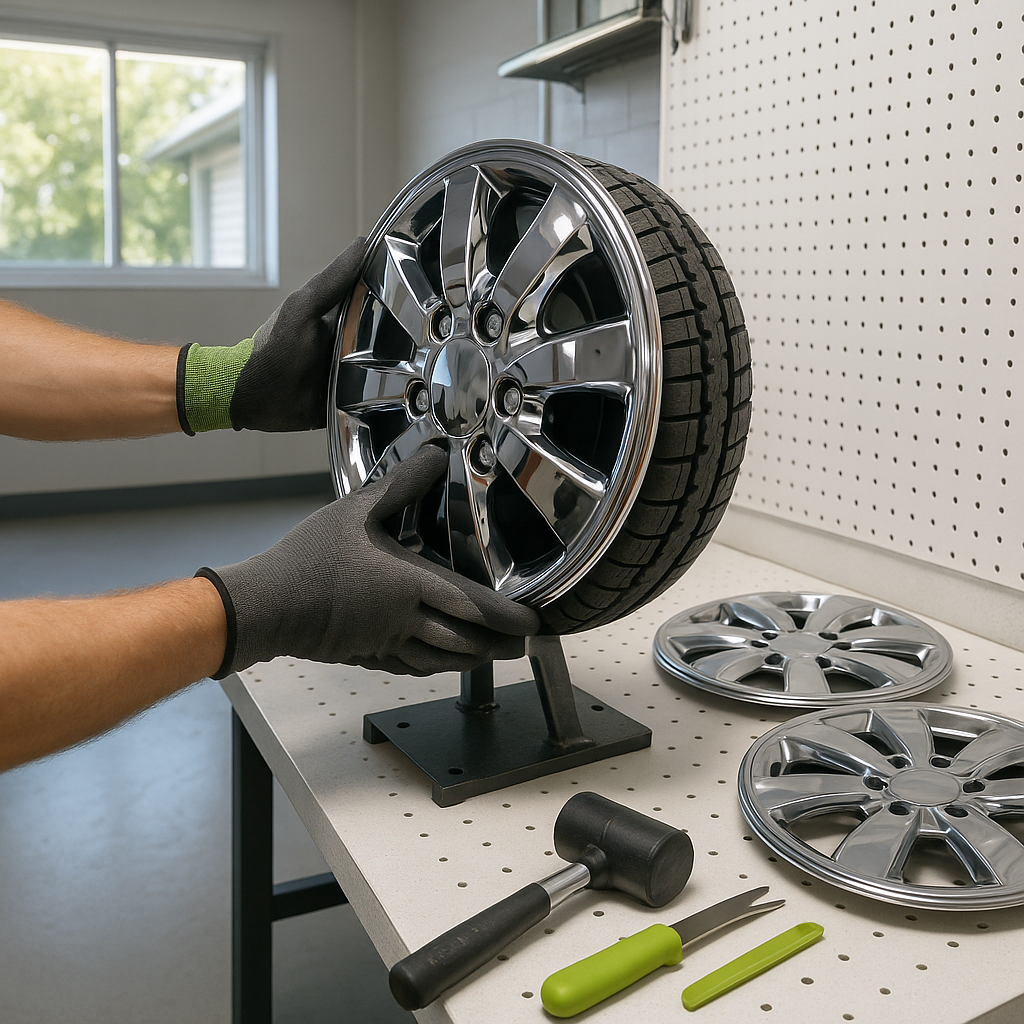
Golf cart hubcaps are one of the simplest cosmetic upgrades you can make, but a poor install leads to caps that wobble, pop off mid-round, or sit crooked. Done right, they should click into place securely and stay there through rough terrain and regular washing. This guide walks you through the full process — from prepping your wheels to confirming a solid fit — using general techniques that apply to most snap-on and screw-on style hubcaps.
What You'll Need
For most snap-on hubcap installations, the tool list is minimal: a rubber mallet or a soft-faced hammer, a clean rag, and optionally a plastic trim tool or flathead screwdriver wrapped in tape. If you're installing screw-on or lug-nut-style hubcaps, you'll also need the appropriate socket or wrench. Before you start, confirm your wheel diameter — golf cart wheels are most commonly 8-inch, 10-inch, or 12-inch — and make sure the hubcaps you have are spec'd for that size. A cap built for an 8-inch wheel simply won't seat correctly on a 10-inch, no matter how hard you push.
Step 1: Clean the Wheel Face and Hub Area
Dirt, road grime, and old grease buildup on the hub area can prevent a hubcap from seating flush or cause premature loosening. Wipe down the face of the wheel and the center hub area with a damp rag and let it dry fully. If you're replacing old hubcaps, inspect the wheel for any bent lip edges or corrosion that could interfere with the fit. Minor surface rust can be lightly sanded down; significant wheel damage may affect how securely the cap holds.
Step 2: Align the Cap Before You Commit
Hold the hubcap up to the wheel and locate any alignment tabs, notches, or valve stem cutouts. Most hubcaps have a small opening or notch to clear the valve stem — if yours does, rotate the cap so that notch lines up with the stem before you push anything into place. Getting this alignment right before you start pressing is much easier than repositioning a partially-seated cap. Some caps also have a specific orientation for logos or patterns, so take a moment to confirm the cap is facing the direction you want.
Step 3: Seat the Cap Evenly
For snap-on hubcaps, press the cap firmly against the wheel by hand, starting at the valve stem notch and working around the circumference. Apply even pressure all the way around rather than pushing one side in hard first — off-center pressure is the most common reason caps end up cocked or fail to fully engage their retention clips. Once it feels partially seated, go around the perimeter again with your palm and press firmly at each clip location. You should hear or feel a distinct click as each retention point engages. If the cap isn't seating with hand pressure alone, use a rubber mallet to tap gently around the outer edge — never strike the center, which can crack decorative finishes or deform the cap.
Step 4: Verify the Fit
Give each cap a firm tug by hand and try to rotate it slightly. A properly seated snap-on cap should have no significant play and should not spin freely. Walk around the cart and eyeball each wheel — the cap should sit flush and concentric with the wheel rim, not angled or sitting proud on one side. If a cap feels loose or keeps popping off when you test it, remove it entirely, inspect the retention clips for damage or spread, and try again. Bent or fatigued retention clips are the usual culprit on used caps; replacement clips are often available separately for common hubcap styles.
Screw-On and Lug-Nut Cover Styles
Some golf cart hubcaps use small screws or thread directly over the lug nuts rather than clipping onto the rim edge. For these, hand-thread all fasteners before tightening any of them, then snug them down in a cross pattern to keep the cap centered as it draws in. Don't overtighten — plastic caps can crack around the fastener points, and even metal caps can deform the threads on small screws. Snug and even is the goal.
Ongoing Maintenance
Hubcaps don't require much upkeep, but it's worth checking them every few months — especially if you drive on bumpy paths or gravel. A cap that has worked slightly loose is far easier to reseat than one you find in a ditch three holes back. When washing your cart, avoid blasting high-pressure water directly at the edges of snap-on caps, which can force water behind them and, over time, weaken the clips. If a cap ever feels noticeably looser than it did when new, remove it and inspect the retention tabs before it becomes a lost cap.


