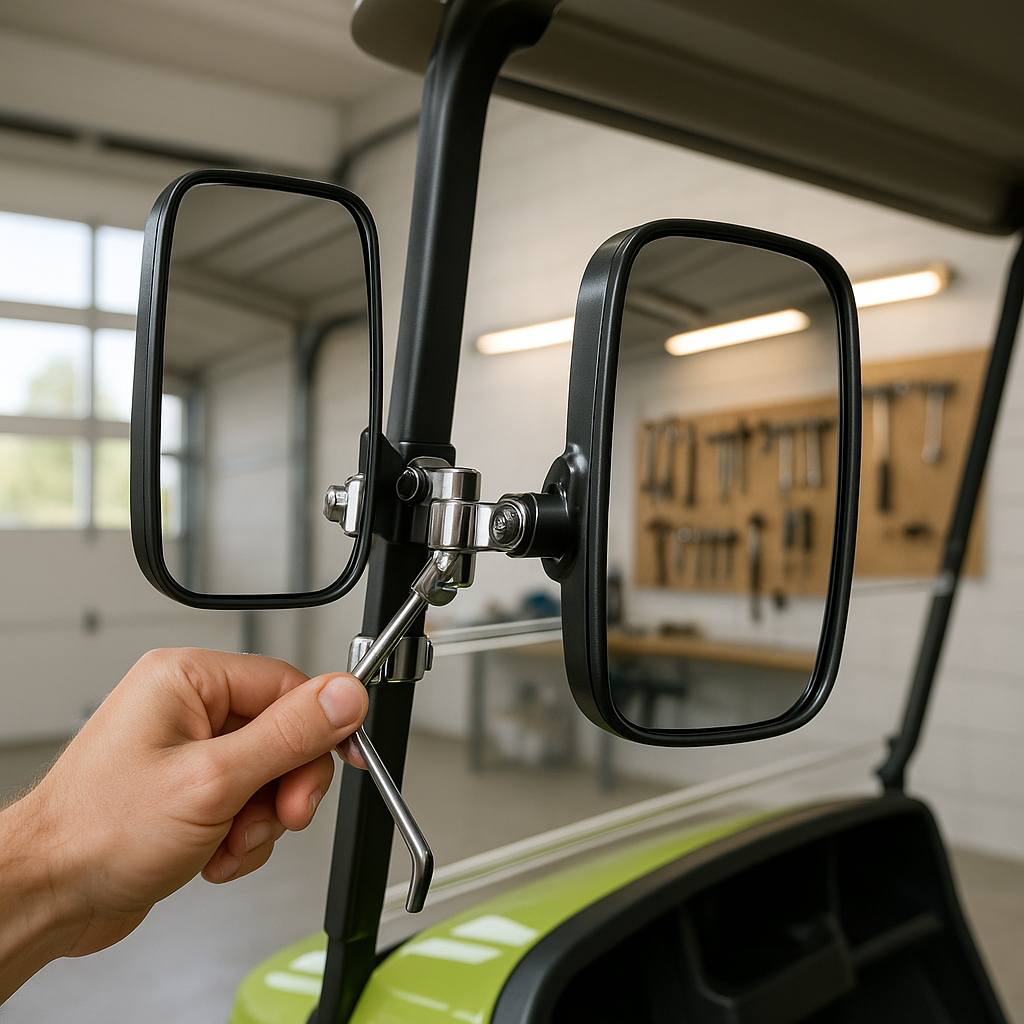
Whether you're navigating a busy campground, a golf course path, or a neighborhood street, having properly installed mirrors on your golf cart isn't just a convenience — in many states and communities, it's a legal requirement for street-legal operation. The good news is that mounting mirrors is one of the easier DIY jobs you can tackle on a golf cart, requiring minimal tools and no specialized mechanical knowledge. This guide walks you through the process from start to finish.
Choose the Right Mirror Style First
Before you grab a wrench, spend a moment deciding which mirror configuration makes sense for your cart. Side mirrors mount to the roof support struts or the windshield frame and give you the widest field of view for reversing and lane changes. A rear-view mirror mounts across the top of the windshield, similar to a car's interior mirror, and works well if you primarily want a quick glance behind you. Some carts benefit from both. Universal-fit mirrors use adjustable clamps designed to grip round or square tubing across a range of diameters, while model-specific mirrors for brands like Club Car or EZGO are engineered to match the exact tubing profile and pre-existing mounting points on those frames. If you can match to your specific cart model, do it — the fit will be cleaner and more secure.
Gather Your Tools
For most clamp-style mirror installations, you'll need very little: a Phillips or flathead screwdriver (depending on the clamp hardware), an adjustable wrench or a small socket set, and possibly a rubber mallet if you're working with a tight-fitting bracket. A measuring tape is handy for positioning matched side mirrors symmetrically. That's genuinely about it. No drilling is required for clamp-mount designs, which is the most common type sold for golf carts.
Identify Your Mounting Location
For side mirrors, the front vertical uprights of the roof support — sometimes called the A-pillars — are almost always the correct mounting location. They're typically sturdy, well-positioned for outward visibility, and the right height. For a rear-view mirror, the horizontal bar at the top of the windshield frame is the standard location. Before you tighten anything down, sit in the driver's seat and hold the mirror in position so you can confirm the sight line actually works for your seated height. This step saves you from fully installing something only to realize it's aimed at the roof.
Mount and Secure the Bracket
Open the clamp bracket wide enough to slide onto the tubing without forcing it. Position it at the height you confirmed in the previous step, then hand-tighten the clamp bolt to hold it in place temporarily. Recheck your position from the driver's seat, then snug the bolt down firmly with your wrench. You want it tight enough that the mirror won't rotate under normal vibration, but be careful not to overtighten on aluminum or plastic-coated tubing — you can crack a frame cover or distort the tubing if you crank it excessively. If the clamp came with a rubber insert or pad for the tubing, make sure it's seated properly before tightening; it protects the frame finish and improves grip.
Adjust for Proper Sight Lines
Most golf cart mirrors have a ball-and-socket or pivot joint that lets you dial in the angle after the bracket is fixed. Sit in the driver's seat again and adjust the mirror face until you can see clearly down the side or rear of the cart without straining or shifting your posture. For side mirrors, you generally want to see a small sliver of the cart's rear body on the inside edge of the mirror — this gives you a reference point. For a rear-view mirror, adjust the angle so the full rear opening or back window is centered in the glass. Once you're satisfied, tighten any secondary locking nut or friction adjuster on the mirror joint so it holds position over road vibration.
Check Stability Before You Drive
Give each mirror a firm but reasonable shake by hand. It should feel solid with no wobble at the clamp joint. If it moves, re-tighten. Take a short slow drive and then recheck — vibration from even a smooth path can reveal a clamp that needs another quarter-turn. This is especially important if you plan to drive on pavement or uneven terrain where vibration is higher than a manicured fairway. A mirror that vibrates loose and falls off while driving is a hazard, so don't skip the post-drive check.
Installing mirrors is a small job with a real payoff in safety and situational awareness. Done correctly, a good set of mirrors will stay put through years of use with zero maintenance beyond an occasional wipe-down. If you're unsure about compatibility with your specific cart's tubing diameter or frame style, the safest move is to measure your tubing before purchasing — most clamp-mount mirrors list their compatible diameter range, and matching that spec up front saves a return trip.


