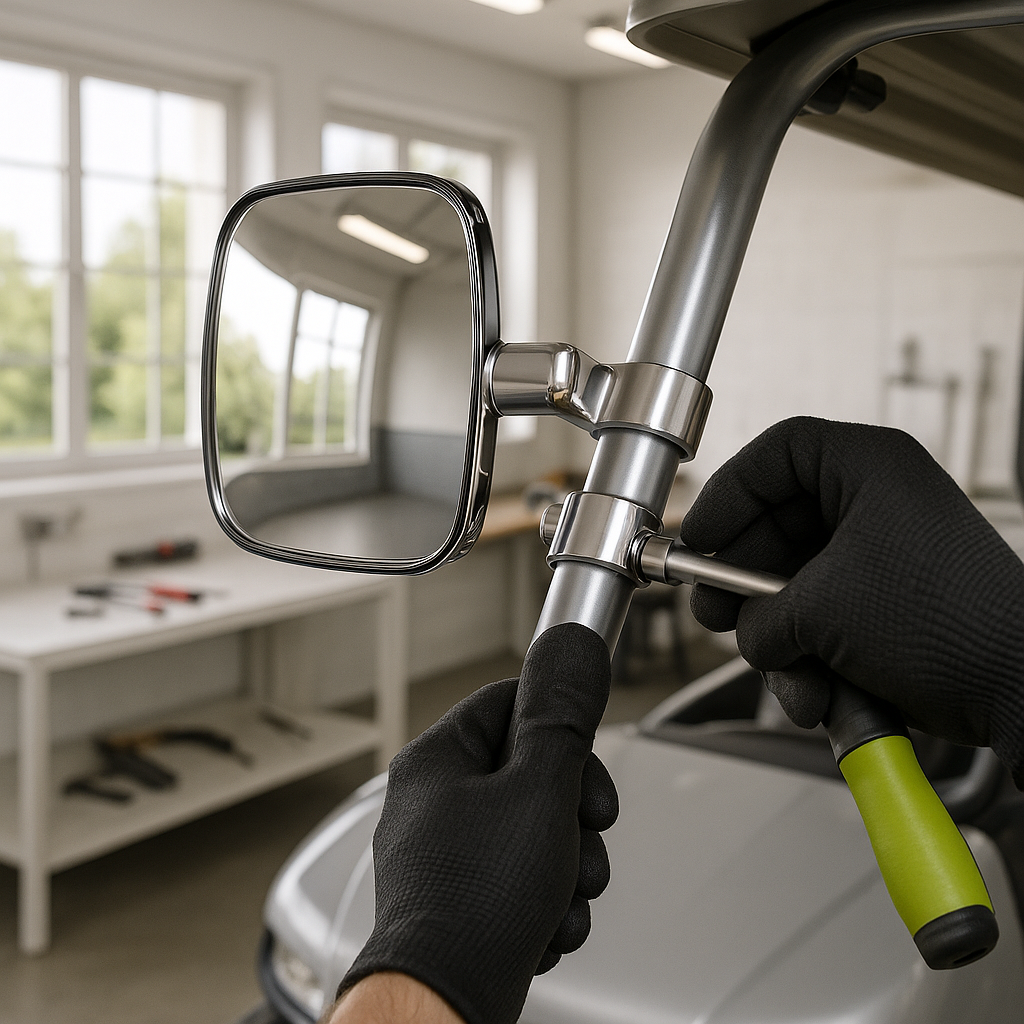
Whether you're driving your golf cart on a neighborhood street, a campground path, or a gated community road, mirrors aren't just a nice-to-have — in many places they're legally required for street-legal operation. Even where they aren't required, being able to see what's behind and beside you without twisting around is a basic safety upgrade that takes less than an hour to add. This guide walks you through the general process of selecting, positioning, and installing side and rearview mirrors on your golf cart.
Step 1: Choose the Right Mirror for Your Mount Point
Golf cart mirrors generally fall into two categories: those that clamp to the roof support bar (also called the windshield support strut), and those that bolt to the side of the dash or cowl. Before buying, figure out what mounting surface you're working with. Measure the diameter of your support bar if you're going the clamp-on route — most standard golf cart bars fall within a common range, but it's worth confirming so the clamp seats snugly without slipping. If you're mounting to a flat surface, check that there's enough clearance and structural material behind it to hold a bolt without punching through a hollow cavity.
Step 2: Gather Your Tools
Mirror installations are generally low-tool jobs. For a clamp-style mirror, you'll typically need just a screwdriver or small wrench to tighten the clamp hardware. For bolt-on dash-mount mirrors, you may need a drill with an appropriate bit if there's no pre-existing hole, along with a wrench or socket set. Having a helper on hand is useful for holding the mirror in position while you check sightlines before committing to a final placement.
Step 3: Dry-Fit and Adjust Positioning First
This step is one most people skip and then regret. Before tightening anything down, hold the mirror where you intend to mount it and actually sit in the driver's seat. Look at the mirror. Can you see the full area behind or beside the cart without craning your neck? A mirror mounted too high, too low, or at the wrong angle becomes useless fast. For a rearview mirror mounted to the windshield support bar, the center of the mirror should ideally be close to eye level when you're seated. For side mirrors, aim for a position that gives you a clear view of the rear quarter of the cart and the ground beside it.
Step 4: Mark Your Mount Point and Install
Once you're happy with the position, mark it — a small piece of painter's tape or a pencil mark works fine. For clamp-on styles, position the clamp around the bar at your marked spot and hand-tighten the hardware first so you can still make small adjustments. Sit back down, re-check the sightlines, then tighten the clamp firmly. It should hold the mirror without any wobble, but you're clamping to a metal tube so don't over-torque and crush or score the bar. For bolt-on mounts, if drilling is required, go slowly with the correct bit size and clean up any burrs before installing the hardware. Use a backing washer if the material you're mounting to is thin.
Step 5: Adjust the Mirror Head
Most golf cart mirrors have a ball-joint or pivot-style head that lets you fine-tune the angle after the bracket is mounted. With everything secured, sit in the driver's seat and adjust the mirror head until you have the best possible view. Side mirrors should show the rear corner of the cart and enough of the lane or path beside you to judge clearance. A rearview mirror should show the full path behind you centered in the glass. Once dialed in, tighten any set screws or locking knobs on the mirror head so it holds that angle and doesn't drift from vibration.
Step 6: Do a Quick Shake Test
Give each mirror a firm but reasonable shake with your hand. A properly installed mirror should feel solid — no rotation around the bar, no flex at the mount point, no wobble in the mirror head. If anything moves freely, go back and tighten the relevant hardware. Mirrors that shake loose at low speed will be useless by the time you hit the road, and a falling mirror can become a hazard. If a clamp simply won't grip your bar diameter securely, a thin wrap of rubber tape around the bar before clamping can add friction and fill the gap.
Installing mirrors is one of the simplest safety upgrades you can make to a golf cart, and it's a task almost any owner can handle without professional help. Take the time to position them properly before locking everything down, confirm everything is tight before you drive, and re-check the hardware after the first few rides — vibration from normal driving sometimes reveals a clamp that needed one more turn of the wrench.


