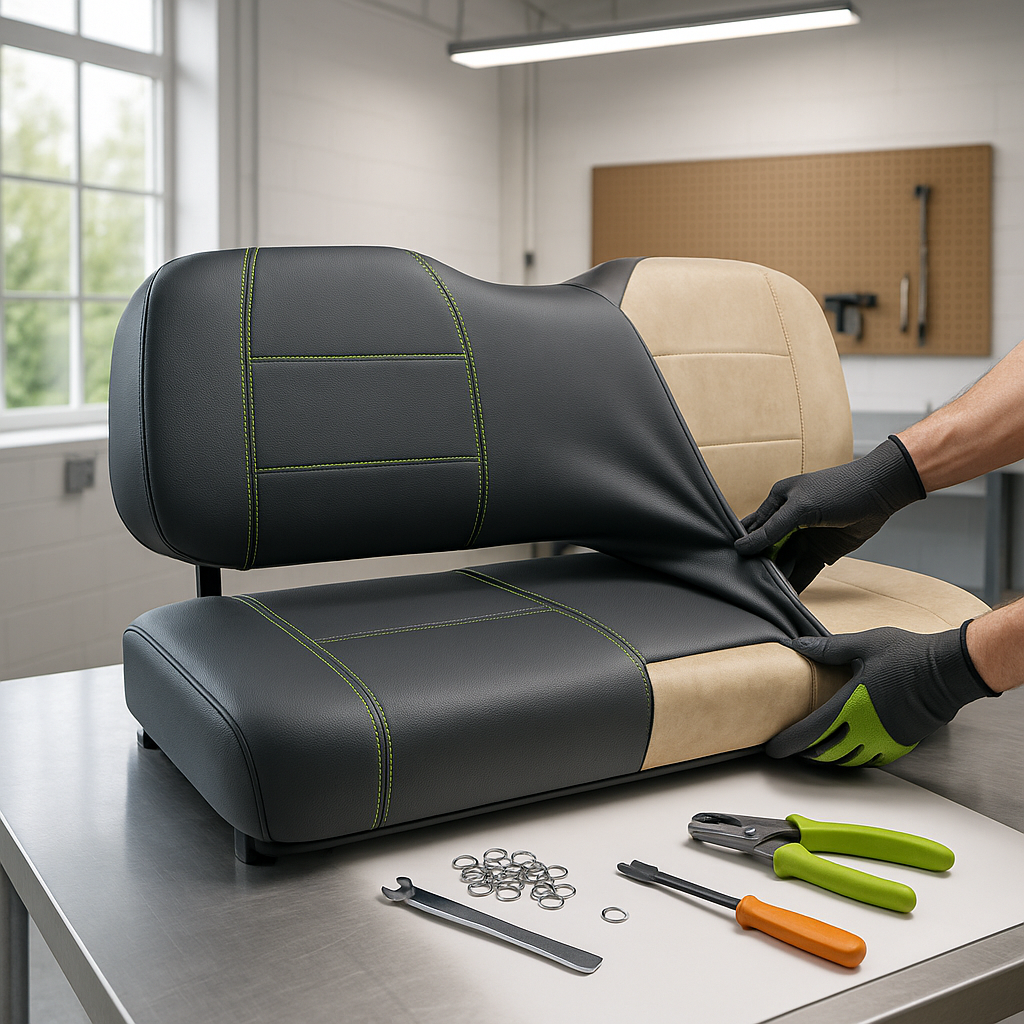
Golf cart seats take a beating. Sun, rain, spilled drinks, and years of getting in and out leave the vinyl cracked, faded, or just plain ugly. A fresh set of seat covers is one of the fastest cosmetic upgrades you can make — and unlike reupholstering, it's a job almost anyone can tackle in an afternoon with basic tools. The key is doing it right the first time so covers sit flat, look sharp, and don't slip around while you're driving.
What You'll Need Before You Start
You don't need a specialty toolkit for this job, but a few items make it much easier. Have on hand: a flat-head screwdriver or trim removal tool, a staple gun (if your covers use staple attachment), a heat gun or hair dryer, work gloves, and a clean rag. If your covers use hook-and-loop fasteners or elastic straps instead of staples, you may not need the staple gun at all. Read through whatever instructions come with your covers before you begin — attachment methods vary significantly between products and seat styles.
Step 1: Remove the Seat from the Cart
Most golf cart seats are held down by two to four bolts underneath the seat base. Removing the seat entirely gives you a stable surface to work on and makes it far easier to pull covers tight and fasten them evenly. Set the seat on a workbench or a clean patch of ground. Take a quick photo of how the existing seat looks from all angles before you touch anything — it's a useful reference if you're not sure how the new cover should sit.
Step 2: Remove the Old Cover or Inspect the Foam
If you're replacing an old cover, work the staples out carefully with a flat-head screwdriver or a staple remover. Don't rush this — torn staples left in the seat frame will create lumps under the new cover. Once the old material is off, inspect the foam underneath. If it's crumbling, compressed flat, or has chunks missing, consider replacing the foam before putting a new cover over it. A good cover on bad foam still looks and feels bad. Healthy foam should spring back when you press it.
Step 3: Position and Stretch the New Cover
Lay the new cover over the seat and center it carefully — equal overhang on all sides. Most covers are made from marine-grade vinyl or similar materials that become slightly more pliable with a little warmth. If the cover feels stiff or is fighting you, run a hair dryer or heat gun over the surface on a low setting for 30 to 60 seconds. Don't hold it too close or too long — you want the material supple, not damaged. Begin pulling the cover taut from the center of each side outward, working toward the corners last. Pulling from the corners first almost always causes wrinkles.
Step 4: Fasten the Cover Securely
How you fasten the cover depends on what attachment system it uses. Staple-style covers get fastened to the underside of the seat board — fold the excess material over cleanly, pull it snug, and staple every few inches. Keep tension consistent as you work around the perimeter. At the corners, fold the material the way you'd wrap a gift: fold one side in cleanly before folding the other over it, then staple the flap down. For elastic-strap or hook-and-loop covers, loop or press each fastener before moving to the next, working opposite sides alternately to keep tension balanced.
Step 5: Reinstall the Seat and Check the Fit
Once the cover is fastened all the way around, flip the seat over and check the top surface. Run your hand across it — it should feel smooth and taut with no obvious ridges or bubbles. If you spot a wrinkle, go back underneath, release the nearest staple or strap, re-tension the material, and refasten. Small imperfections sometimes relax out after a day or two in the sun, but significant bunching won't fix itself. When you're satisfied with the look, bolt the seat back onto the cart and sit in it. The cover should feel secure and not shift under your weight.
Keeping Your Seat Covers in Good Shape
Seat covers last significantly longer with a little basic maintenance. Wipe them down regularly with a damp cloth and a mild soap — don't use harsh solvents or abrasive cleaners on vinyl, as these strip the material's protective finish and accelerate cracking. A UV-protectant spray applied a few times a season makes a real difference in sun-exposed carts. If your cart sits outside, a full cart cover is the single best investment you can make for preserving both the seats and the rest of the interior over time.


