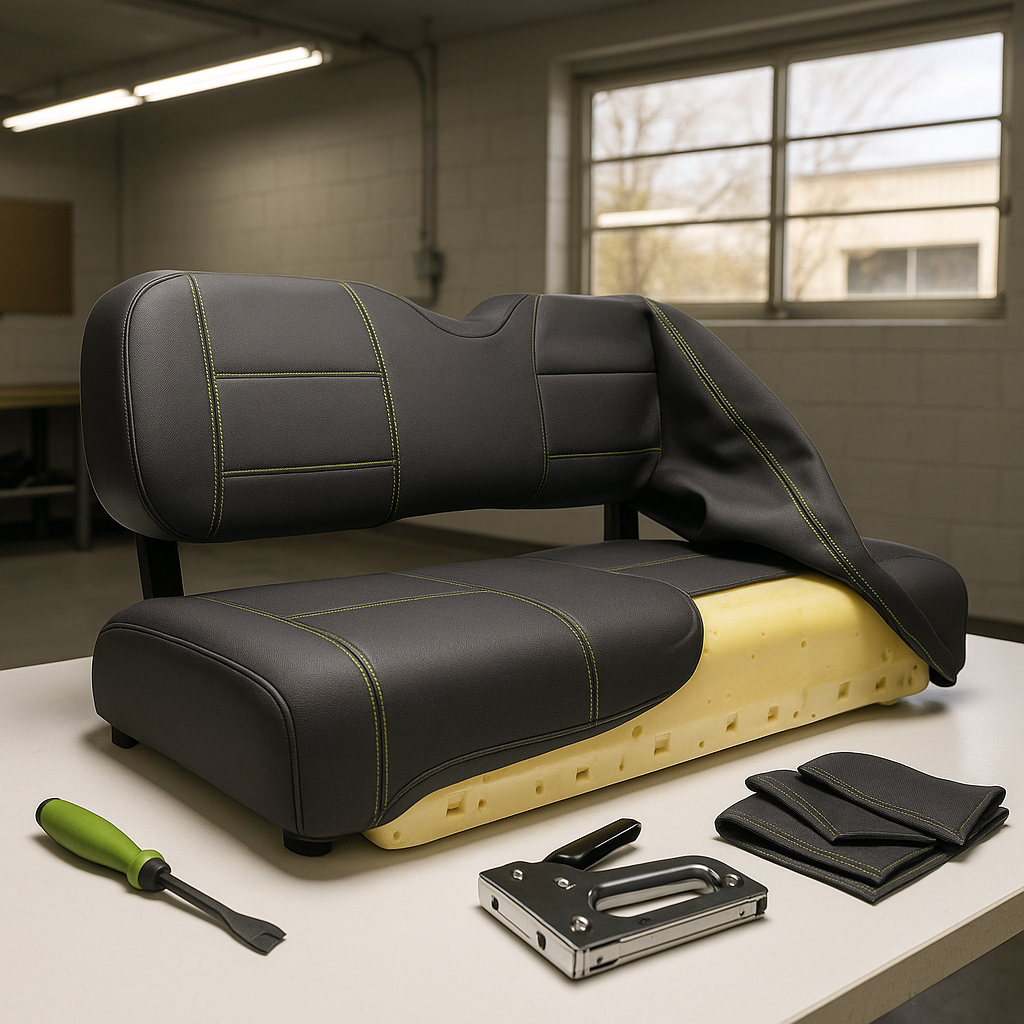
Golf cart seat covers take a beating. Sun, rain, sweat, and general outdoor abuse crack and fade vinyl faster than most people expect. The good news is that replacing seat covers is one of the more approachable DIY jobs on a golf cart — no special tools, no electrical knowledge required. If you can work carefully and take your time, you can have your seats looking fresh in an afternoon.
What You'll Need Before You Start
Gather your supplies before you pull anything apart. You'll typically need a staple gun with appropriately sized staples (an electric or pneumatic stapler makes the job noticeably easier than a manual one), a flathead screwdriver or staple remover for getting the old cover off, pliers, and scissors or a utility knife to trim excess material if needed. Some seat covers attach with hook-and-loop fasteners, snaps, or stretch straps rather than staples — check what your replacement covers use before you assume you'll need a stapler. Having a helper on hand for the pulling-and-stretching step is genuinely useful.
Step 1: Remove the Seat from the Cart
Most golf cart seats are held down by two to four bolts running through the seat base into the frame or seat support bracket underneath. Use the appropriate socket or wrench to remove those bolts and lift the seat assembly free. Set it on a stable, flat work surface — a workbench or even the tailgate of a truck works well. Working with the seat off the cart gives you full access to the underside and makes pulling and stapling much easier than trying to do it in place.
Step 2: Strip Off the Old Cover
Flip the seat upside down and look at how the existing cover is secured. On most OEM and aftermarket bench seats, the vinyl is wrapped around the bottom of the foam-filled seat base and stapled into a plywood or composite base panel. Use your staple remover or flathead screwdriver to pry out every staple — work methodically around the perimeter so you don't tear the base material. Once all the staples are out, peel the old cover away from the foam. If the foam underneath is cracked, crumbling, or compressed flat, this is a good time to replace it before installing the new cover. Trying to make a new cover look good over destroyed foam is a losing battle.
Step 3: Position the New Cover
Lay your new seat cover face-down on a clean surface, then set the seat (foam side down) centered on top of it. Most covers are cut with enough extra material on the edges to wrap around the base — check that the overhang is roughly even on all four sides before you start pulling anything tight. If your cover has seams, logos, or piping, double-check the orientation now. It's much easier to adjust at this stage than after you've stapled half of it down.
Step 4: Pull and Staple
This is the step that determines whether your finished seat looks professional or lumpy. Start at the center of one long edge — pull the cover material firmly around to the underside of the base and drive a staple into the center point. Then move to the direct opposite side and repeat, pulling the cover taut before stapling. Work the two short ends the same way, always pulling from the center outward and keeping tension even. Once you have the four center points anchored, work your way toward the corners in small increments — pull, staple, pull, staple — keeping the vinyl smooth on the top surface as you go. Corners take patience: fold the material neatly (think of wrapping a gift) to avoid bunching, and staple the folded layers down securely.
Step 5: Handle the Corners and Check Your Work
Flip the seat right-side up periodically to check for wrinkles or uneven tension on the top surface. It's easy to over-tighten one side and end up with the seam pulling off-center. Minor wrinkles near the corners can sometimes be worked out by adding or repositioning staples on the underside — but major wrinkles usually mean you need to pull some staples and re-tension that section. Don't skip this check-as-you-go approach; catching a problem midway is much easier than trying to fix it after every staple is in.
Step 6: Reinstall the Seat
Once the cover is secure and the top surface looks clean and even, trim any excess material hanging below the staple line if it's excessive — you just want to avoid bulk that might interfere with the seat sitting flat. Carry the seat back to the cart, line up the bolt holes, and reinstall the mounting bolts. Snug them down firmly but don't over-torque — most seat base panels are plywood or composite and won't take abuse well. Sit on the seat and check that it feels solid and doesn't shift. You're done.
A Few Things Worth Knowing
Universal seat covers are generally designed to fit a range of seat sizes, which means the fit can vary. Model-specific covers made for your cart's year and make will usually give a cleaner, tighter result with less fussing at the corners. Either way, marine-grade or UV-resistant vinyl holds up significantly longer outdoors than standard vinyl — it's worth paying attention to material quality, not just color. And if your seat base itself is warped, cracked, or waterlogged, no cover will fix the underlying problem — a replacement base is the right call before you invest in new upholstery.


