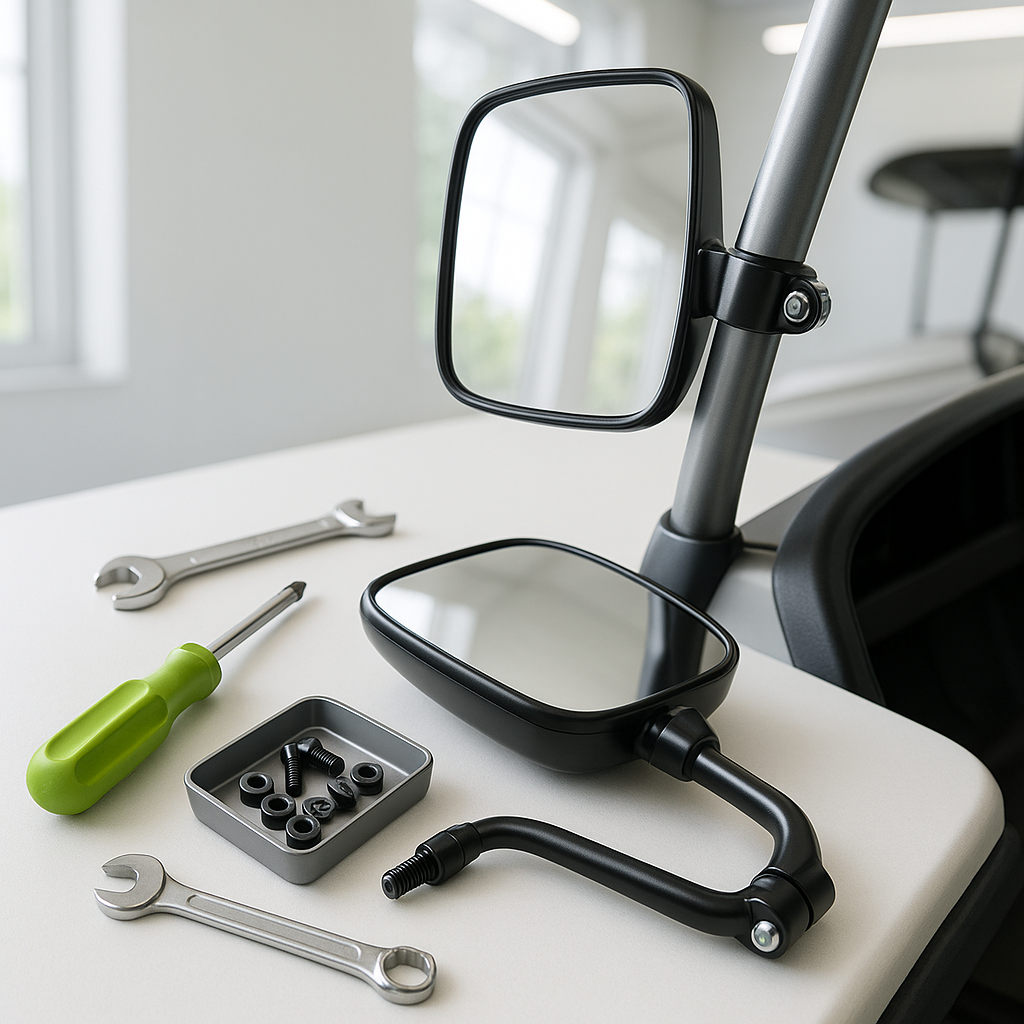
If you use your golf cart on public roads, multi-use paths, or busy communities, side mirrors aren't optional — they're a basic safety requirement. Many states and HOA regulations that allow street-legal golf carts specifically mandate side mirrors. Even if your local rules don't require them, adding a pair dramatically improves your situational awareness when backing up, changing lanes, or navigating tight spaces. The good news is that installing side mirrors is one of the more approachable DIY jobs on a golf cart, and it doesn't require specialized tools or mechanical expertise.
Understand the Two Main Mounting Styles
Before you buy mirrors or start drilling anything, identify what mounting style works for your cart. The two most common options are clamp-style mounts and bolt-on mounts. Clamp-style mirrors grip onto the roof support struts or roll bar tubing and tighten with a single bolt or hex screw — no drilling required, and they're fully adjustable after installation. Bolt-on mirrors attach directly to a flat surface like the windshield frame, dash edge, or body panel using machine screws and a backing plate. Clamp mounts are more versatile across different cart makes and models; bolt-on mounts tend to feel more solid and permanent once installed. Know which type you have before you start, because the process differs significantly.
Gather What You'll Need
For clamp-style mirrors, you'll typically need a hex key or small wrench to tighten the clamp, and that's usually the entire tool list. For bolt-on mounts, you may need a drill with an appropriate bit, a marker or punch to locate your holes, a wrench or socket set, and potentially a backing plate or washer set to spread the load on the mounting surface. In either case, it helps to have a second person on hand — one person to hold the mirror in position, another to confirm the angle looks correct before you fully tighten anything.
Choose the Right Mounting Location
Side mirrors should be positioned so the driver can see them with a natural, minor glance — not by leaning forward or craning sideways. On most golf carts, the front roof support strut on each side is the most practical mounting point for clamp-style mirrors. It's sturdy, puts the mirror in the right field of view, and doesn't interfere with ingress or egress. Avoid mounting mirrors too far forward on the body where they might vibrate excessively or get clipped on tight turns. If you're using a bolt-on mount, the outer edge of the windshield frame is the most common and structurally sound option — just confirm the frame material (aluminum, plastic, fiberglass) can handle the hardware without cracking under vibration.
Installing a Clamp-Style Side Mirror
Open the clamp mechanism enough to slip it around the support strut. Position the mirror assembly so the mirror face is roughly parallel to the side of the cart — you'll dial in the exact angle after mounting. Slide the clamp to your chosen height, typically somewhere between your shoulder height and just above eye level when seated. Snug the clamp bolt down enough to hold position, but leave it slightly loose so you can pivot the mirror. Sit in the driver's seat, adjust the mirror angle until you can clearly see the area directly behind and to the side of the cart, then have a helper fully tighten the clamp while you hold the mirror steady. Repeat on the opposite side, matching the height and angle as closely as possible for consistency.
Installing a Bolt-On Side Mirror
Mark your drill locations carefully — measure twice, drill once. If mounting to a windshield frame or body panel, use a center punch to keep the drill bit from walking. Drill slowly to avoid cracking plastic or fiberglass components, and use a bit that matches your hardware's diameter exactly. Thread the bolt through the mirror's mounting arm, then through the hole, and secure it from behind with a washer and nut or into a threaded insert if the frame allows. Don't overtighten against plastic — firm hand-tight plus a quarter turn is usually sufficient to hold without cracking the substrate. Once the mirror is secured, adjust the mirror glass or head to the correct viewing angle.
Final Check and Road Test
After both mirrors are installed and tightened, sit in the driver's seat and perform a full visibility check. You should be able to see a clear, unobstructed view down each side of the cart with only a small eye movement — no awkward reaching or twisting required. Take the cart for a slow test drive and check that the mirrors don't vibrate or drift out of position over bumps. If a clamp-style mirror is creeping, the clamp needs to be tightened more firmly or repositioned to a section of strut with less flex. A well-installed set of side mirrors should hold their adjustment indefinitely under normal use — if they're moving regularly, revisit the mount and tighten everything down properly.


